SafeNet KeySecure needs connectivity with the candidate file server to identify its file system and authenticate it. In addition, SafeNet KeySecure needs to browse the file system on the file server for protecting stored data. Therefore, the file server must be added on the SafeNet KeySecure Management Console.
Adding a File Server
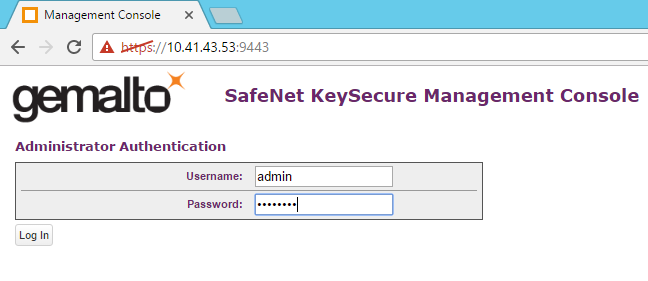
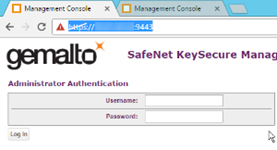
1. Open a web browser and browse to the primary KMS server. (i.e. https://<10.1.1.10:9443)
2. Enter your Keystore credentials.
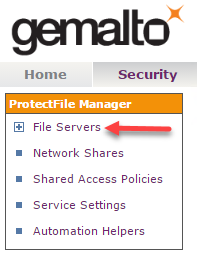
3. Select "Security" from top menu.

4. Under "ProtectFile Manager," select "File Servers" from the left-side menu.
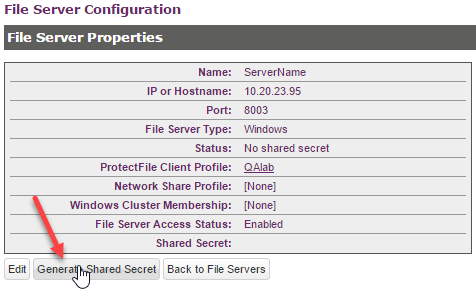
5. Under "Add File Server," complete the following fields, and then select "Add."
- Name: Enter a name for the file server (maximum length is 48 characters).
- IP or Hostname: Enter the IP address or hostname of the file server.
- Port: Accept the default value, "8003."
- File Server Type: Select Windows or Linux.
- ProtectFile Client Profile: Select a ProtectFile Client Profile to associate a SafeNet KeySecure with this file server.
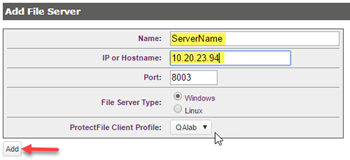
- The new file server appears in the "File Servers" list.
Generating the Shared Secret
A shared secret is a string that is used to authenticate the file server to the ProtectFile Manager. The shared secret is used by the file server to bootstrap with SafeNet KeySecure. The shared secret must be generated from the KeySecure Management Console when a new file server is added.
1. Open a web browser and browse to the primary KMS server. (i.e. https://<10.1.1.10:9443)
2. Enter your Keystore credentials
3. Select "Security" from the top menu.

4. Select "File Servers" from the left-side menu.

5. Select the file server from the File Servers list (either click the file server link or select the file server under the "Name" column and click "Properties").
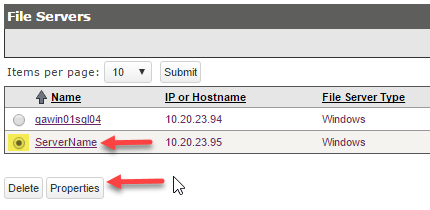
6. Click "Generate Shared Secret;" the shared secret for the selected file server is generated and displayed on screen.
The "Status" changes from "No shared secret" to "Ready to proceed with SSL Setup."
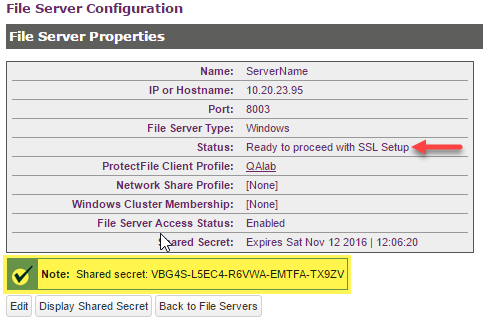
This will be needed to bootstrap the file server that will be using ProtectFile agent, therefore copy or record this string for later use.
Install the ProtectFile Agent
The term "bootstrap" refers to the SSL Setup process performed to authenticate the connection between SafeNet KeySecure and the file server.
Supported Windows Server Versions: Windows Server 2016 64-bit, Windows Server 2012 R2 64-bit, Windows Server 2012 64-bit, Windows Server 2008 R2 SP1 64-bit
Windows Server
1. Connect to the server that will be using ProtectFile.
2. Copy the installer provided by Expedient to the server that will be receiving encryption.
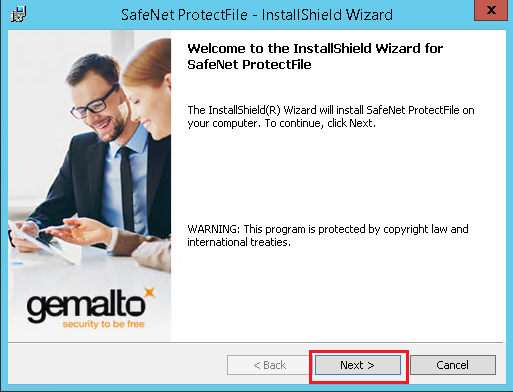
3. Run the installer.
- Click "Next" on welcome screen.
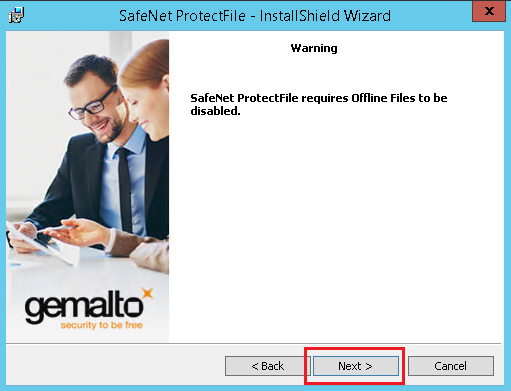
- Click "Next" on warning screen.
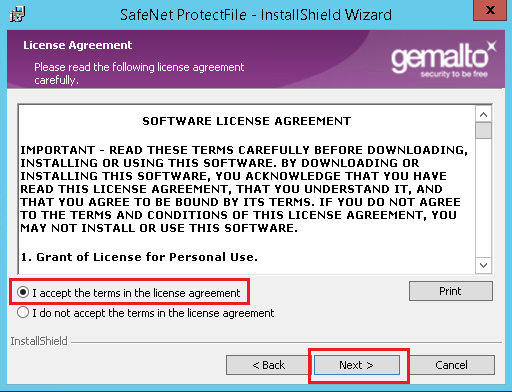
- Accept the license agreement and click "Next."
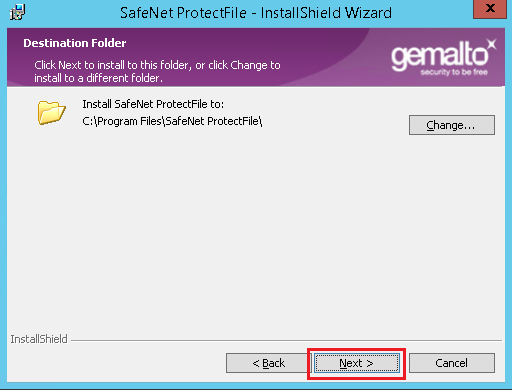
- Keep the default for destination folder and select "Next."
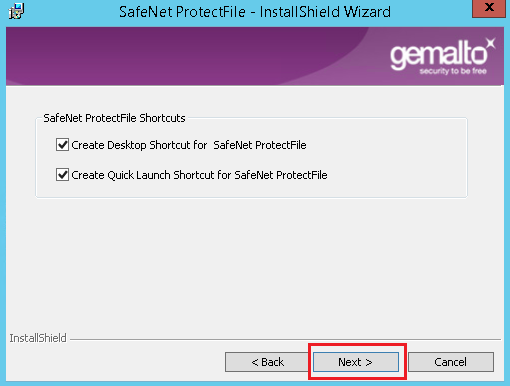
- Keep the defaults and for shortcuts and select "Next."
- Select the radio button "I am ready to bootstrap during installation," then select "Next."
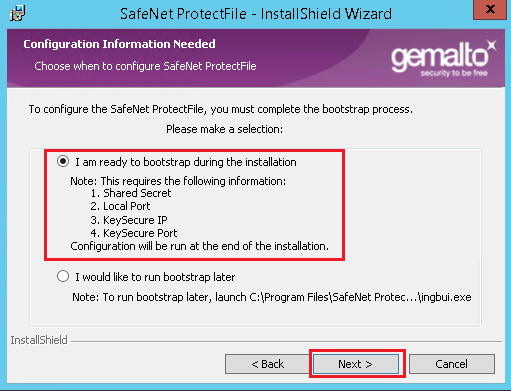
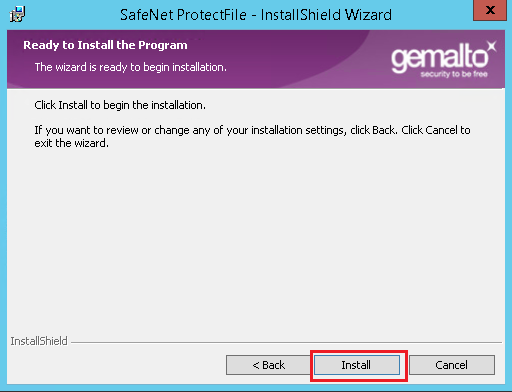
- Click "Install."
4. Complete the following fields, then select "Bootstrap now."
- KeySecure IP: Enter the IP address of the primary KMS server.
- KeySecure Port: 9003 (default)
- Local Port: 8003 (default)
- Shared Secret: Enter the shared secret generated from a previous step.

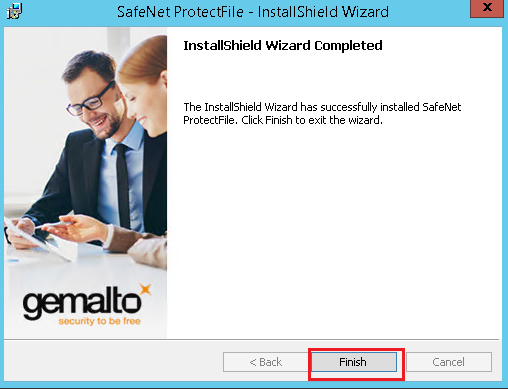
- Select "Finish" after the bootstrap has successfully completed.
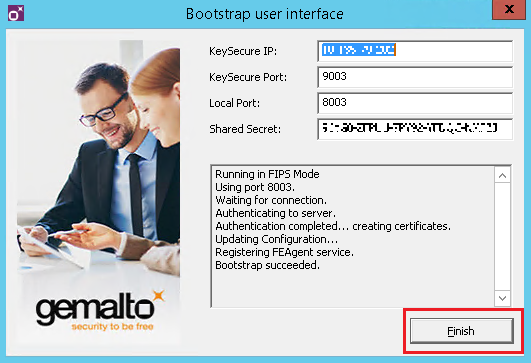
- Select "Finish" again to complete install.