***Contact your Project Manager for credentials
1. Launch the .exe file that you downloaded from the web and select the Carbonite Availability option.
Select your installation language.
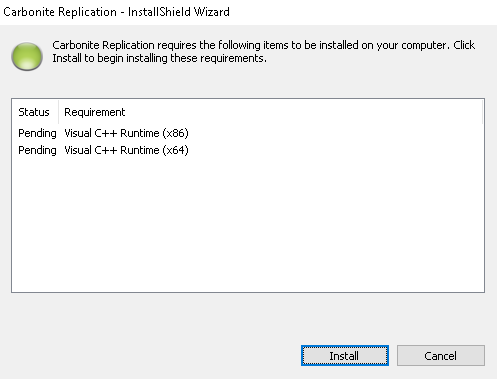
Depending on your version of Windows and the components you have installed, you may be prompted to install one or more Visual C++ security updates or Microsoft .NET Framework. These components are required. If you do not see this screen, you server already has them. Select Install to continue.
2. You will be given the opportunity to check for a more recent version of the software select "Yes" and verify.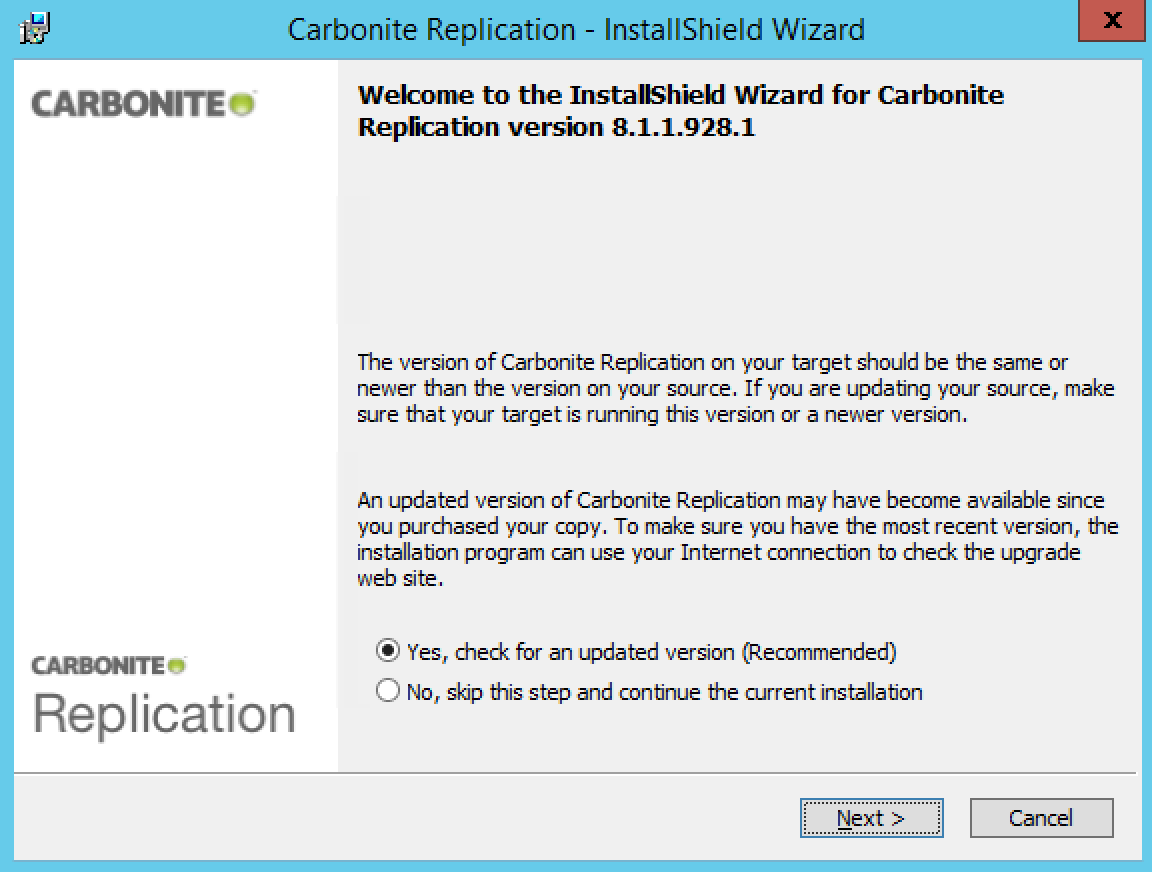
- If you do not want to check for a later version, select No and click Next.
- If you want to check for a later version, select Yes and click Next. The installation program will establish an Internet connection from your server to the Carbonite web site.
- If later versions are found, they will be listed. Highlight the version you want and either download that version and install it automatically or download that version and exit the installation. (If you exit the installation, you can run the updated installation later directly from the location where you saved it.)
- If no later versions are found, continue with the current installation.
- If an Internet connection cannot be established, continue with the current installation or install a previously downloaded version.
3. Review the Carbonite license agreement. You must accept the license agreement in order to continue with the installation program. Click Next to continue.
- Review the activation notice. Most source server licenses require activation after installation for full product functionality. Failure to activate licenses that require it will cause your Carbonite Availability and Carbonite Move jobs to fail. Click Next to continue.
4. Select the type of installation you would like to perform on this machine. (Chose Client and Server Components)
- If desired, specify where the files will be installed by clicking Change, specifying a location, and then clicking OK. Click Next to continue.
5. If the machine where you are installing has Windows Firewall enabled, you will be given the opportunity to open and reassign any firewall ports for Carbonite Availability and Carbonite Move use.
- Open only the ports that are not in use—This option will open any firewall ports that are not in use. The ports that are opened will be assigned to Carbonite Availability and Carbonite Move.
- Open all ports, reassigning the ports in use to Carbonite Replication—This option will open all necessary firewall ports, reassigning any to Carbonite Availability and Carbonite Move as needed.
- Do not configure the Windows Firewall at this time—This option will not modify any firewall ports. If you select this option, you will have manually modify your firewall settings for Carbonite Availability and Carbonite Move processing.
Click Next to continue.
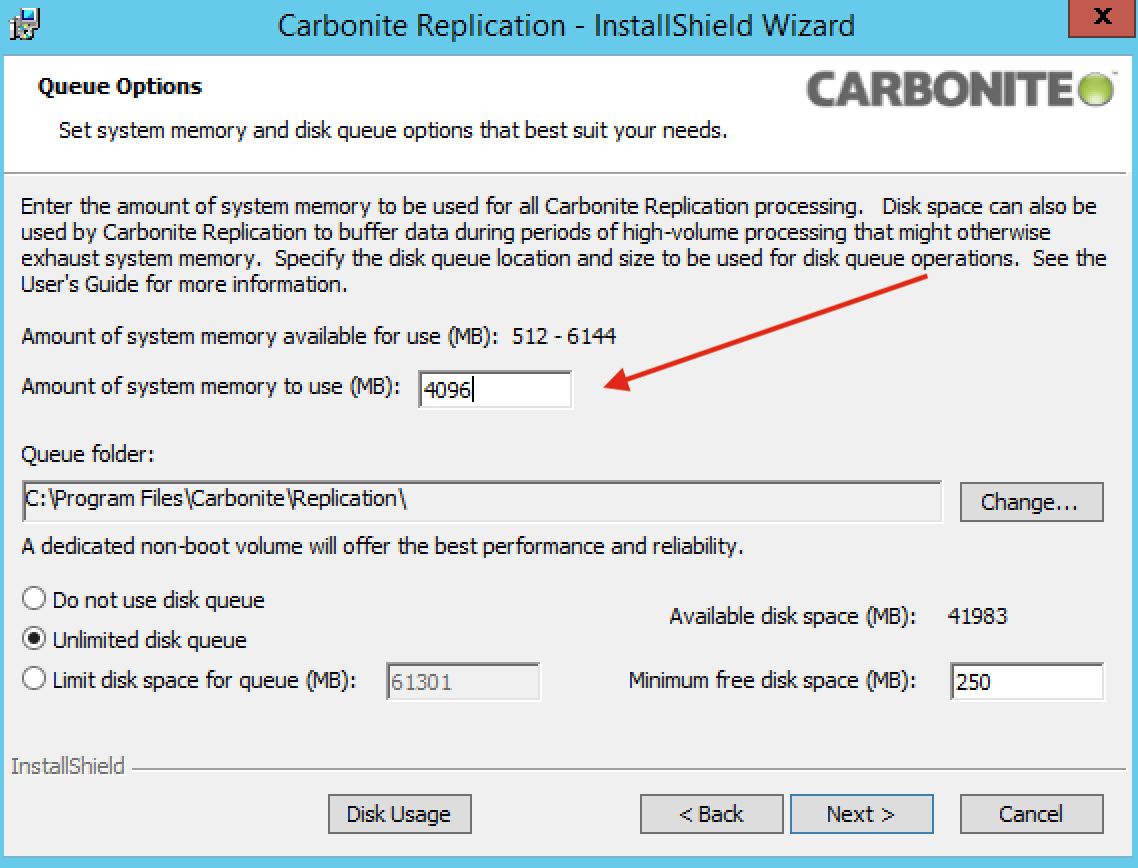
6. Set the system memory and disk queue for the local install. Change the default memory to 4096 and click Next
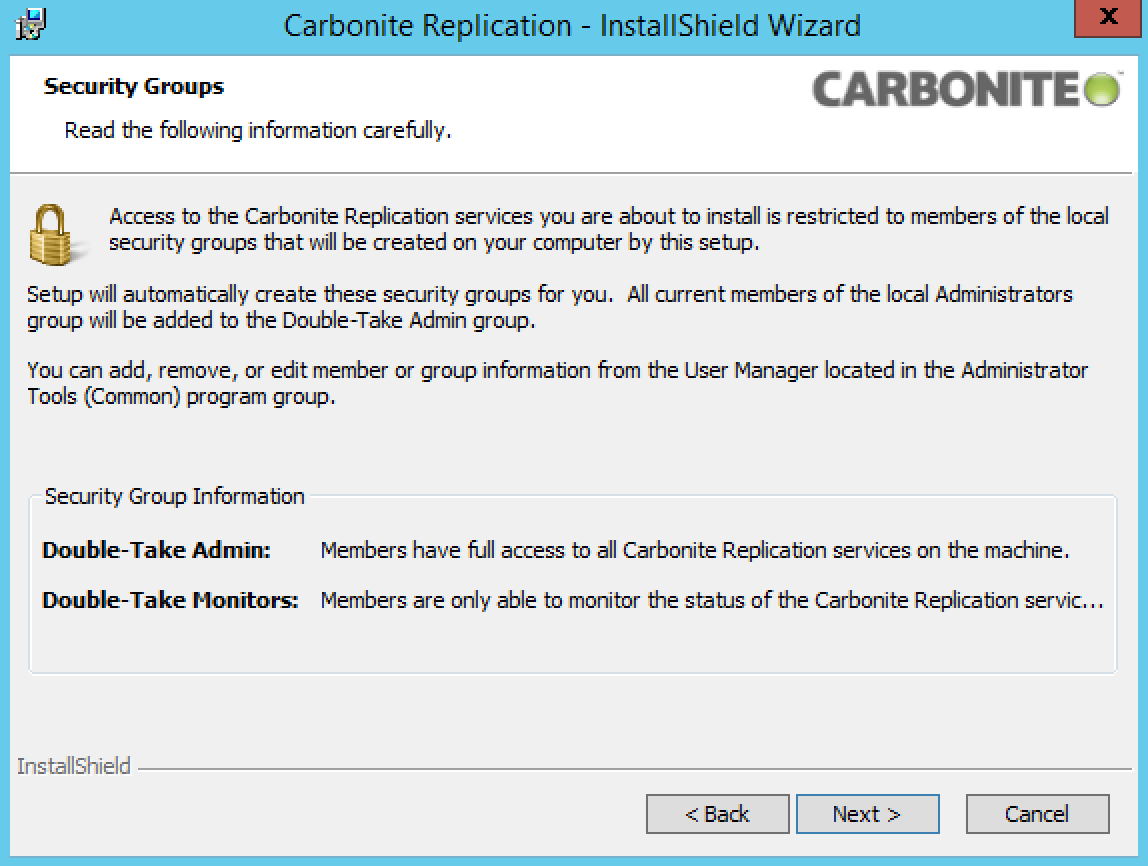
7. Configure security groups is done by the installer click Next
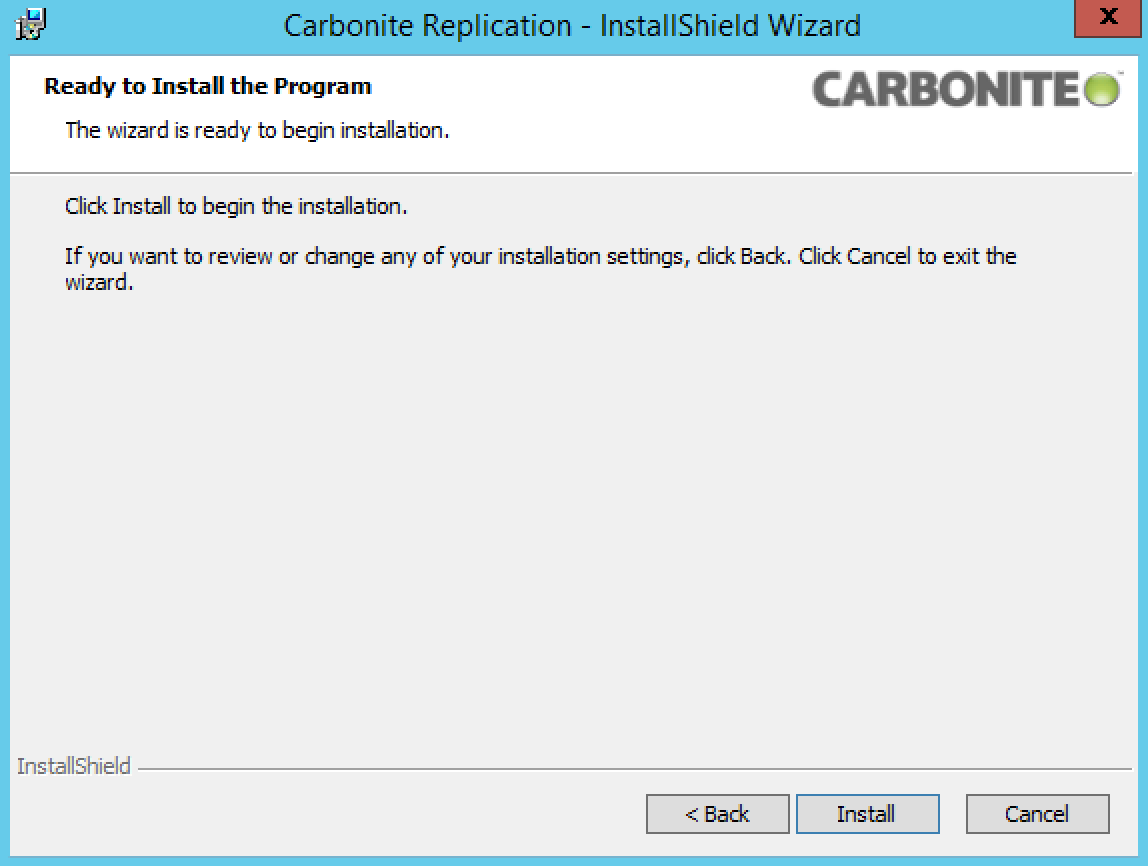
8. Start the install
Finished!
support.carbonite.com/doubletake/articles/MSG-Error-1723-There-is-a-problem-with-this-Windows-installer-package-A-DLL-required-for-this-install-to-complete-could-not-be-run