Prerequisites
- An active Azure account
- Global admin privileges
- OneLogin tenant with admin access
Support Note:
Expedient will assist with configuring and troubleshooting from the OneLogin tenant. Client is responsible for the configuration on the Azure tenant.
Configure Azure:
- Open the Azure portal (https://portal.azure.com) and login as a global admin account. Under the three line menu in the top right corner click Azure Active Directory.
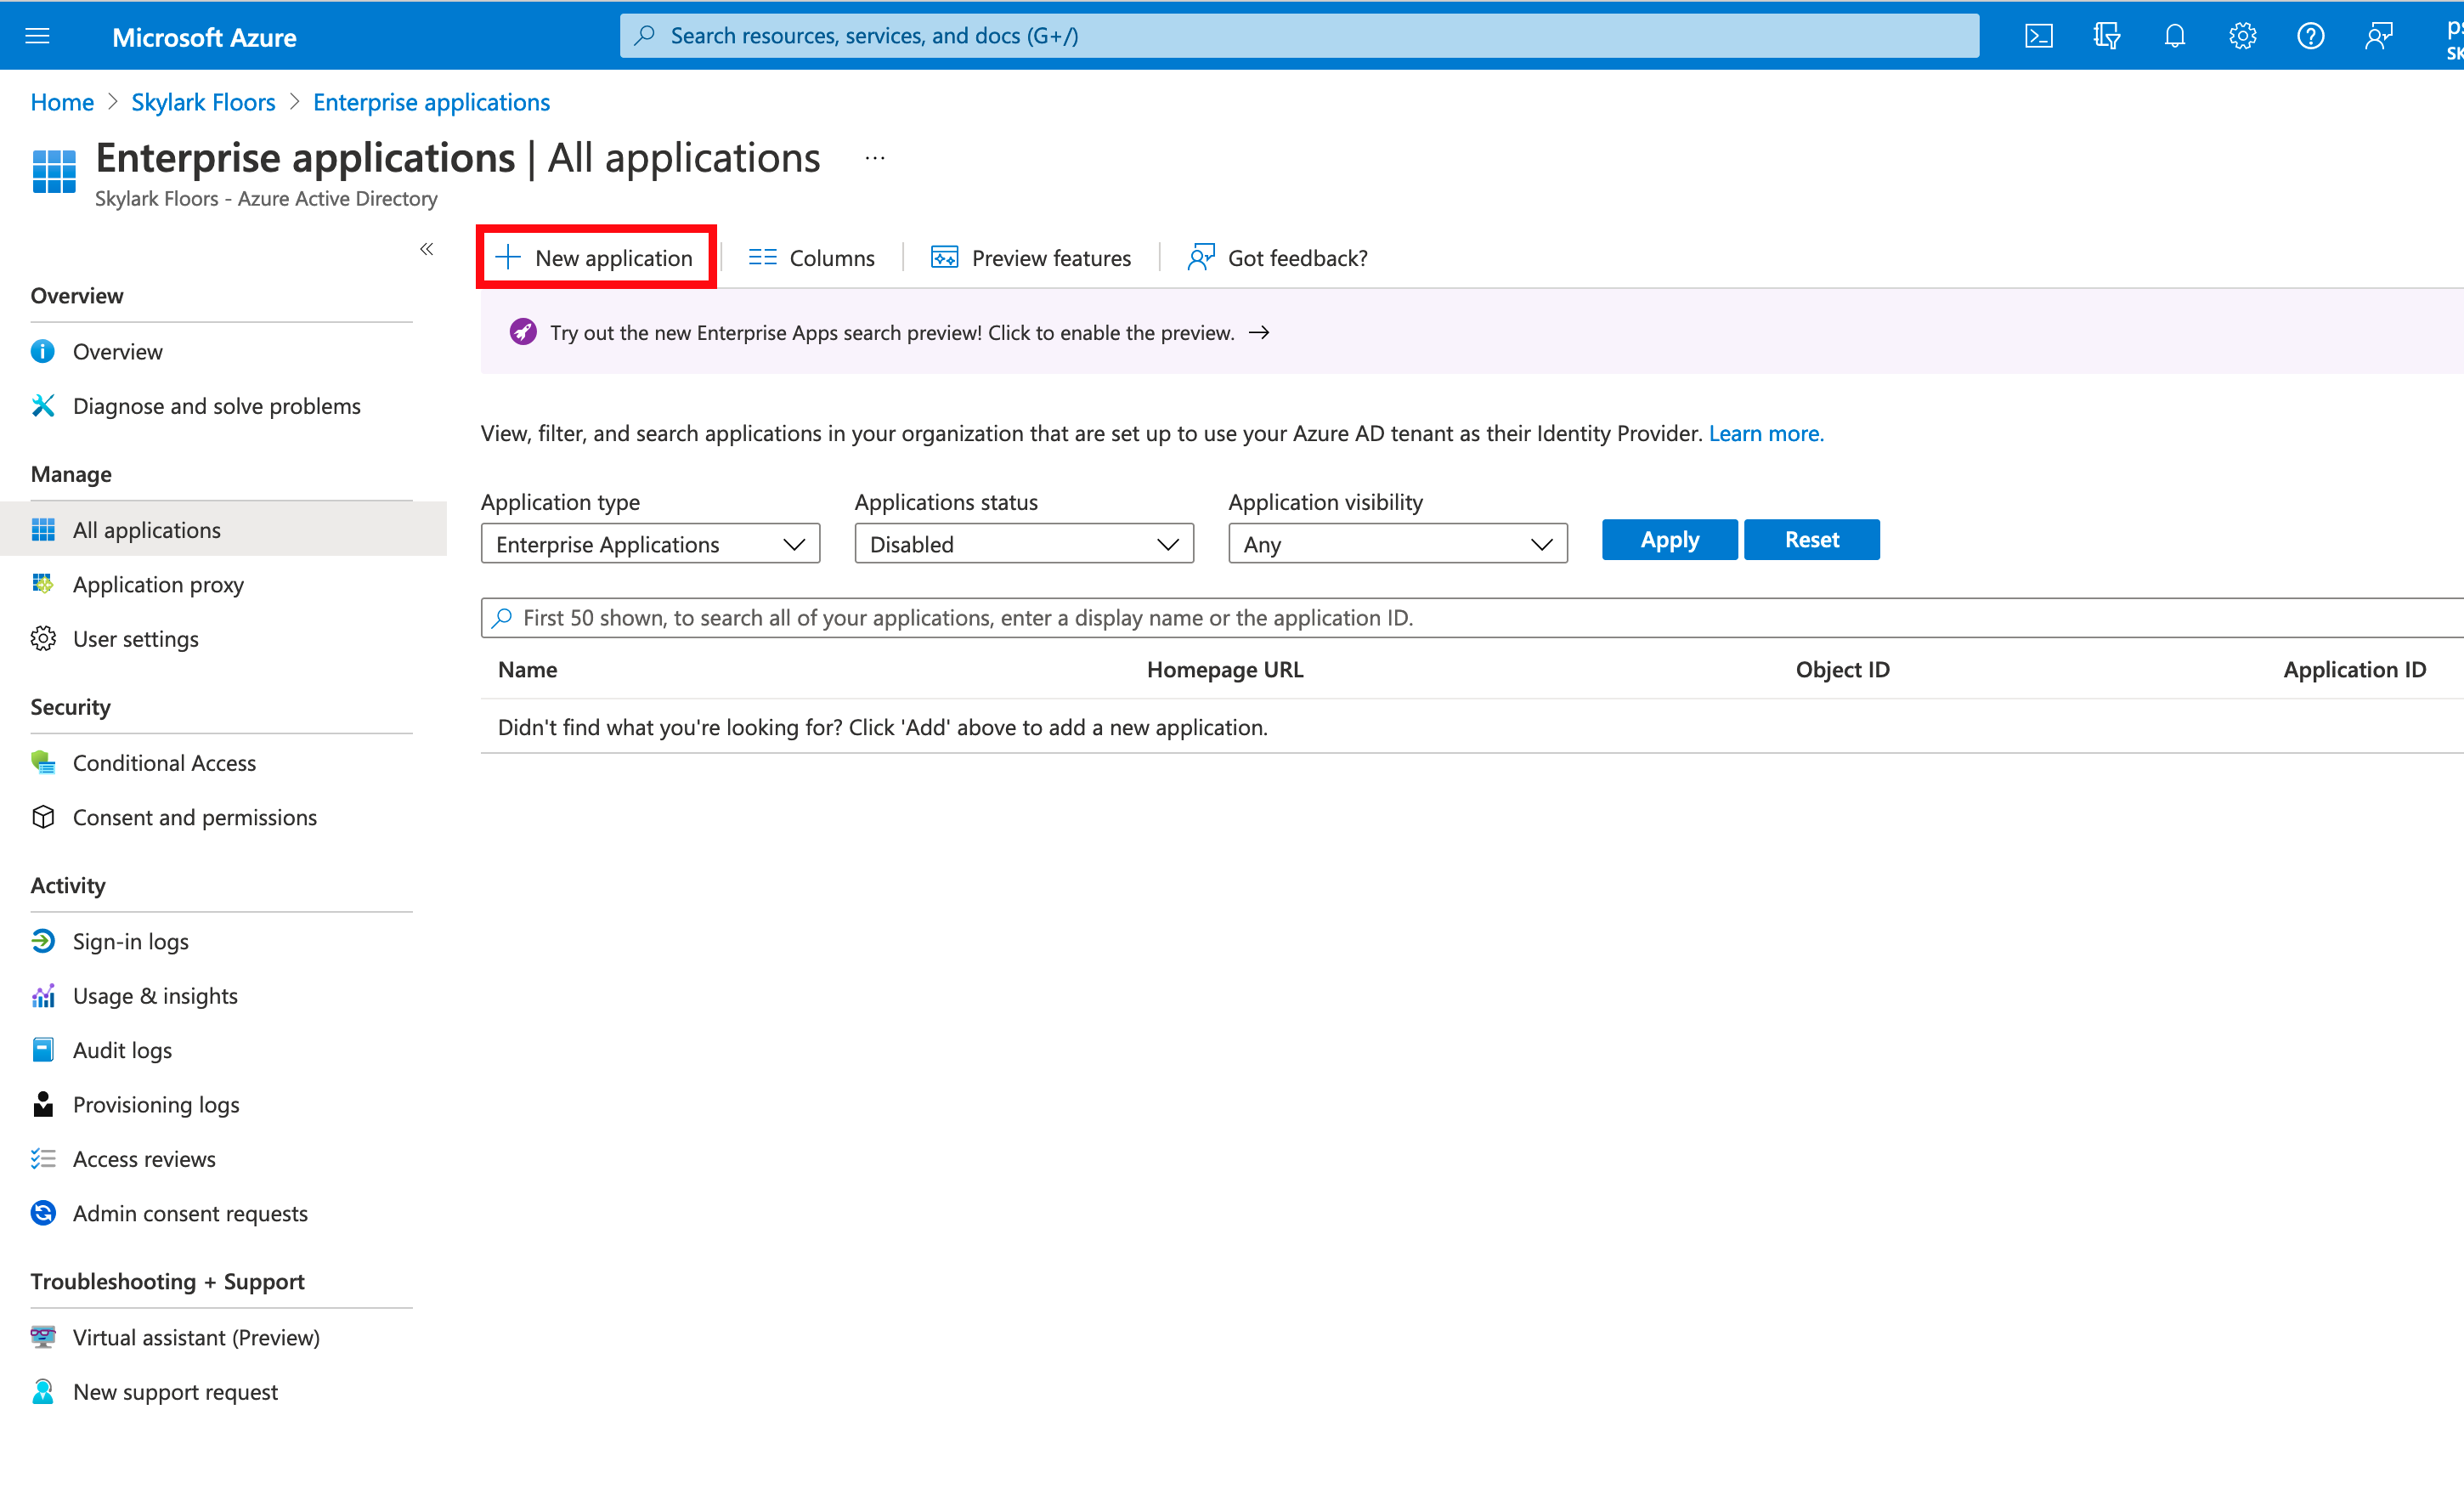
- On the left side click Enterprise Applications
- Click "+ New Application"
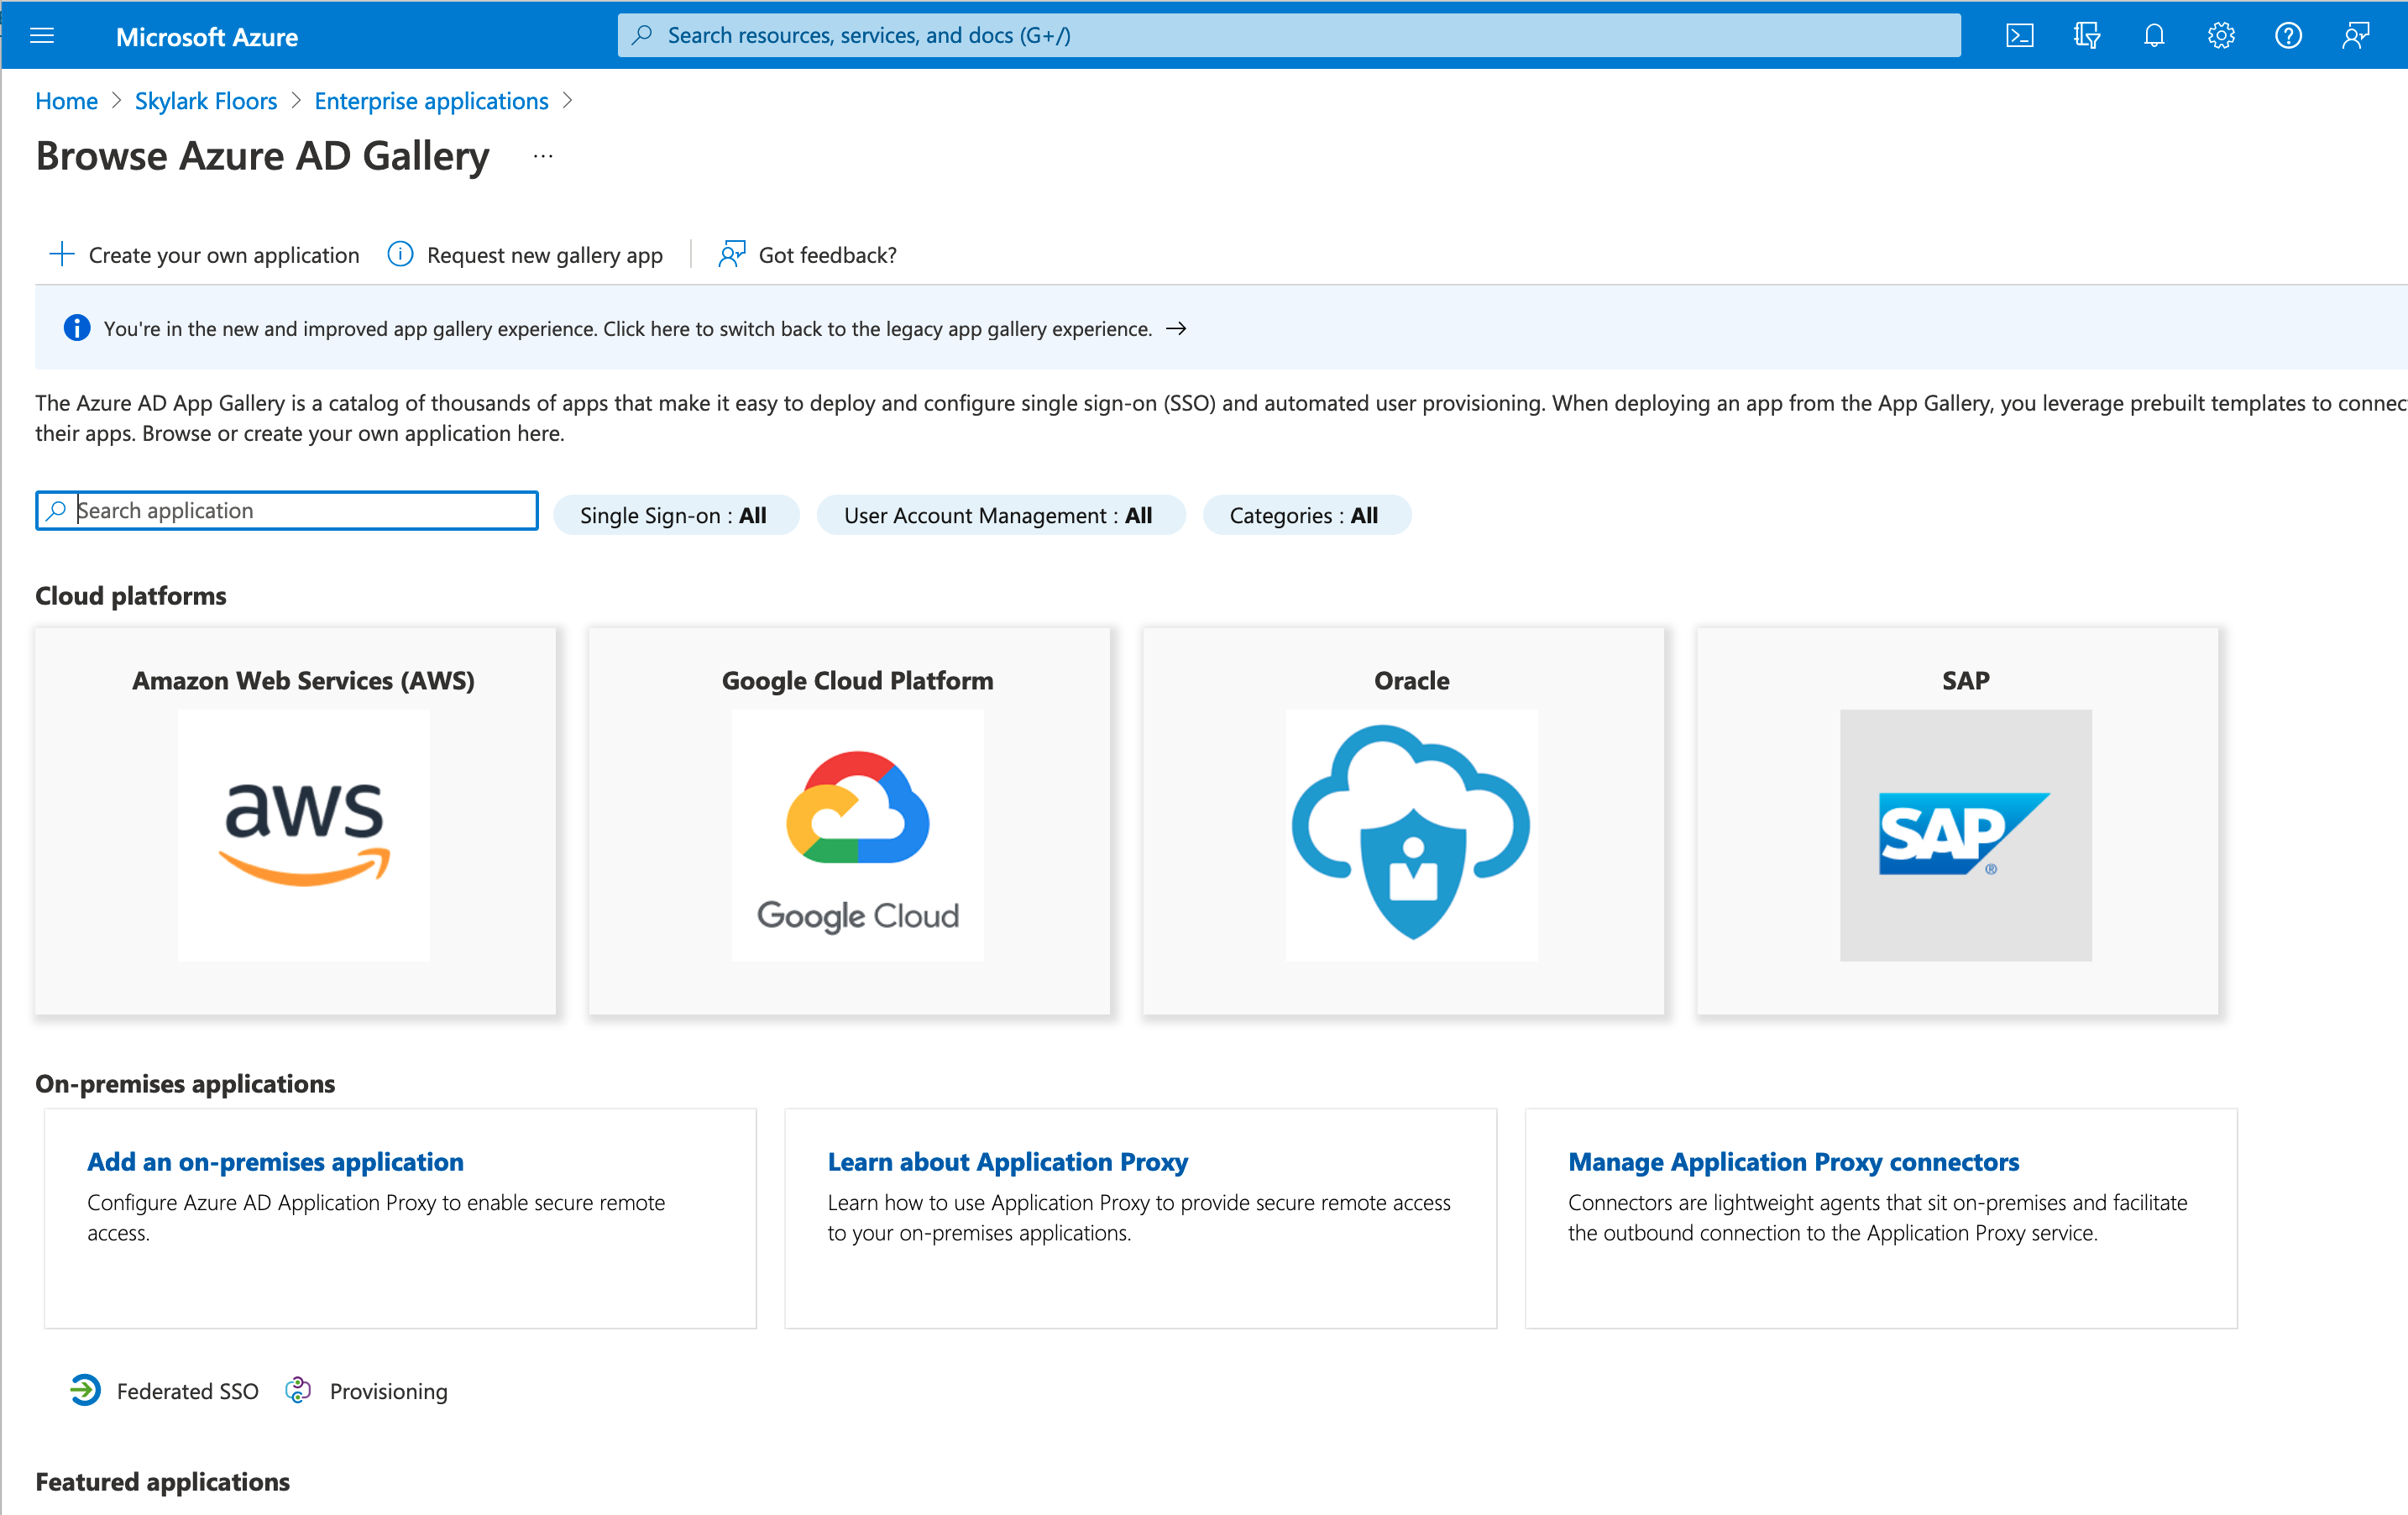
- Click "+ Create your own application"
- Give it a name like "OneLogin - Expedient" and click "Integrate any other application you don't find in the gallery (Non-gallery)". Click Create. This may take a moment.
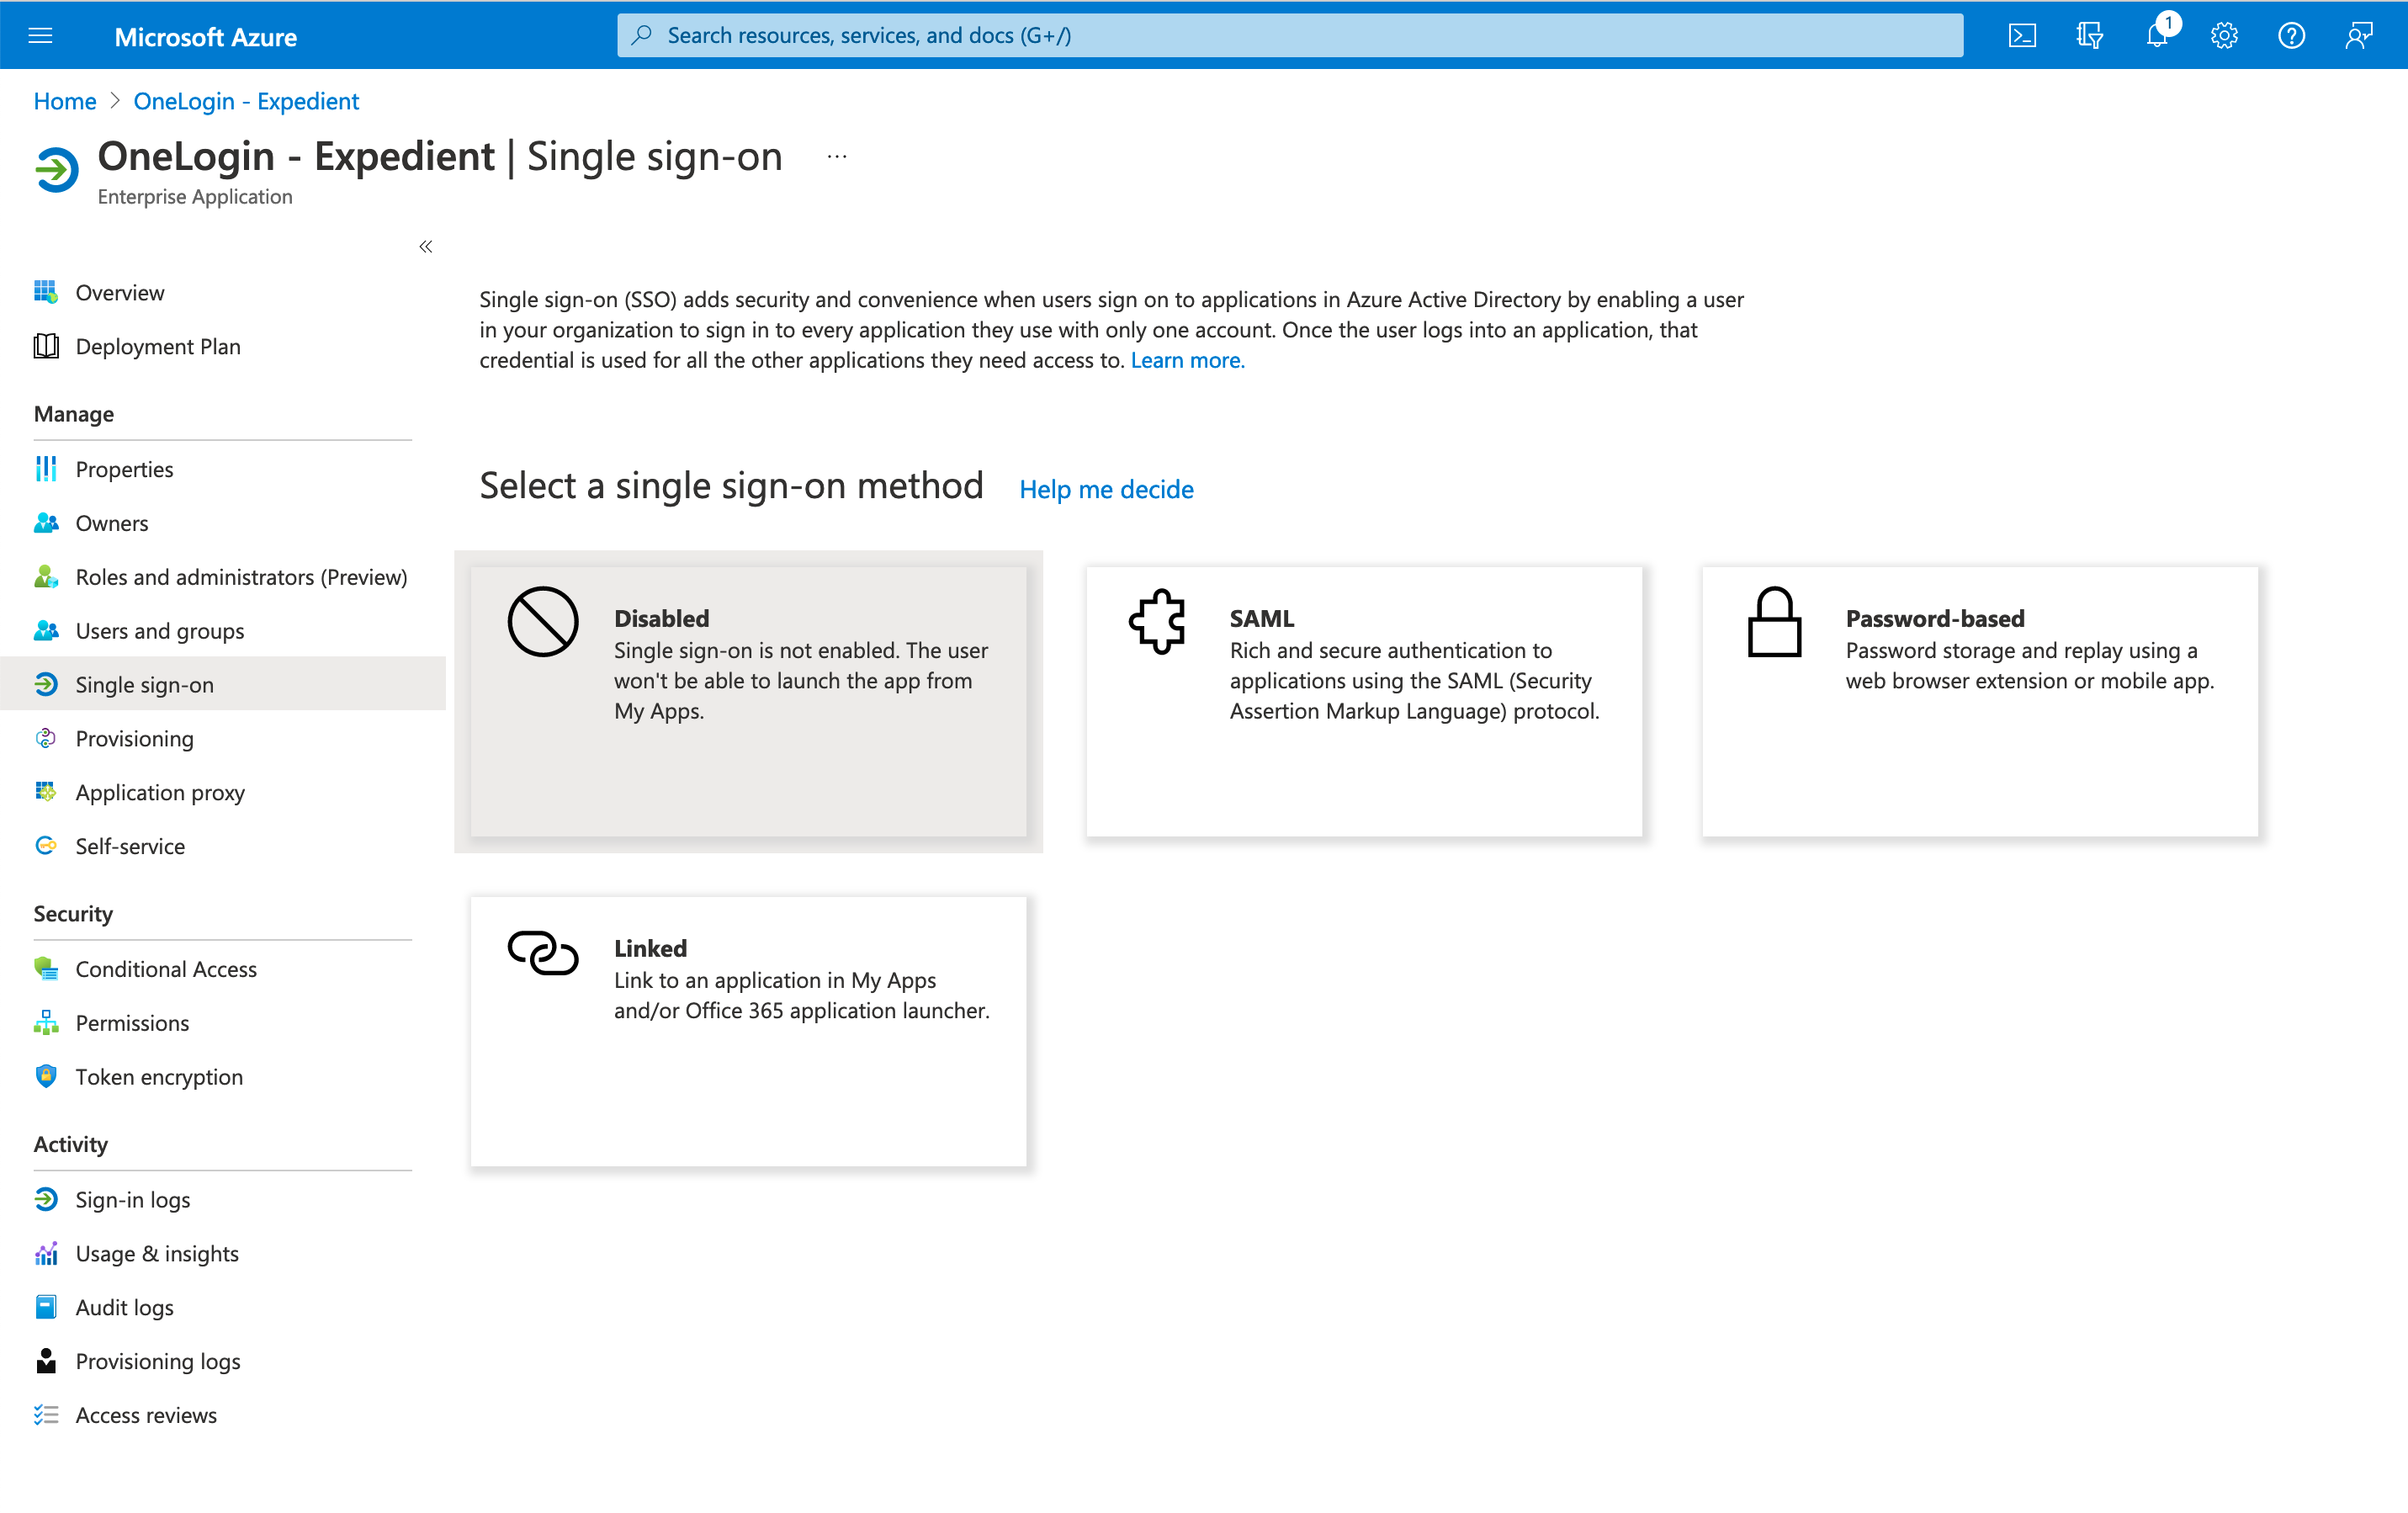
- In the application, click Single Sign-on on the left side.
- Click SAMLin the next page. It will automatically take you to the configuration page.
Configure OneLogin
- Login to OneLogin as an admin. Click Administration at the top of the page.
- Mouse over Authentication and click TrustedIdPs
- Click New Trust
- Give the trust a name e.g. "Azure AD - Expedient"
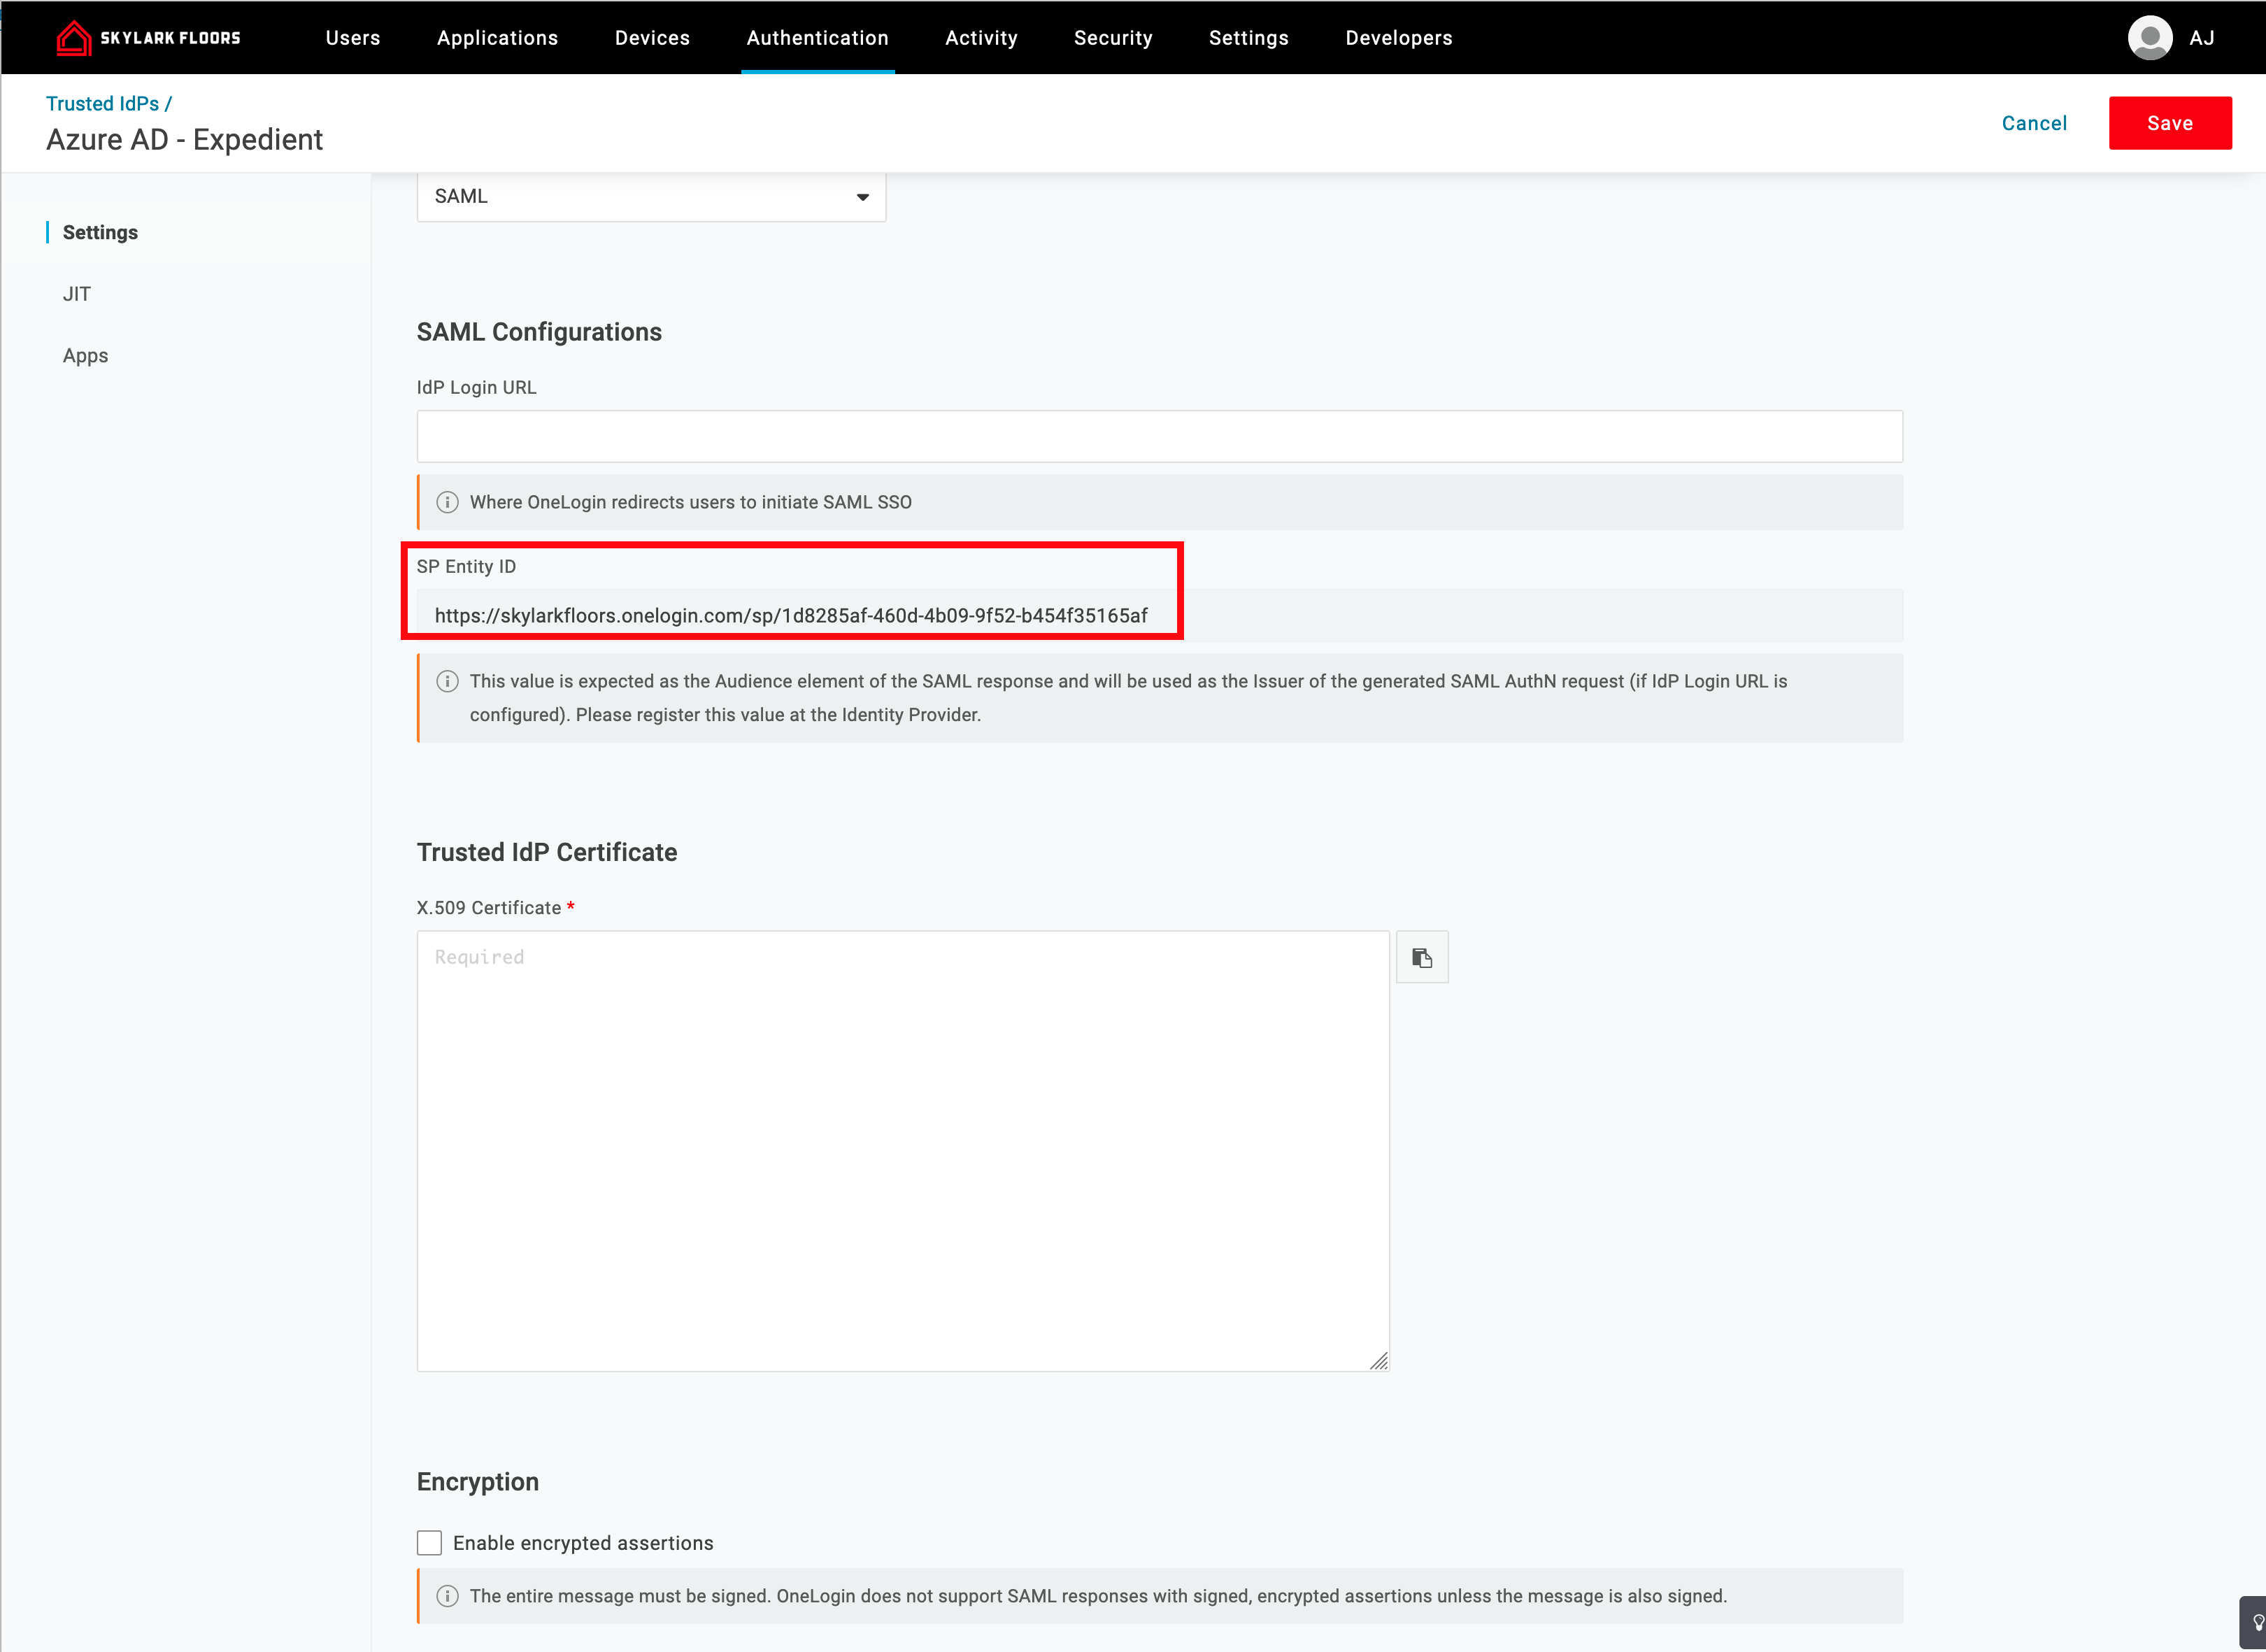
- Scroll to the bottom and look for SP Entity ID
- Copy and paste this to a text editor.
Phase 2 of the Azure AD configuration
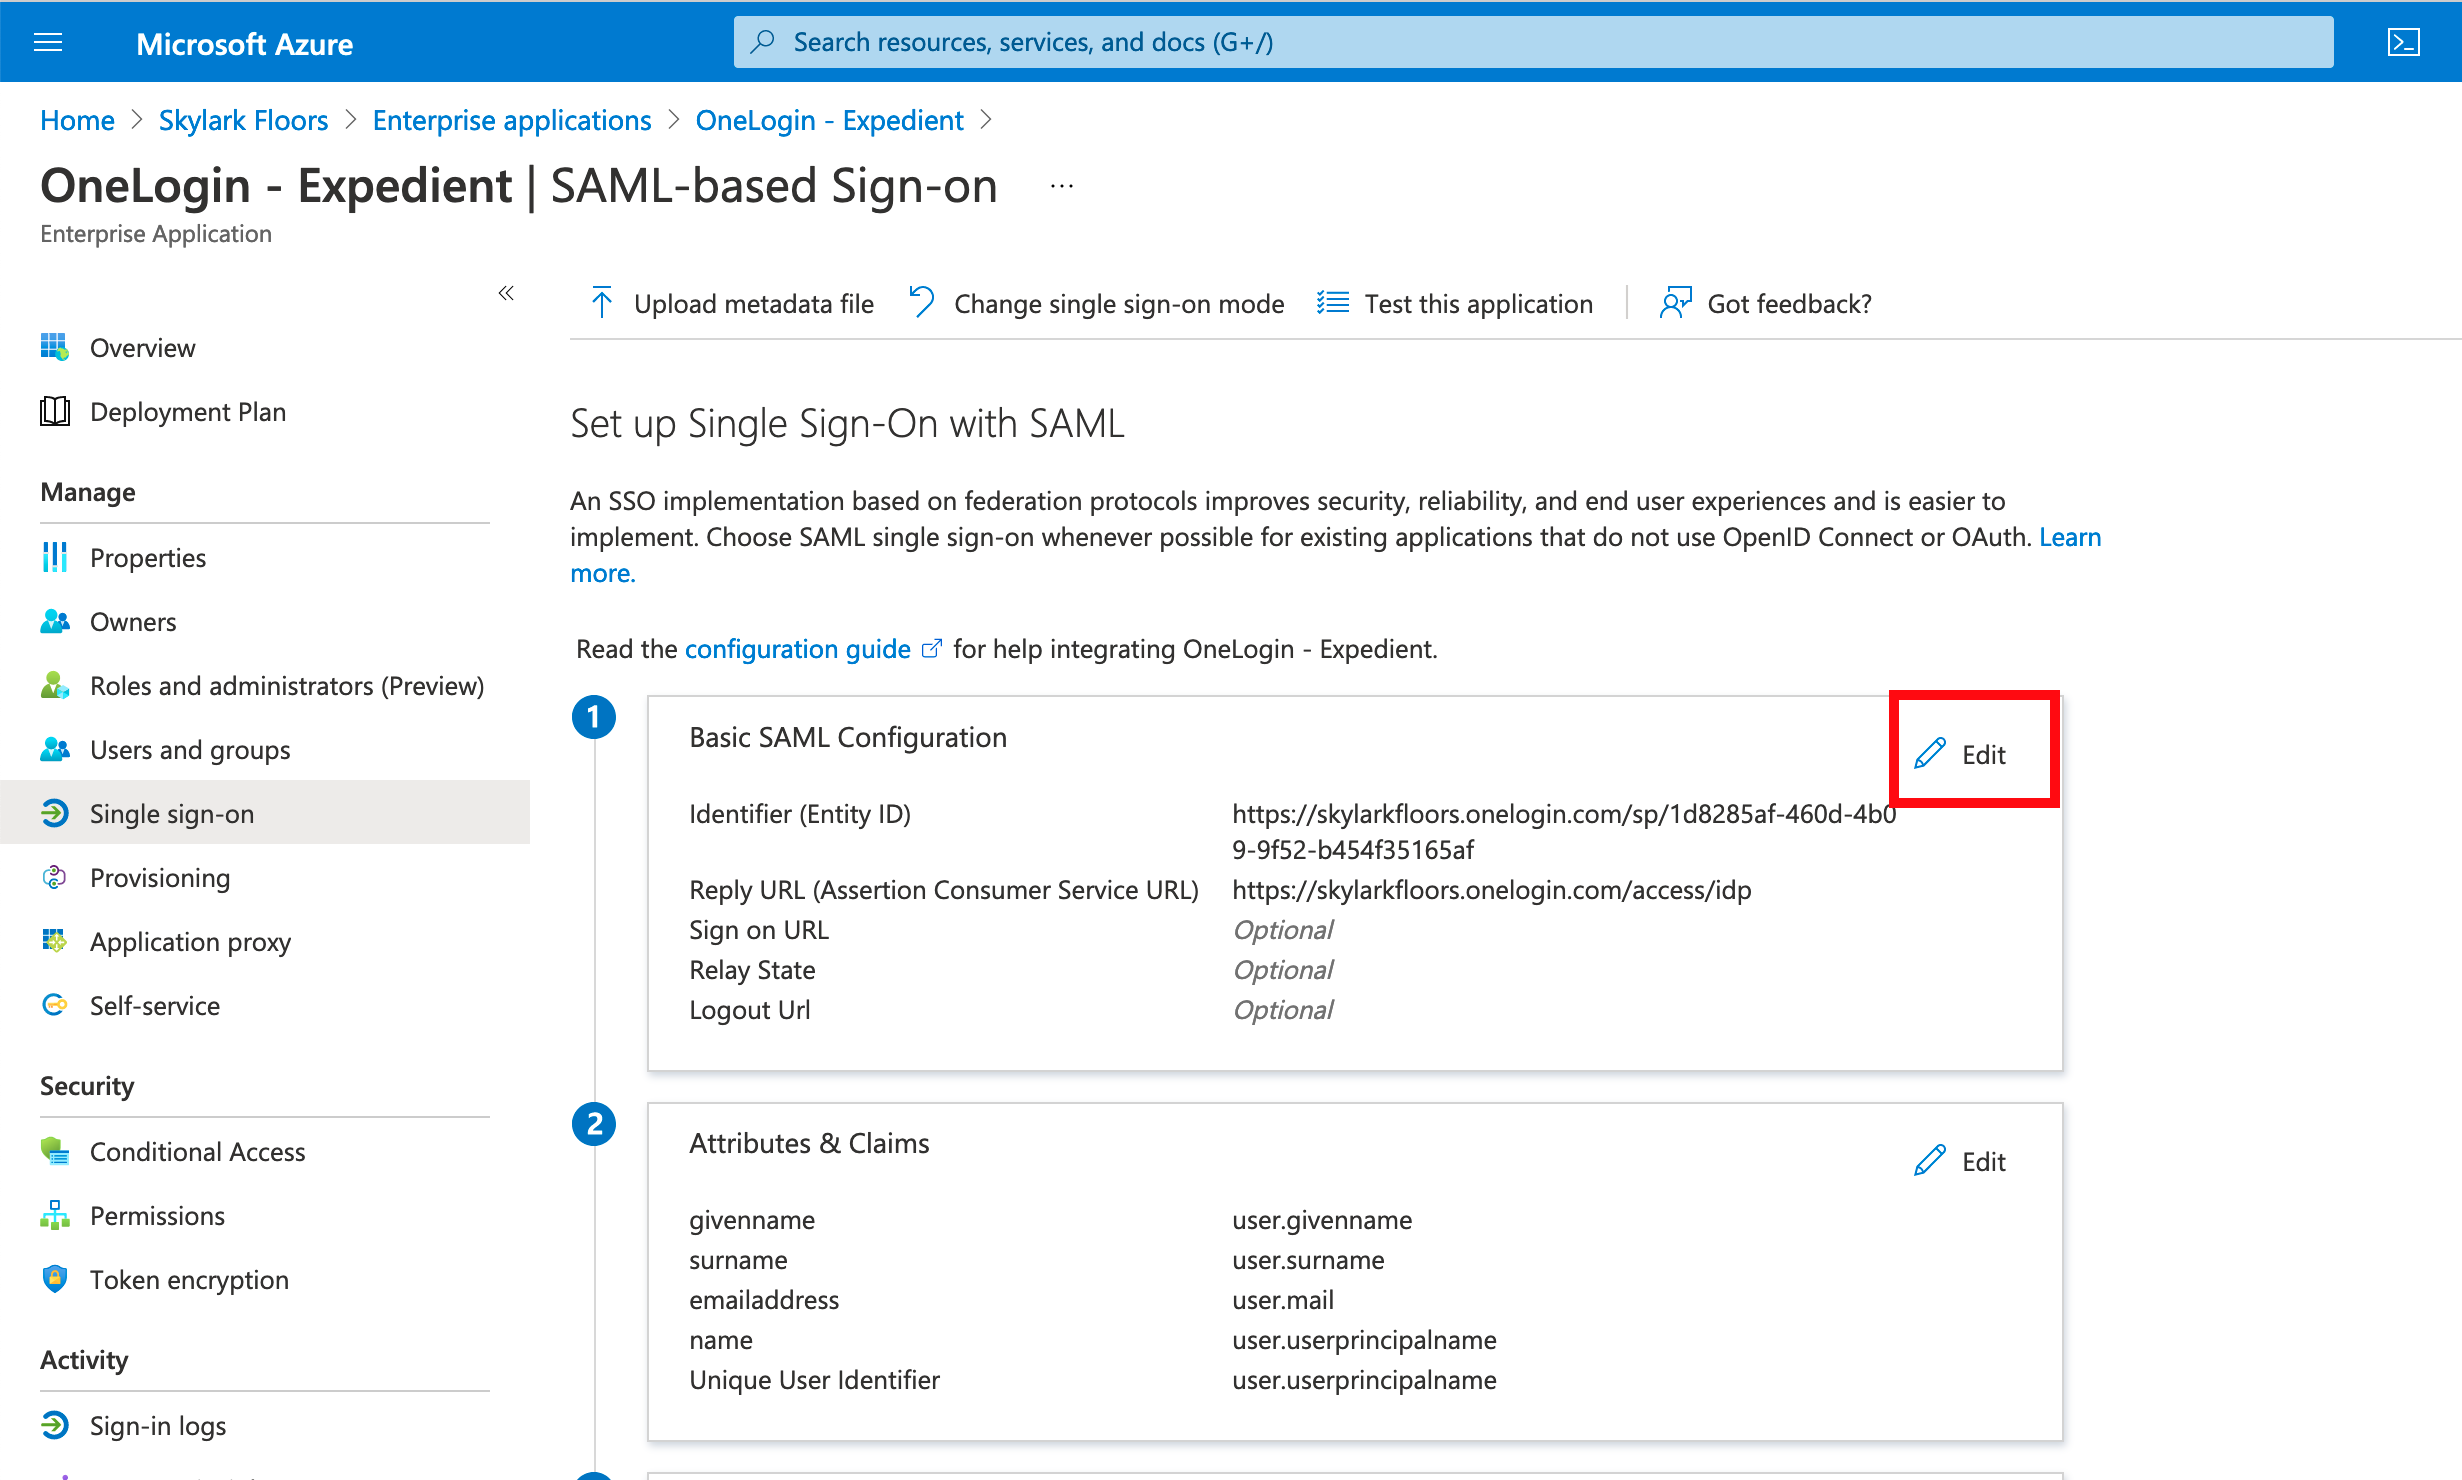
- Go back into the Azure portal.
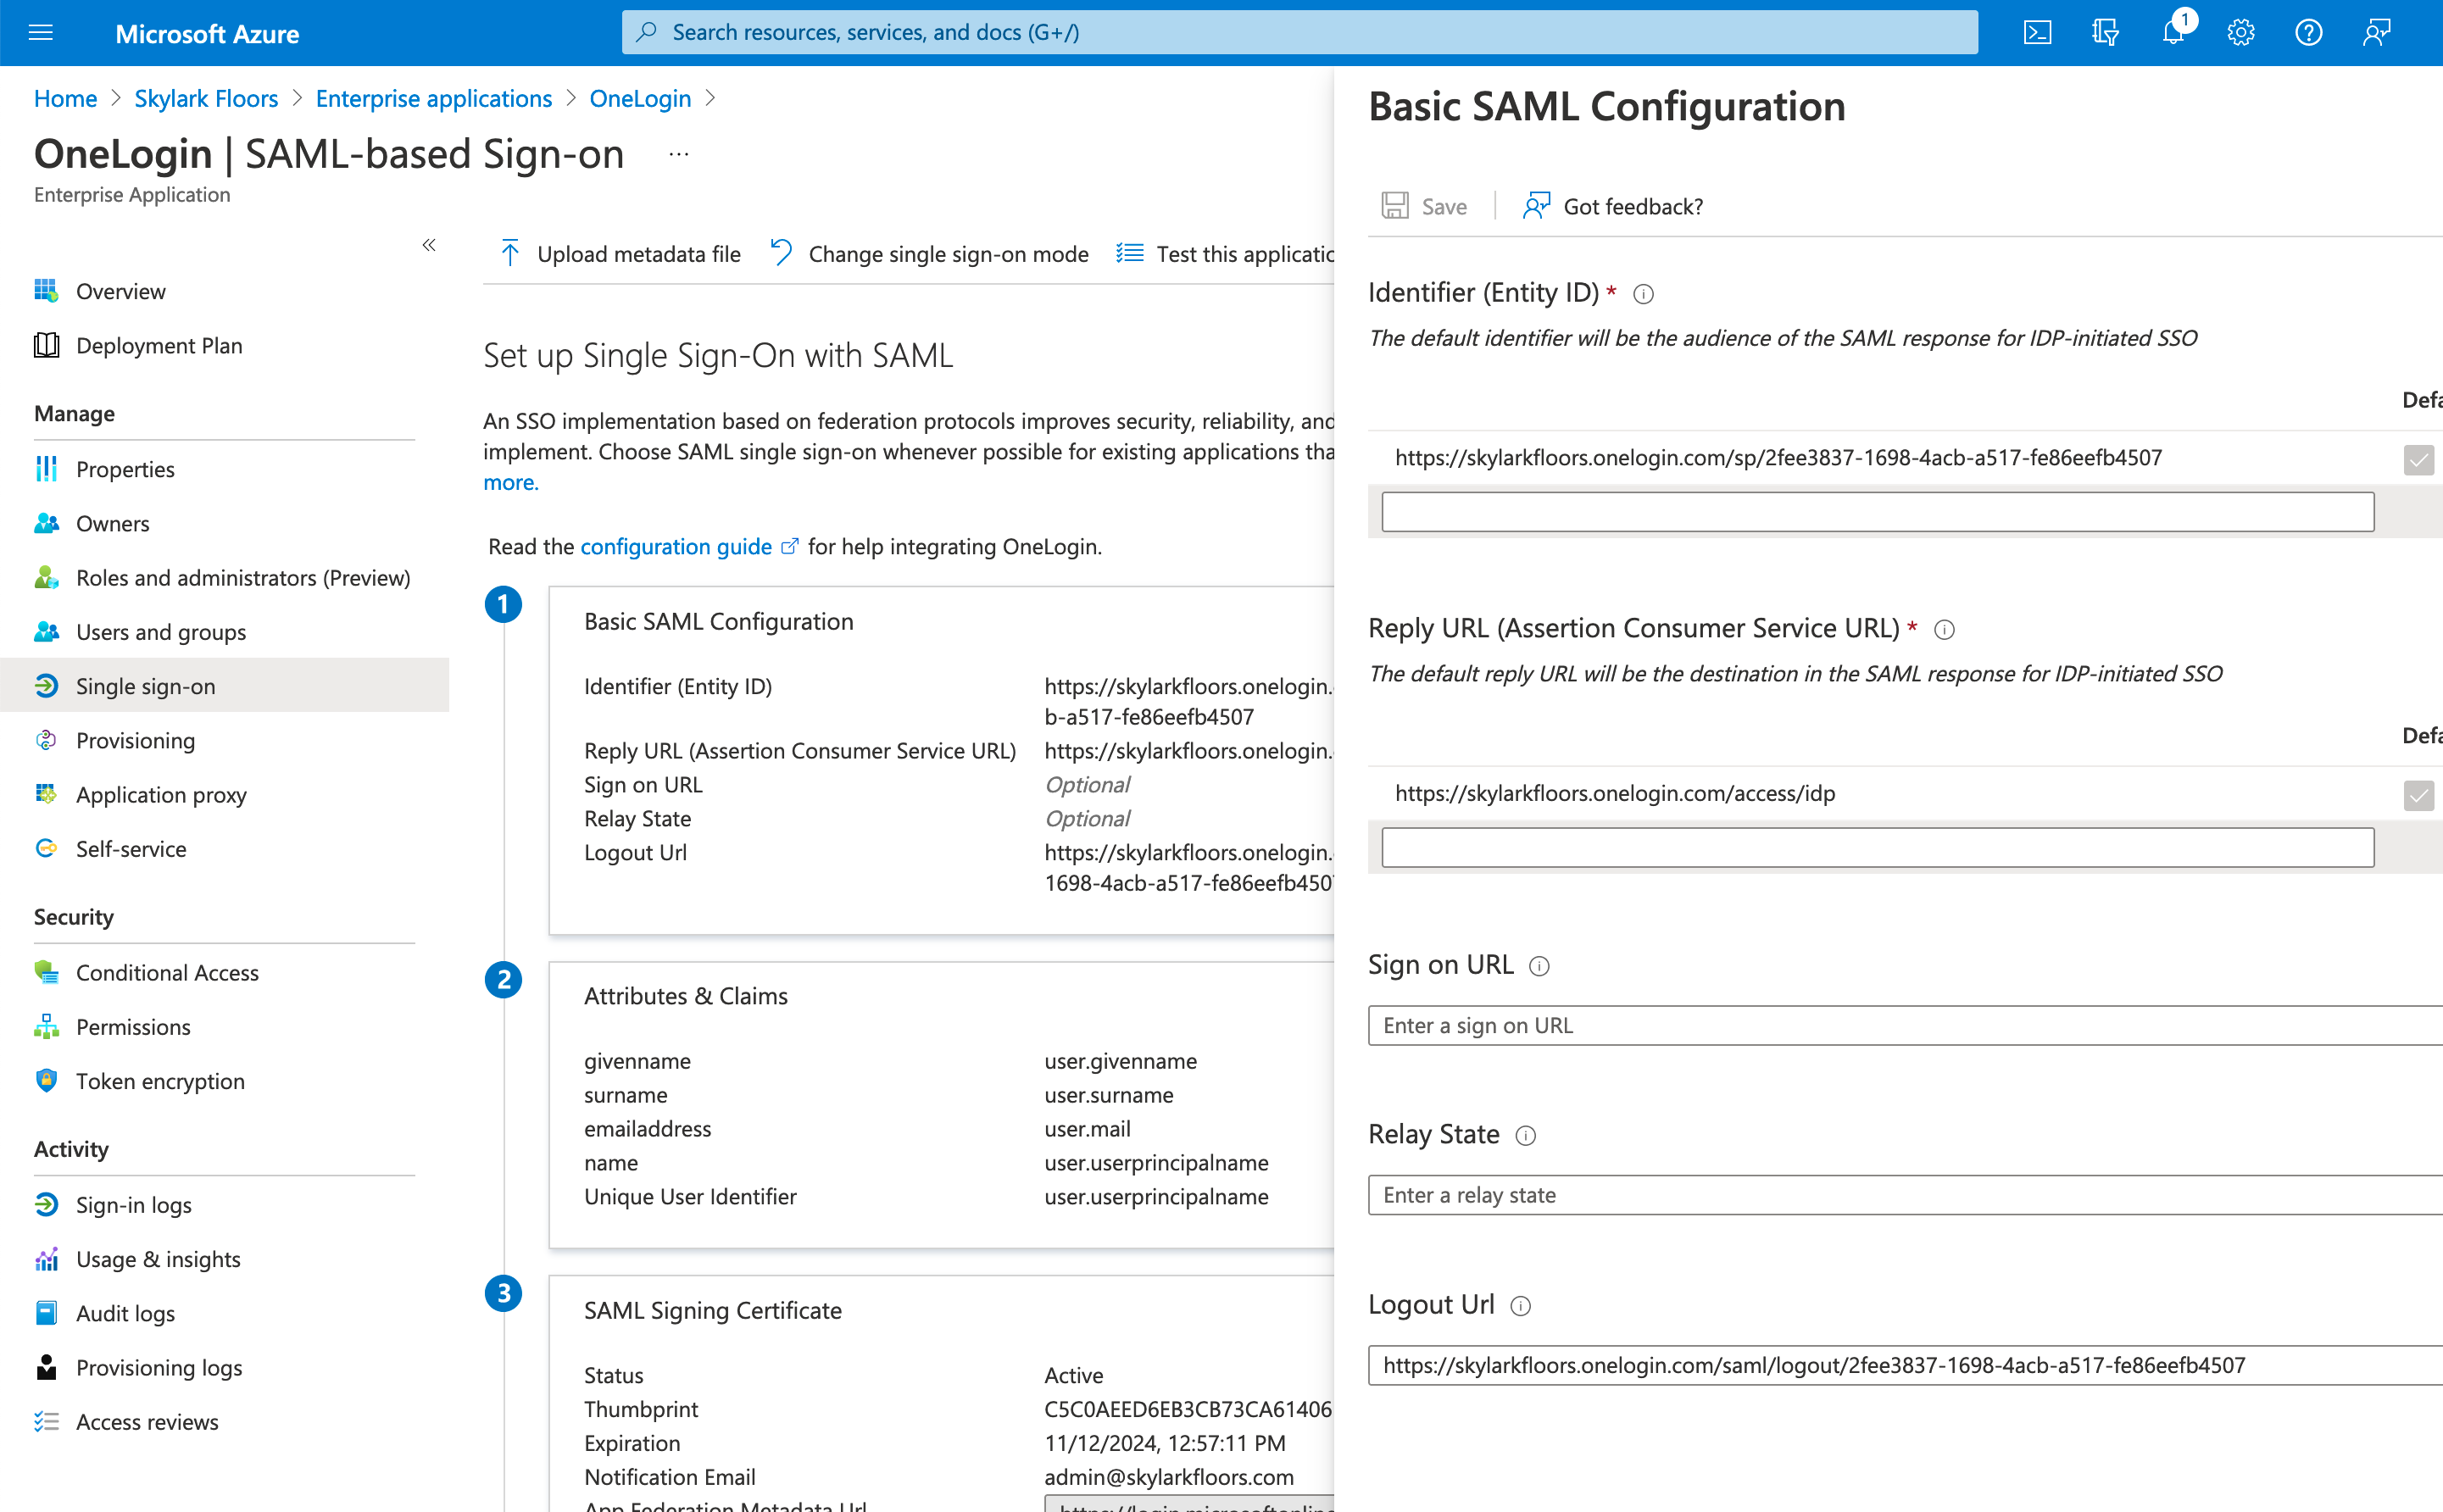
- Click Edit next to Basic SAML Configuration
- Configure the Entity ID with the value you copied out of OneLogin and configure the Reply URL to https://yourtenantname.onelogin.com/access/idp
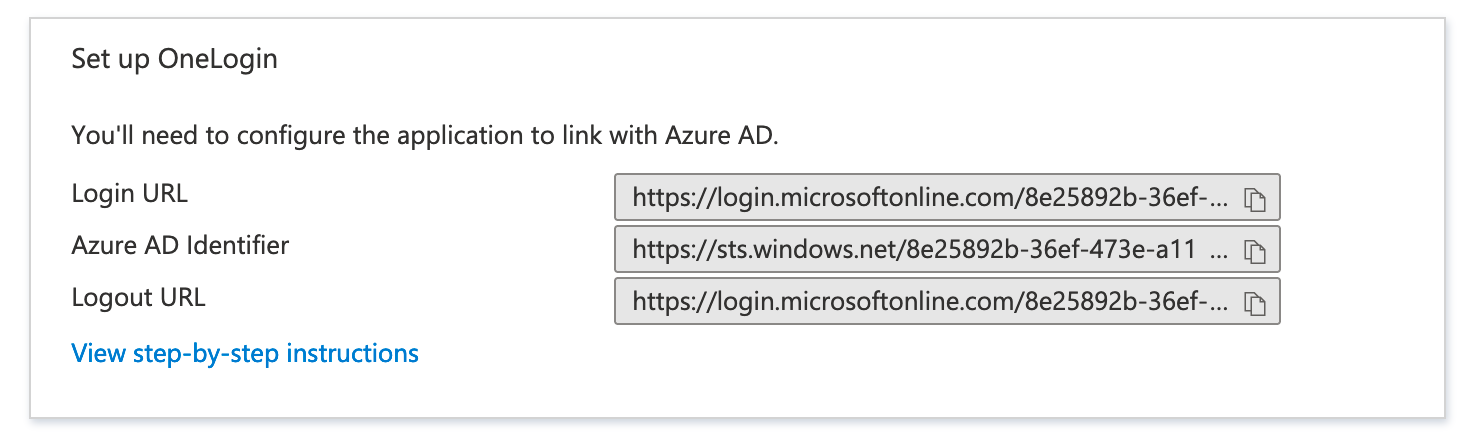
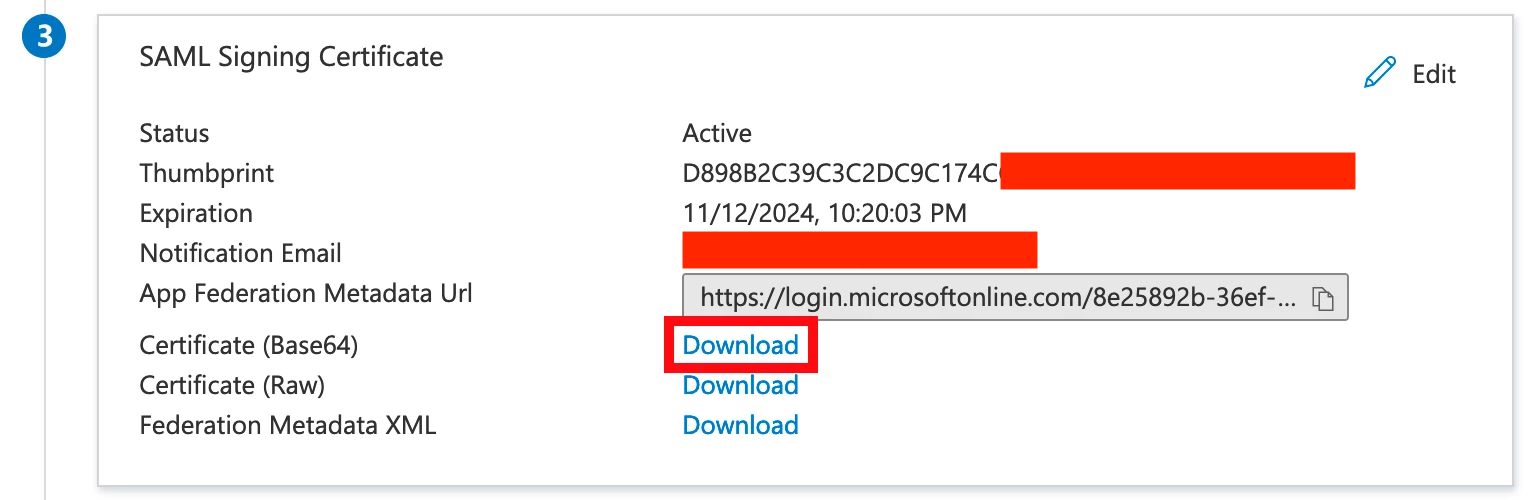
- Copy these values to a text editor:
- Click Download next to Certificate (Base64)
Finish OneLogin Configuration
- Go back to the OneLogin admin page
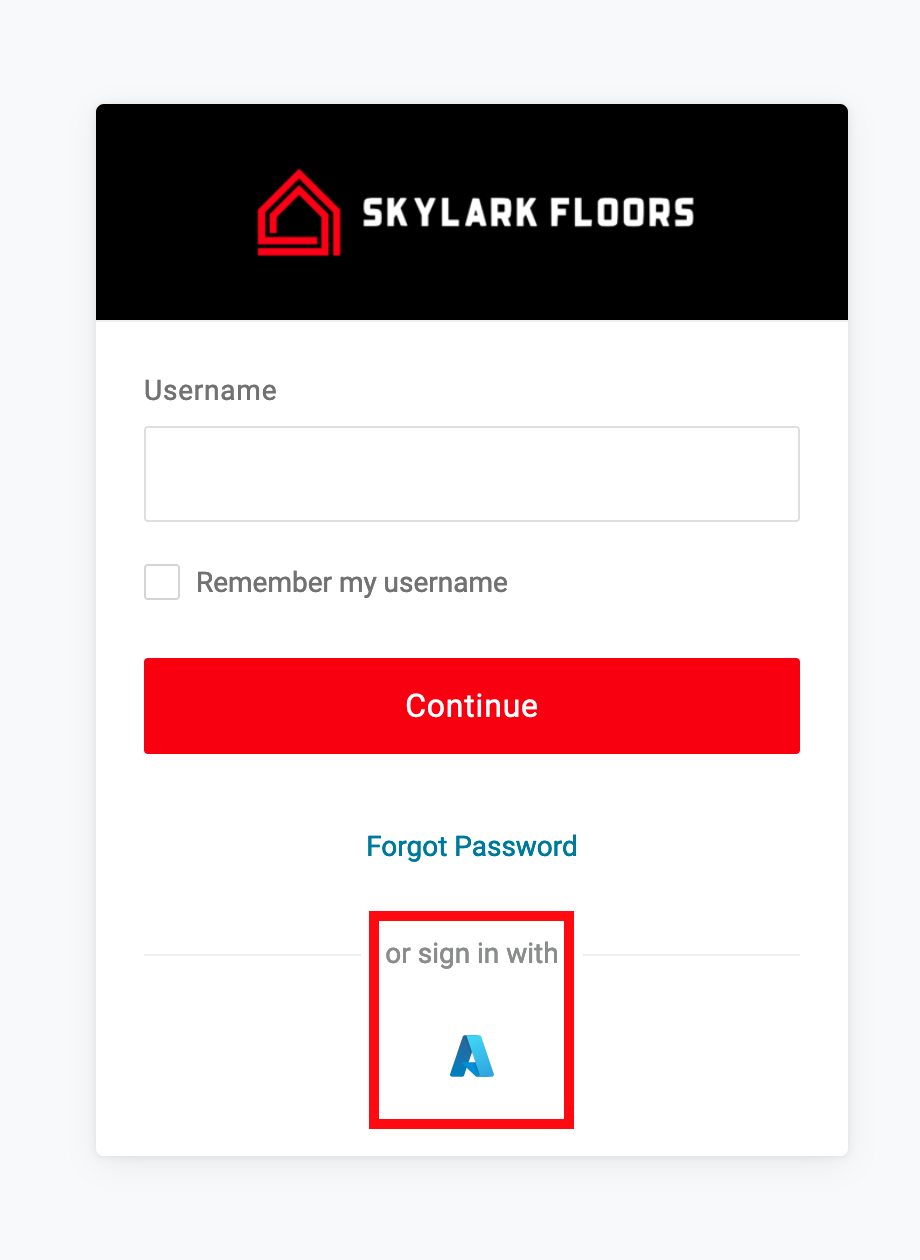
- Click Show In Login Panel and point the Login Icon to what the client would like to show up.
- This is publicly available: https://upload.wikimedia.org/wikipedia/commons/a/a8/Microsoft_Azure_Logo.svg
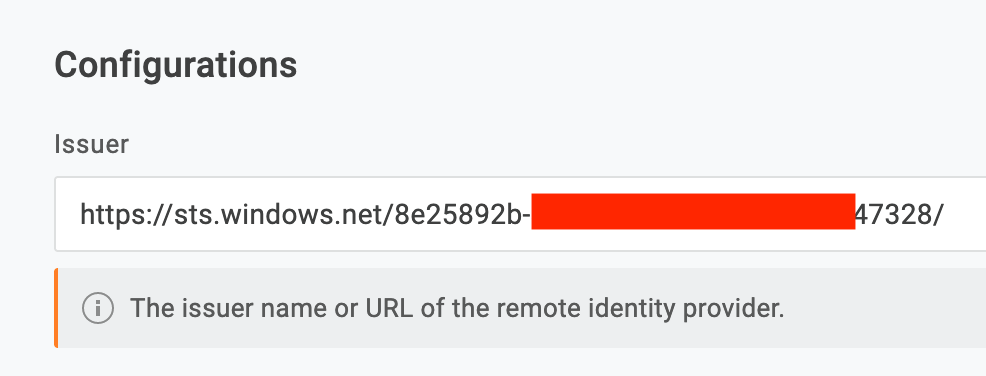
- Put the Azure AD Identifier in OneLogin as the Issuer
- Check Sign users into OneLogin and Send Subject Name ID or Login Hint in Auth Request
- Set the User Attribute to Email or UserPrincipalName. This is to match unique accounts between Azure AD and OneLogin.
Choosing Between Email or UserPrincipalName In most cases, choosing Email is the easier choice as e-mail addresses are a unique identifier regardless of backing directory. When a user account doesn't have an e-mail address (ex. an internal admin or service account), using UserPrincipalName will provide the unique identifier. - Configure the IdP Login URL with the Login URL from earlier.
- Leave the Logout URL blank. This allows users to log out of apps without completely logging out of Azure/Office 365.
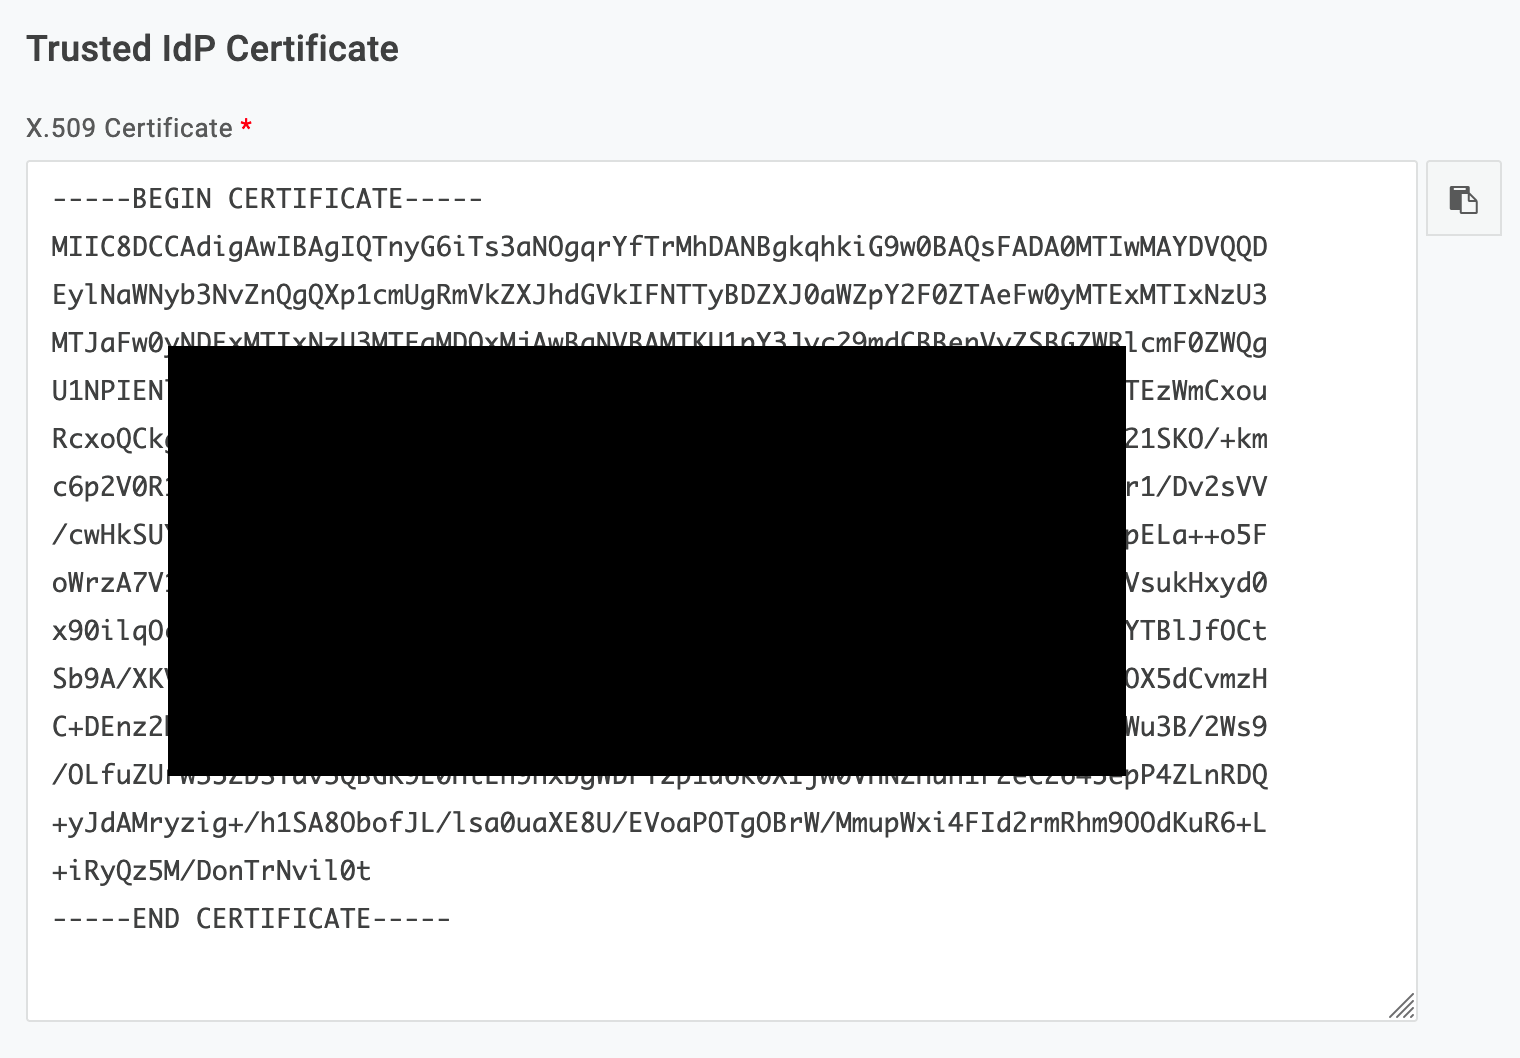
- Open the certificate you downloaded in a text editor and paste the full contents into the Certificate field
- Go back to the top and click Enable Trusted IdP.
- Click Save to save the settings.

Finish Azure AD configuration
- Go back into Azure and click Users and groups
- For logins to work, you need to grant users access to this application.
- Click + Add user/group and add the users who need OneLogin access.
Testing
Users should be able to login to the OneLogin portal using the new Azure option.