vGateway Deployment
- 06 Dec 2022
- DarkLight
vGateway Deployment
- Updated on 06 Dec 2022
- DarkLight
Article summary
Did you find this summary helpful?
Thank you for your feedback
Deploy the vGateway Template
- If deploying within EEC, log in to your portal.
- Select the VDC you wish to deploy to
- Select New VM
- Enter the appropriate name, select the Edge Filer template, enter the pertinent network information, and click OK.

- If deploying on your infrastructure, download the OVA and deploy
- https://download.expedient.com/ctera/vGateway-7.2.2100.14.ova
- Username: expedient
- Password: publ1c
- https://download.expedient.com/ctera/vGateway-7.2.2100.14.ova
- Configure the appropriate vCPU, vRAM, and SSD VMDK resources
- The template will be deployed with 4 vCPU and 8GB of vRAM by default
- No cache drive will be deployed by default. Manually add a drive of the desired size.

Configure the vGateway
- Power On the new vGateway and open a VM Console
- Login to the vGateway
- Configure the Network Adapter
- Select 1. Network Settings
- Select Static IP Mode or DHCP Mode
- Configure the IP and select OK
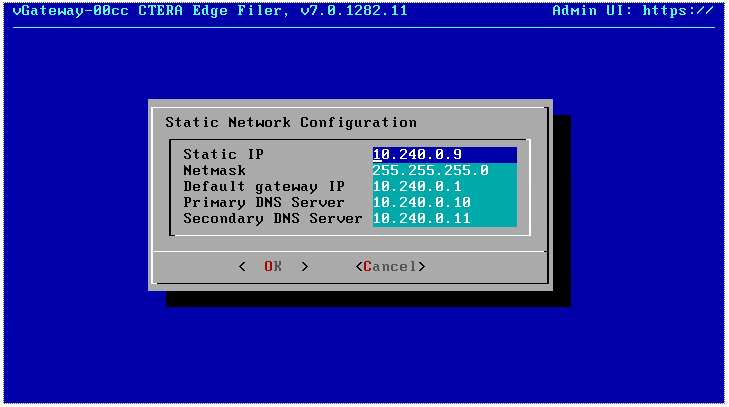
- Confirm the configuration and select OK
- Select 2 Restart to reboot the filer and select OK to confirm
- You can now access the filer via a web browser at https://<IP Address>
- Accept the certificate warnings and proceed to the configuration page
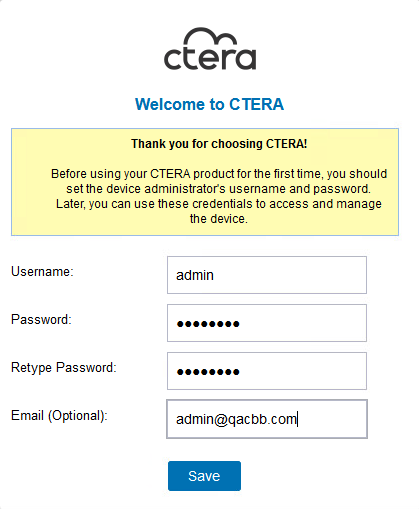
- Configure the Local Administrator account on the filer and select Save
- Username: admin
- Password: random
- Email: Email to Receive Alerts
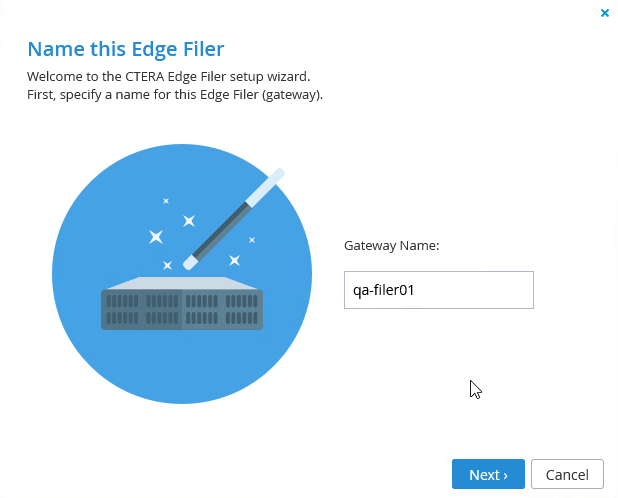
- Name the filer and click Next.
- Enter the Portal Address and select Next
- This value will be portalname.efs.expedient.cloud
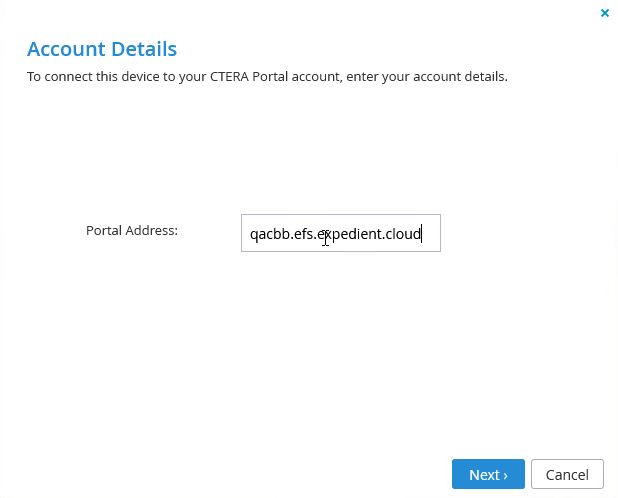
- The portalname value is unique to your deployment and will be static across your environment.
- This value will be portalname.efs.expedient.cloud
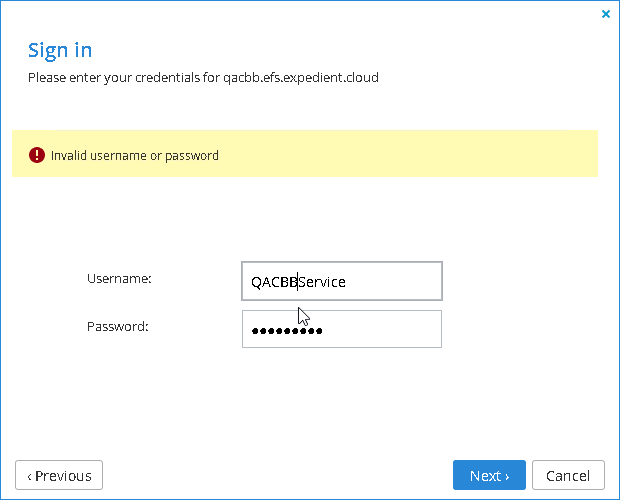
- Sign In to the portal by entering the Portal Service Account and clicking Next.
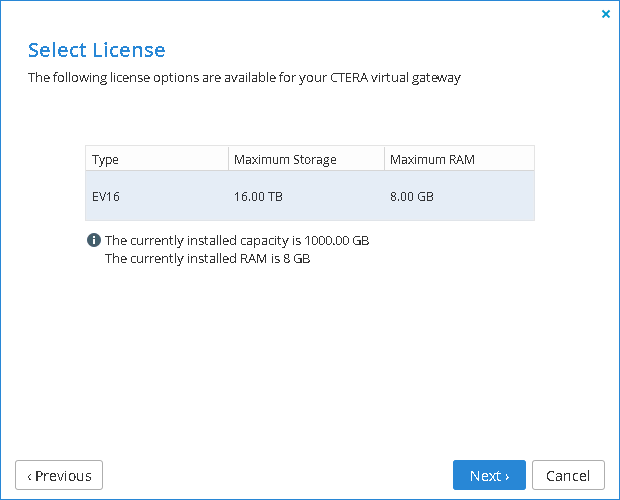
- Select Next through the licensing screen
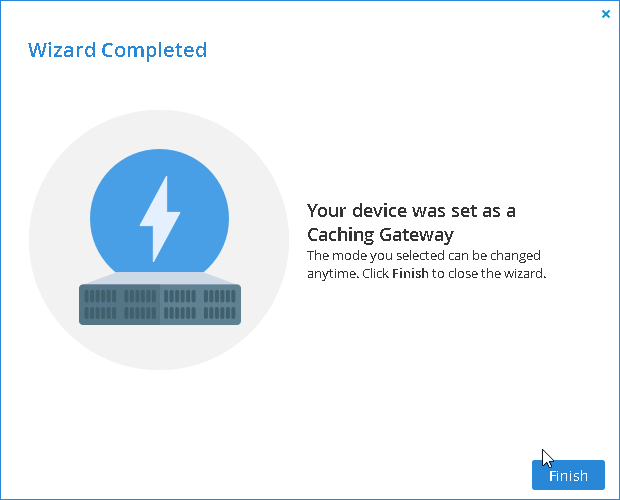
- Ensure that the Gateway Mode is set to Caching and select Next

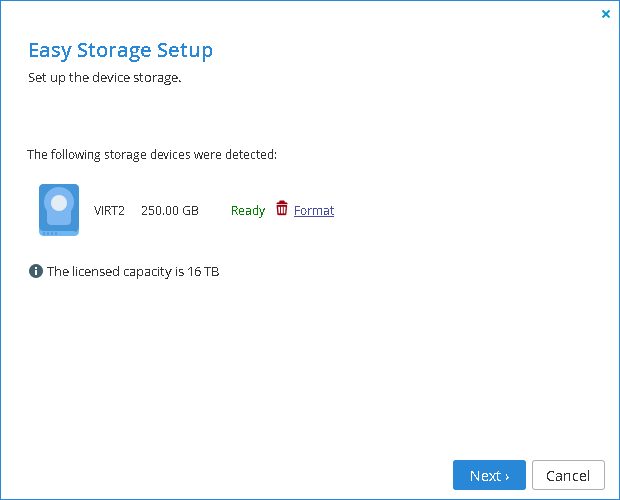
- Verify the appropriate drive has been detected as the Cache Drive and select Next
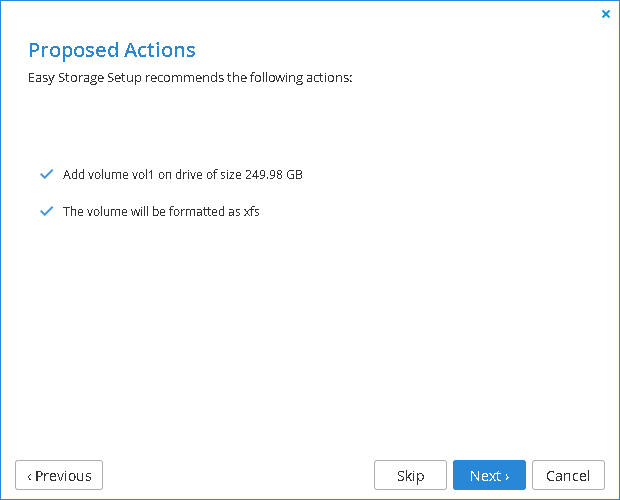
- Verify the storage recommendations and select Next
- If you wish to have the filer joined to a domain, enter the appropriate information and select Next. Otherwise, select Skip
- The filer will be joined as a computer to the domain, and this account must have permission to join objects to the domain
 TIP: If this step fails, you might need to allow inbound and outbound traffic in Windows Firewall.
- The filer will be joined as a computer to the domain, and this account must have permission to join objects to the domain
- Select Finish to complete the Gateway Setup
- Reconfigure the Default Shares
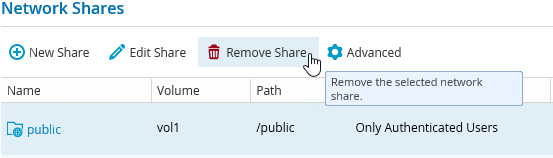
- Select Share, then Shares

- Select Public and then select Remove Share and confirm the deletion
- If you are using Windows ACLs, the default Admin Share must be reconfigured
- Select Cloud and then choose Edit Share
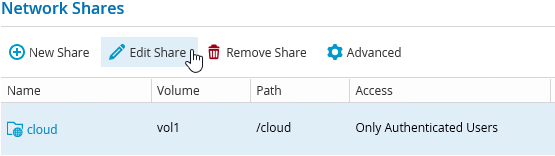
- Keep the default selection and select Next on the first and second menus
- Reconfigure the Sharing Protocols
- Windows File Sharing: Windows ACL Emulation Mode
- Block Extensions: None
- Client-Side Caching: Disabled
- FTP: Disabled
- Search: Disabled
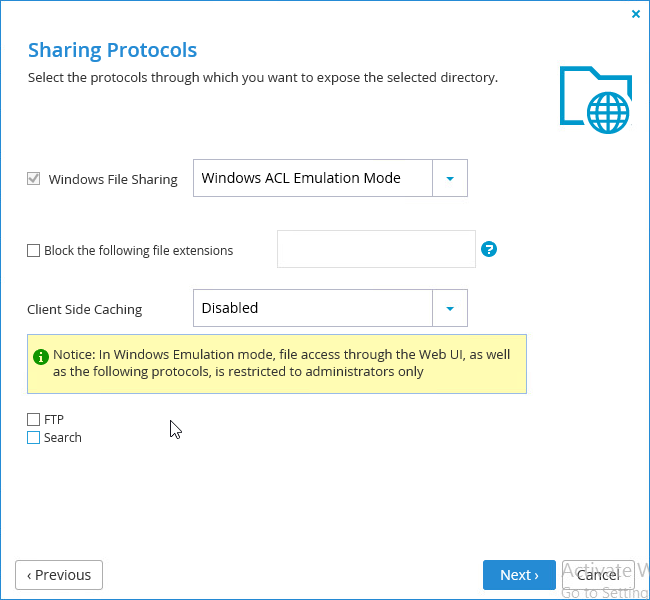
- Select Next
- Leave NFS disabled and select Next
- Configure the share permissions
- Remove the Everyone permission set with the trash can icon
- Add the Domain Administrator or similar client administrator group into the permissions set
- This share is used only for Administration and should be locked down to this user set
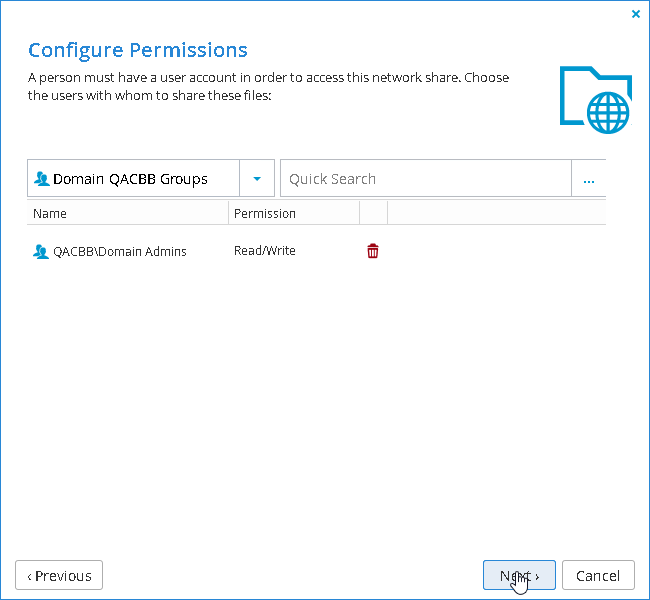
- Select Finish
- Select Cloud and then choose Edit Share
- Select Share, then Shares
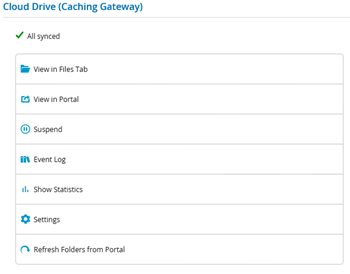
- Check that the vGateway has synced with Portal
- Select Cloud Drive, then Cloud Drive
- Verify All Synced is shown; you may need to Unsuspend or Refresh
- Repeat steps 1-18 as required for additional vGateway deployments
- Consult the vGateway Advanced Configuration section and the documentation contained within for different vGateway configurations that may be required


 TIP: If this step fails, you might need to allow inbound and outbound traffic in Windows Firewall.


Was this article helpful?