Determine the Scope of your new network.
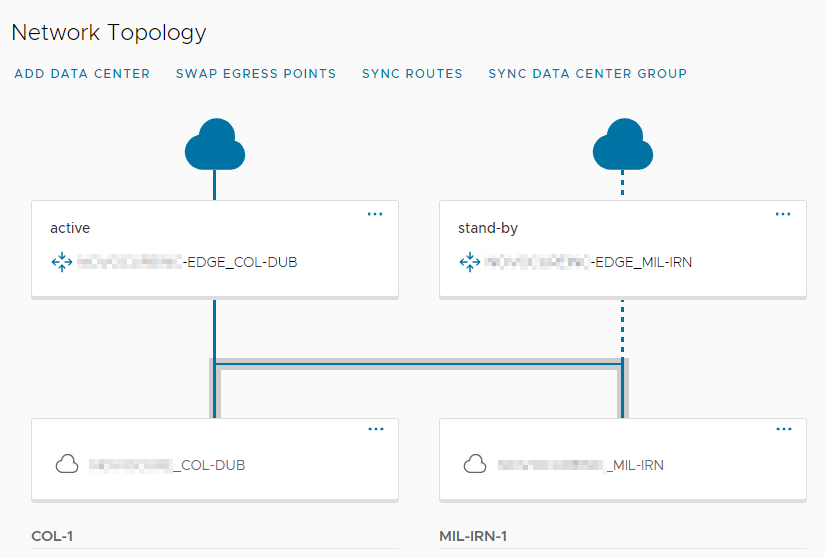
Clients who have disaster recovery with Expedient have additional configuration to allow for failover controls. If you are unsure if your environment is set up for DR and multiple markets, click Networking → Data Center Groups in the top navigation bar.

2. Create the network using the New Organization VDC Network wizard.
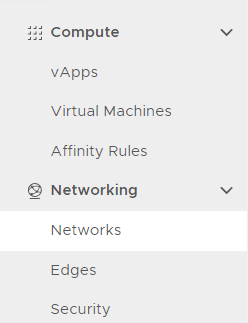
From the vCD Client Portal Navigation Menu, select Networking → Networks
You will see a list of current VDC networks. Click ADD to create a new network.

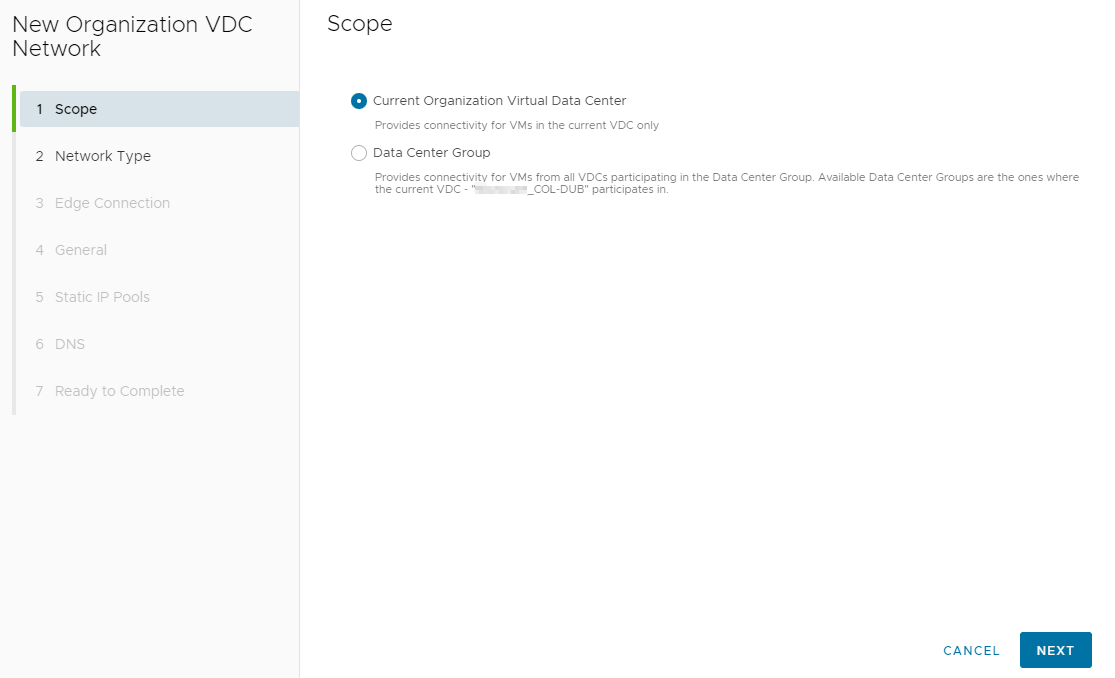
Select the appropriate network scope
If you determined that your environment is not DR enabled in step 1, select Current Organization Virtual Data Center
If you determined that your environment is DR enabled in step 1, choose Data Center Group and select your organization’s DCG below.
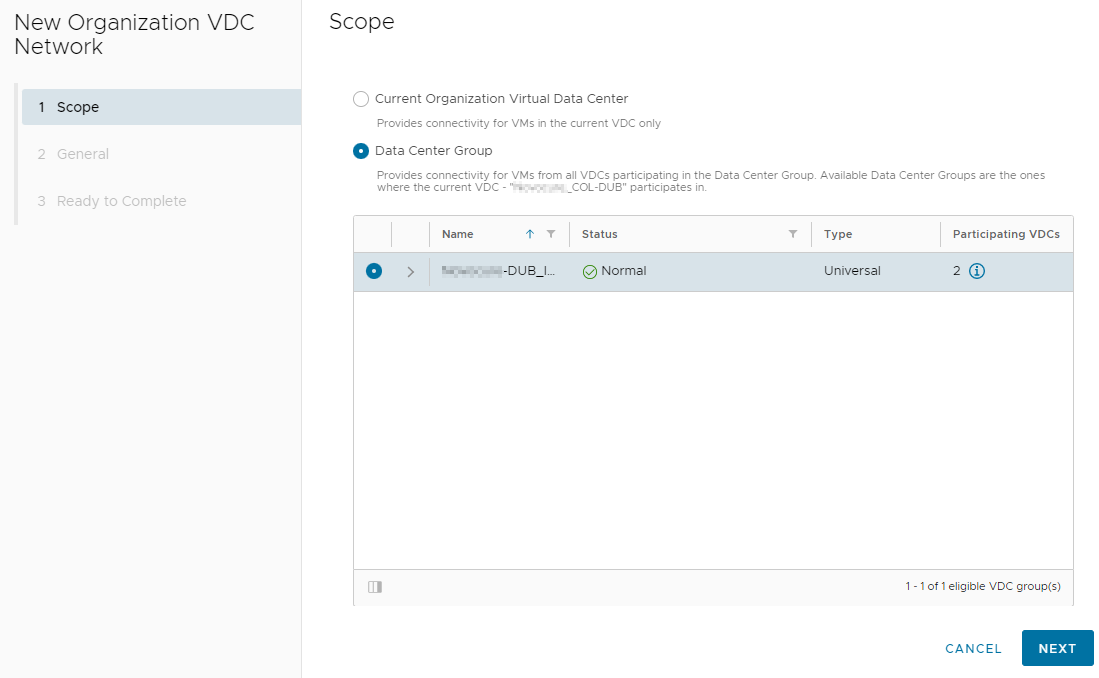
Click Next. DR configurations can now skip to Step F
(Non-DR configurations only) Configure the Network Type
Select the desired Network Type. Typically this will be Routed.
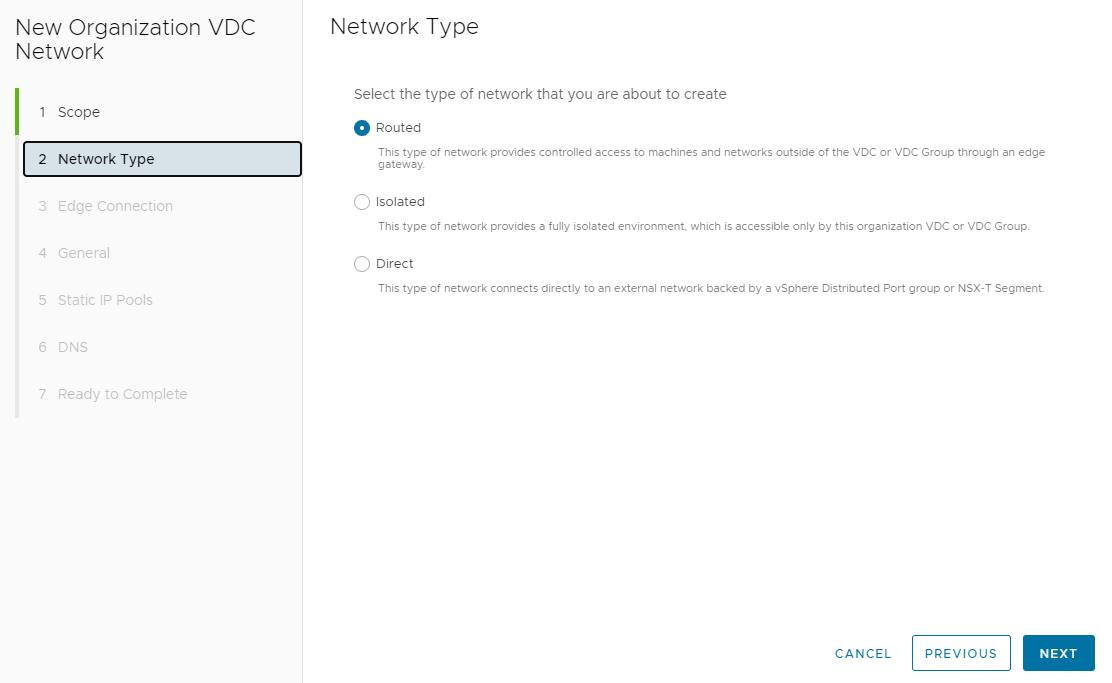
Click Next
(Non-DR configurations only) Configure the Edge Connection
Select an Edge that this network will sit behind.
Select an Interface Type (“Distributed” is recommended in most cases.)
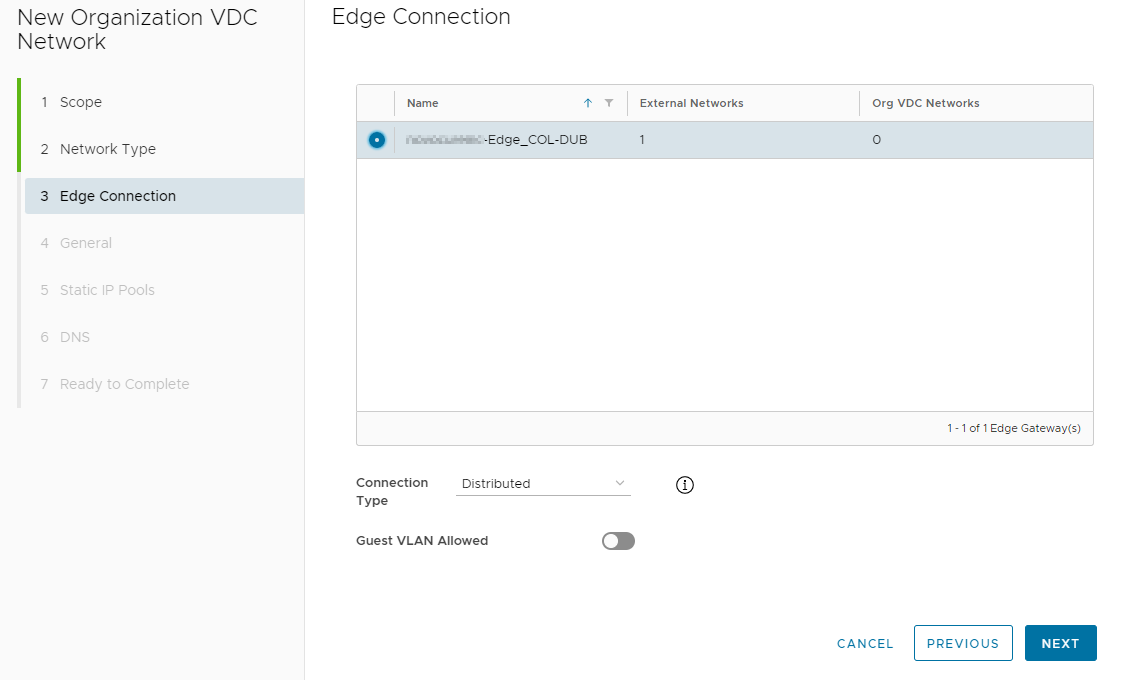
Click Next.
Configure the General Settings.
Name: The friendly name of your new network. This should be descriptive and include your company name to make it easier for Expedient staff to provide support.
Description: Optional details about your new network.
Dual-Stack Mode: Leave disabled for IPv4 networks.
Gateway CIDR: This should be the intended Gateway IP of your new network in CIDR notation. (Example: 192.168.1.1/24)
Shared: This should be disabled for most deployments.
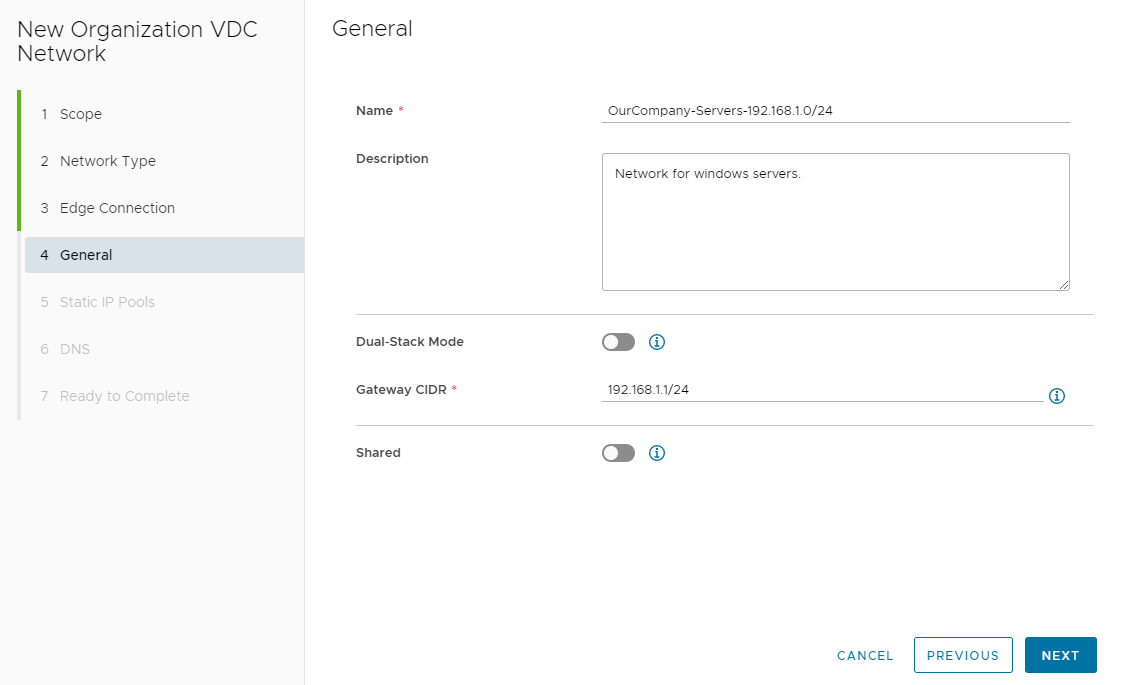
Click Next. DR Configuration can now skip to Step I.
(Non-DR configurations only) Optionally, configure Static IP Pools. Static IP Pools will tell EEC that you do not want to hand out DHCP IP addresses in the range specified.
(Note: To entirely disable DHCP, specify the entire host address range as in this example.)
Enter the IP address range. (Example: 192.168.1.2 - 192.168.1.254)
Click Add
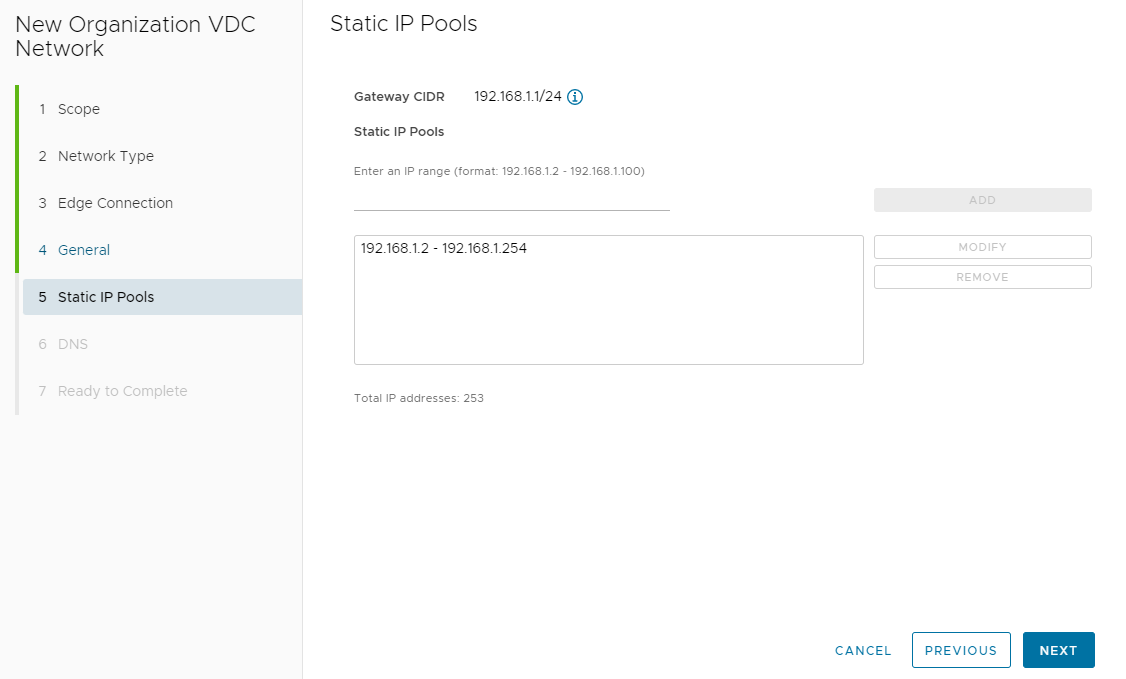
Click Next
(Non-DR configurations only) Optionally, configure DNS settings.
To disable this feature, deselect Use Edge DNS and blank out the remaining fields.
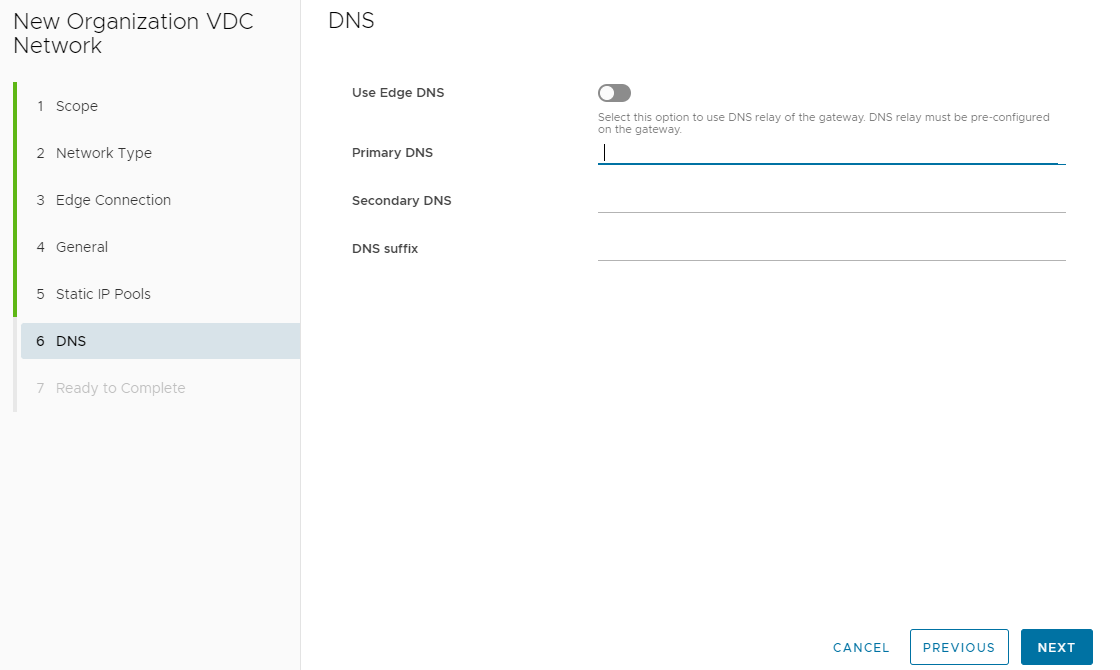
Alternatively, to configure DNS settings fill in the following fields.
Use Edge DNS: Opts to use the NSX Edge as the primary DNS server.
(Note that this automatically fills in Primary DNS with this address.)Primary DNS: First choice DNS server IP address.
Secondary DNS: Second choice DNS server IP address.
DNS Suffix: DNS search suffix to be configured on hosts. (Example: yourcompany.com)
Click Next
Review your configuration at the Ready to Complete screen. Click Finish if you are satisfied with your settings.
3. Wait for the provisioning task to complete. Once you see the network status switch to Normal with the green check box, the network is ready to use.
IMPORTANT:
Networks containing servers subscribed to Premium Management and Monitoring may need to be coordinated with the Expedient to prevent IP network overlaps.Expedient engineering teams can create these networks on your behalf.