The Cloud File Storage platform includes snapshot functionality to ensure that you can still access your data even if it accidentally gets deleted or corrupted.
The Cloud File Storage platform will take a snapshot up to every eight minutes when changes are detected on the file system. All snapshots are retained for 24 hours, then hourly snapshots are retained for 24 hours, then daily snapshots are retained for seven days, and finally, weekly snapshots are retained for four weeks. All deleted data is retained for 30 days.
Recovering from Windows Previous Versions
While this is the easiest and most direct method, they should be initiated via the portal when performing large-scale recoveries (100+ files or 10GB+ in volume). The process of recovering data with Windows Explorer forces files to be downloaded to the vGateway, modified on the client system, uploaded to the vGateway, then finally uploaded to the portal. These overhead and traversal steps cause a significant delay in the recovery process, which is bypassed when utilizing the portal.
- Open the File Location that requires recovery in Windows Explorer.
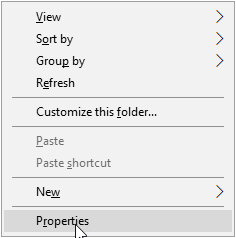
- Right-lick the folder itself and select Properties.
- Select the Previous Versions tab.
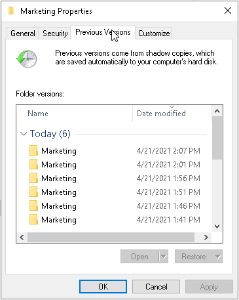
- Locate the time you wish to recover a file from, Select it, and select Open.
.png)
- A second Windows Explorer will be opened with the folder in its state during the snapshot.
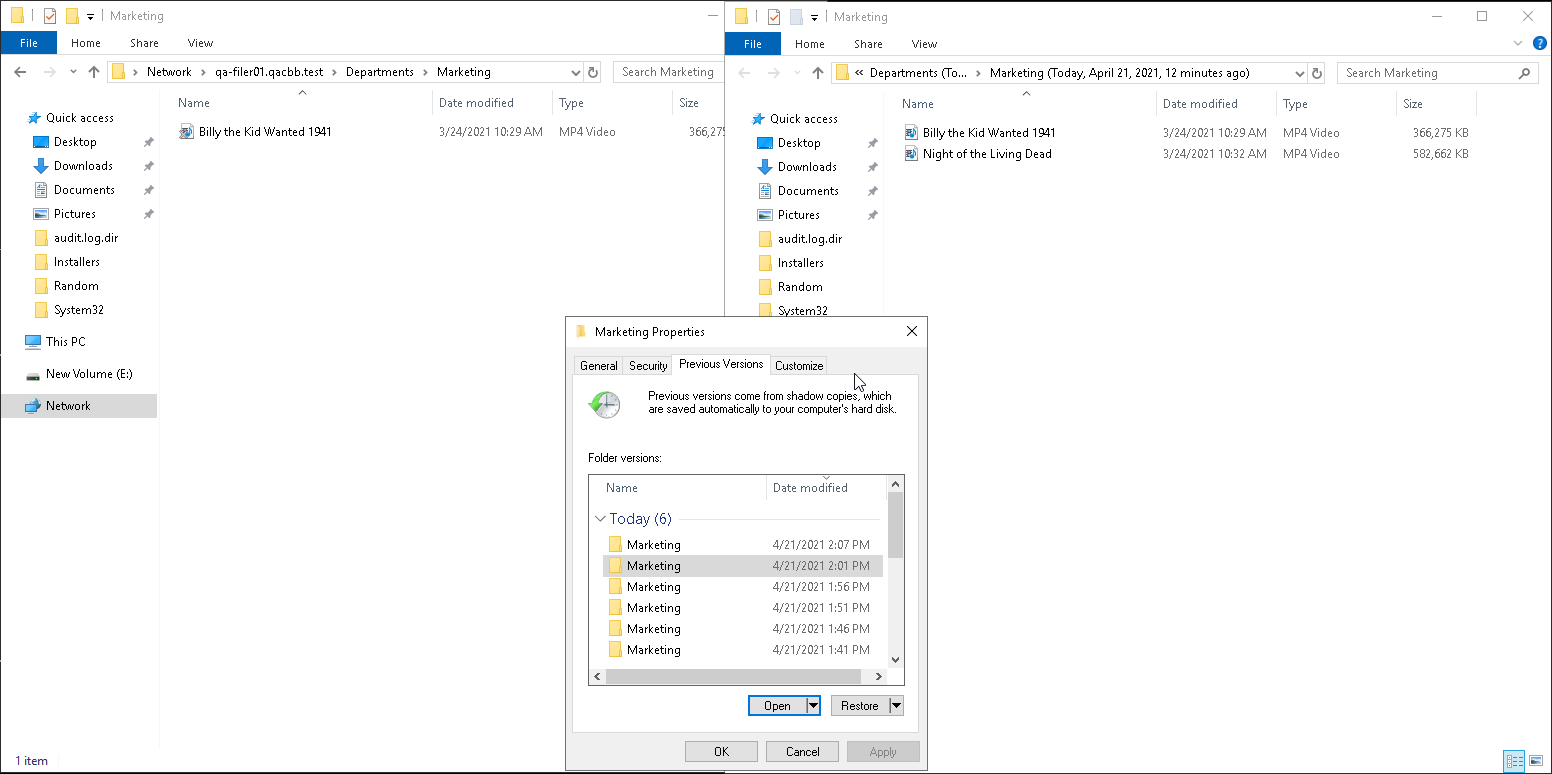
- Locate the files you wish to recover and copy them to the active share.
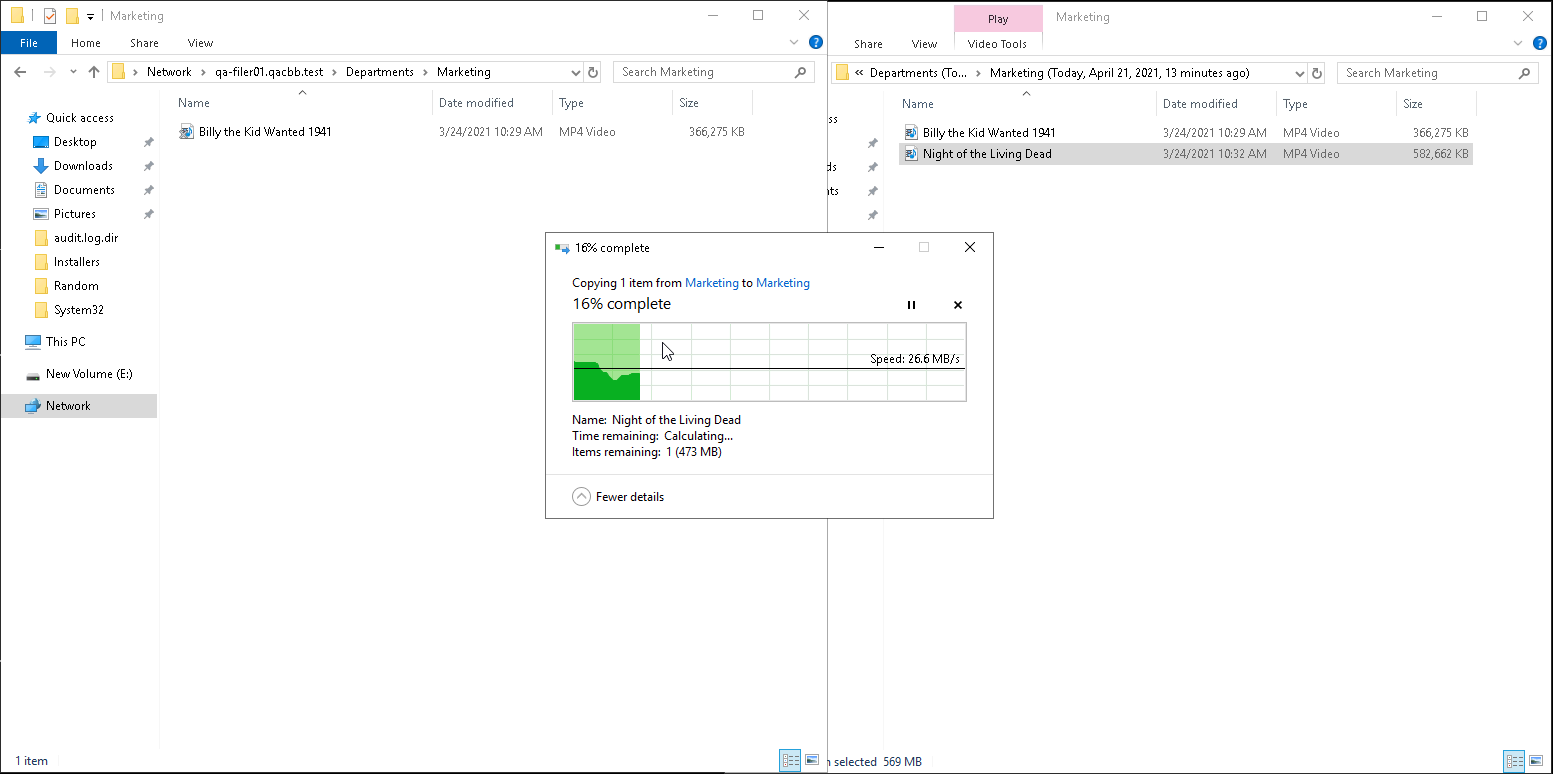
- If you have many files in a directory, it may be difficult to detect changes. Utilizing a program such as Beyond Compare can aid in the identification of changed files.
- The file(s) or folder(s) have been recovered, and Windows Explorer can be exited.
Recovering from the Portal
- Log in to the Portal.
- In the File Explorer view, locate the data to be recovered.
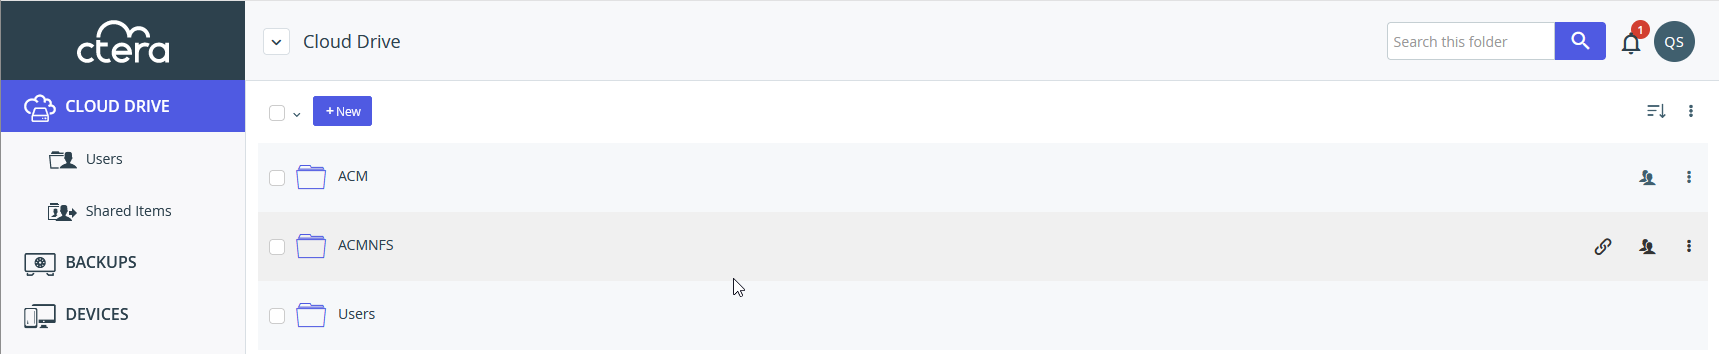
- Select the More Actions button.
.png)
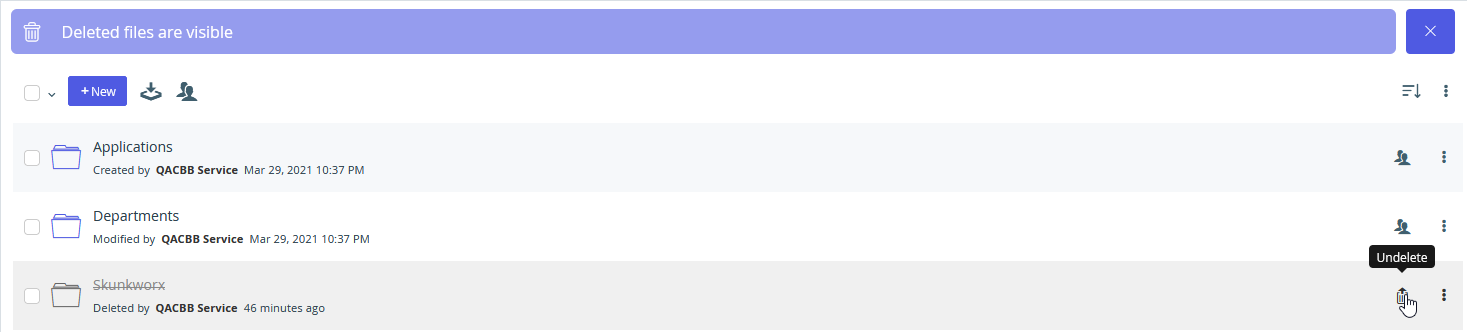
- Selecting Show Deleted Items will show files that have been completely deleted from the Global File System.
- This is useful when data has been completely removed from the system and provides quicker recovery than reviewing every snapshot.
- Selecting Undelete will then recover the deleted data.
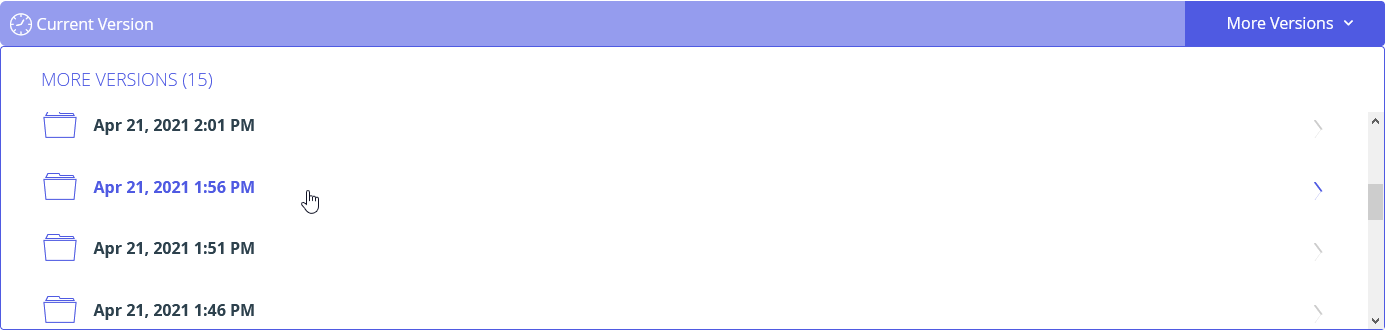
- Selecting Show Versions will provide a listing of the previous versions of a file or folder.
- This is useful when files have not been deleted but need to be recovered at an earlier point in time or version.
- Select the version you wish to review.
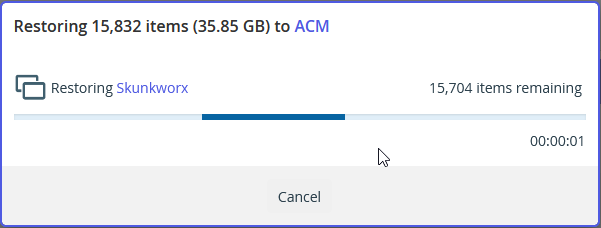
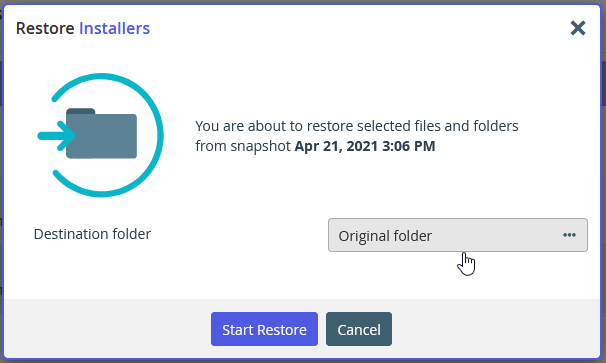
- Select the items from the snapshot you wish to recover and select Restore

- Choose your destination folder and select Start Restore.
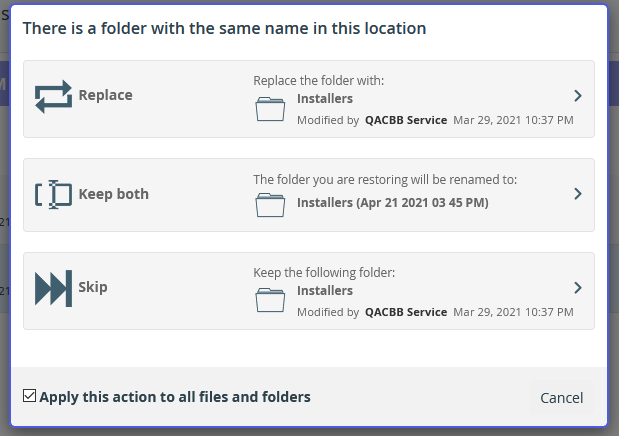
- If conflicts are detected, you will be asked to address them deal with these appropriately.
- The recovery process will begin.
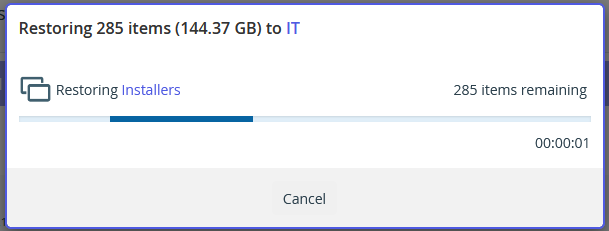
- Data has now been recovered and can be accessed as usual.