Verify agents are set to use an Endpoint Security Policy
From the hamburger menu on the left hand side select Fleet under manage at the very bottom of the menu.
.png)
Verify all agents that should be protected by Endpoint security have a policy that specifies endpoint security protect or detect.
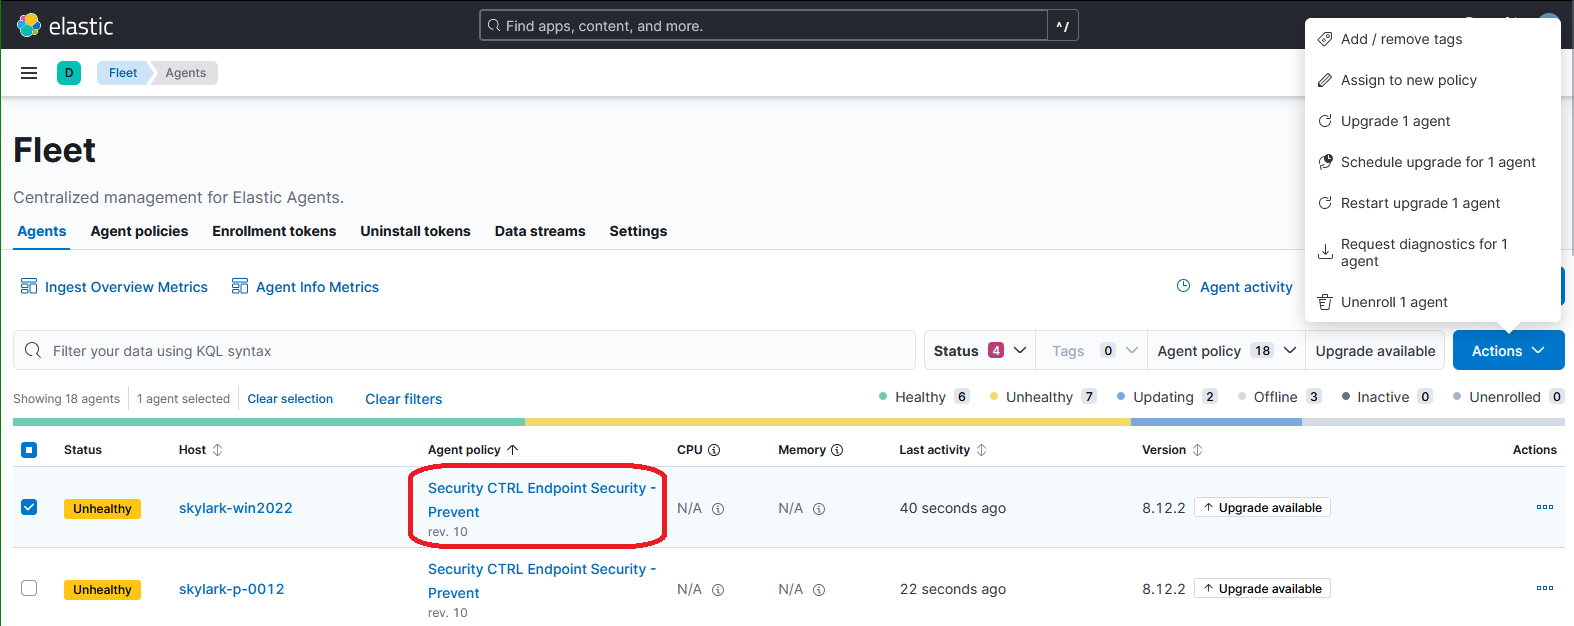
To change the policy select the check box next to the server. Select action in the upper right, “Assign to a new policy,” select a new policy.
.png)
Manage Endpoint Security Settings (Security > Manage)
Endpoint settings are all available under the hamburger menu under the Security heading on the Manage page
.png)
.png)
Endpoints page
Shows all active endpoints and current policy assigned. The main purpose is to confirm all expected endpoints are showing as protected and healthy.
.png)
Policies
Expedient by default will create two policies, one named detect and on named defend
Elastic Endpoint uses a heuristic endpoint engine that searches for behaviors instead of specific file matches
Detect will alert for anything that matches the heuristics engine but will not take any action. Expedient recommends implementing Elastic security using a detect policy first to make sure that Endpoint doesn’t alert on any false positives and potentially break any applications on the servers it is running on
Defend will automatically take action and quarantine any applications that are flagged by heuristics. During delivery of new services Expedient will coordinate with clients when Endpoint security is installed to ensure that there are no false positives.
Additional policies can be added for specific groups of servers that need different lists of trusted applications
Trusted applications
Where white lists and exceptions can be added either globally or to specific policies
Session 2: Elastic Endpoint Security Walk Through
- Updated on Feb 3, 2025
- Published on Feb 3, 2025
Was this article helpful?