This document will go over a few areas of administration that will be in use for the Expedient two-factor authentication (2FA) offering powered by SafeNet Authentication Service (SAS). Specifically, this document will go over the processing and administration of token enrollments and cancelation to the end users of your enterprise.
The SafeNet MobilePASS application will be used to generate the one-time passwords (OTP) for you and your end users each time access to your private environment is tried. A parallel document follows the implementation of this application to a workstation and a smartphone that can be given out to your end users. If not already given to you, please ask your Project Manager for it.
Though not a requirement, it is best practice to only use one device to run the SafeNet MobilePASS application. This is because each device that you wish to use the SafeNet MobilePASS application will need to be provisioned with another token in order for the application to produce a valid OTP. Thus, a single user could potentially use more than one token and that might not be a desirable result.
Management Console Navigation
General navigation is like any other webpage in regards to clicking on hyperlinks and tabs to find options and results to your inquiries.
- To access the two-factor authentication (2FA) management console, please go to the following URL: https://ses.expedient.com/console
- Gain entry by entering your email address and your one-time password (OTP).
- Navigating to any tab within the management console will highlight the selected tab “red” to easily identify what option tab you are accessing.

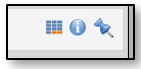
- Sections underneath the option tabs can have a combination of three icons on the far right. Two icons depicting further viewing options to the specific section and one providing some help about the section.
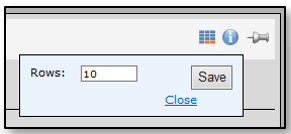
- Table Grid: This option provides additional rows of information that will display inside of the section. Conversely, you may also use this option to remove rows from the display.
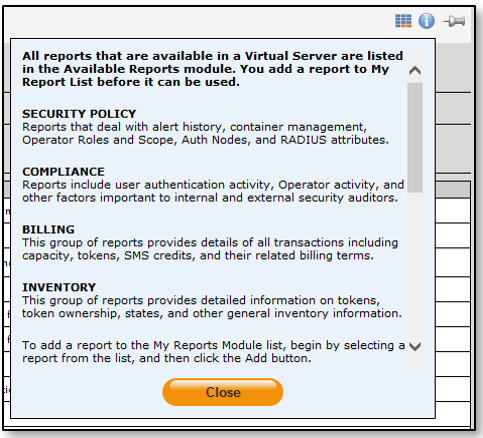
- Help: This option will provide some additional explanation or guide to some of the terminology that is present inside of the section.
- Thumbtack: This option will permit the section to remain expanded and not contract when selecting another section.
Adding Users and LDAP Sync
Inside your enterprise, an LDAP sync agent synchronizes all users within your domain that will be participating in two-factor authentication (2FA). This sync recurs against a specific Active Directory domain security group that was either setup by you or Expedient (i.e. “CONTOSO\Contoso 2FA Users”). As this sync agent polls, it will dynamically update caching and the user list within the 2FA management console.
To add users to your 2FA service, simply add them to that domain security group that the LDAP sync agent is polling. Conversely, to remove users from listing within the management console that does not already have a token provisioned, merely remove them from this domain security group. To reflect changes, the sync agent polls in increments of 20 minutes.
Provision Tokens
- Navigate to the following two-factor authentication (2FA) management console URL: https://ses.expedient.com/console.
- Gain entry by entering your email address and your one-time password (OTP).
- Once access is granted, navigate to and click on the “ASSIGNMENT” tab.
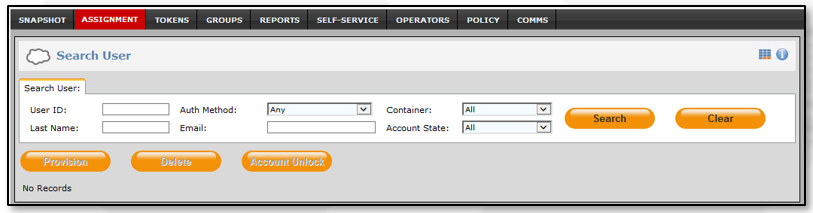
- Click “Search” and this will list all users that the LDAP sync agent has synchronized plus all users that are currently using a token.
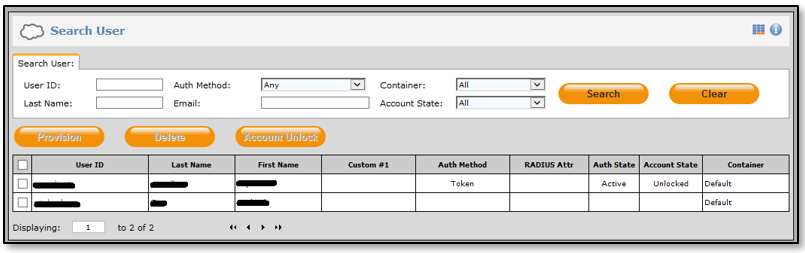
- For all users that you wish to provision a token, select the user and click “Provision.”
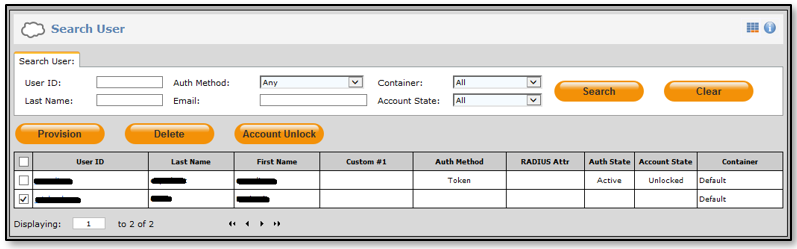 Note: This image depicts one user that already is using a token and one user that is not.
 - There will be a prompt to confirm the provisioning. Review the selection and then click “Provision.”

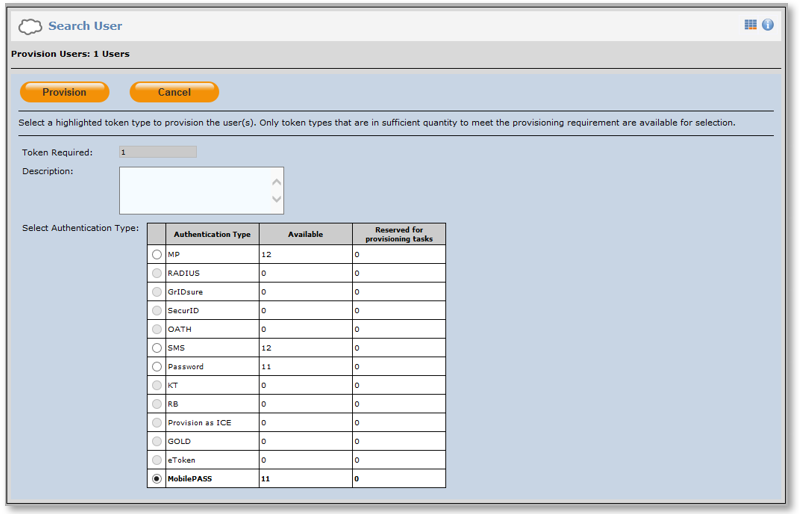
- On the “Provision Users” screen, select the relevant authentication type you wish to provision for the selected users (this will mostly likely be type "MobilePASS”) and click “Provision.”
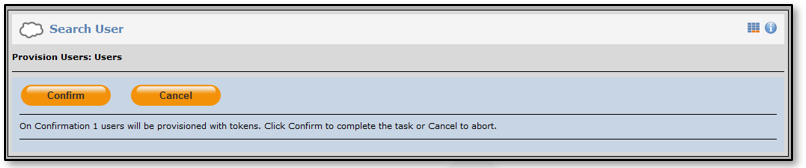
- On the following “Provision Users” screen, confirm the provision by clicking “Confirm.”
- All provisioned users will now receive an email to the address that their domain user account is configured, with instructions on how to setup their 2FA token. Additional steps and information on how your end users will achieve this can be obtained from using the “parallel” document mentioned within the “Introduction” section of this document.
Revoke Tokens
- Navigate to the following two-factor authentication (2FA) management console URL: https://ses.expedient.com/console.
- Gain entry by entering your email address and your one-time password (OTP).
- Once access is granted, navigate to and click on the “TOKENS” tab.
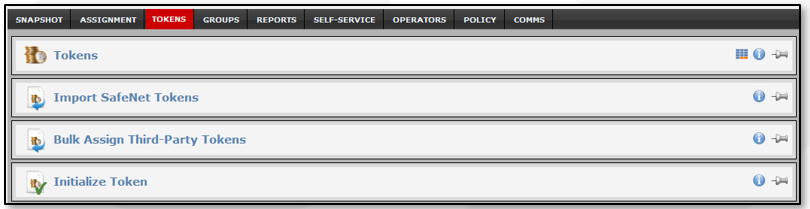
- Next, click on the “Tokens” section.
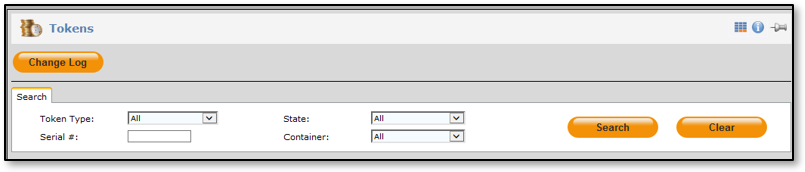
- Following, click “Search” and this will list all of the tokens within your enterprise.
- Within the “User ID” column, find the user that you wish to revoke the token and then click on the user ID hyperlink.

- This will take you to the “ASSIGNMENT” tab. If not already, click on the “Tokens” section.
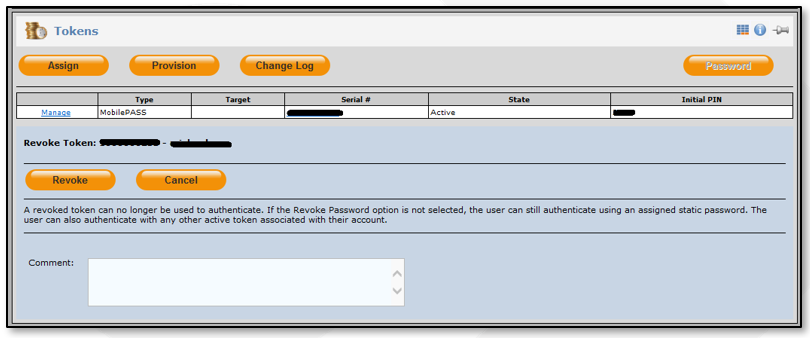
- Next, click on the “Managed” hyperlink.

- Next, click “Revoke.” Alternatively, you may also “Suspend” or “Resync” the token for this user.
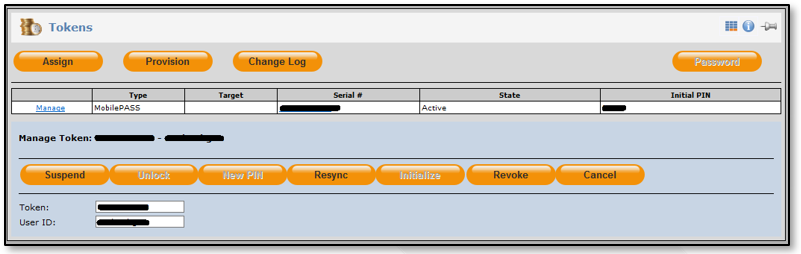
- Review all information and the selection and confirm the cancellation by clicking “Revoke” once again.
- Lastly, if this user is no longer participating within 2FA, it is best practice to remove this user from the domain security group that the LDAP sync agent is polling.
Generate Reports
- Navigate to the following two-factor authentication (2FA) management console URL: https://ses.expedient.com/console.
- Gain entry by entering your email address and your one-time password (OTP).
- Once access is granted, navigate to and click on the “REPORTS” tab.
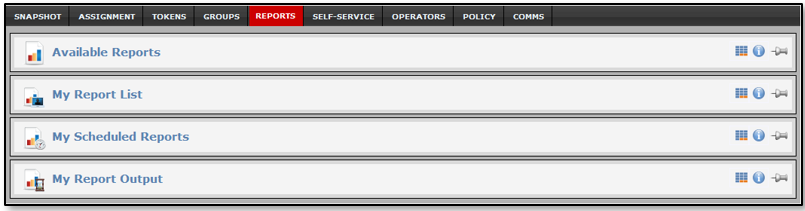
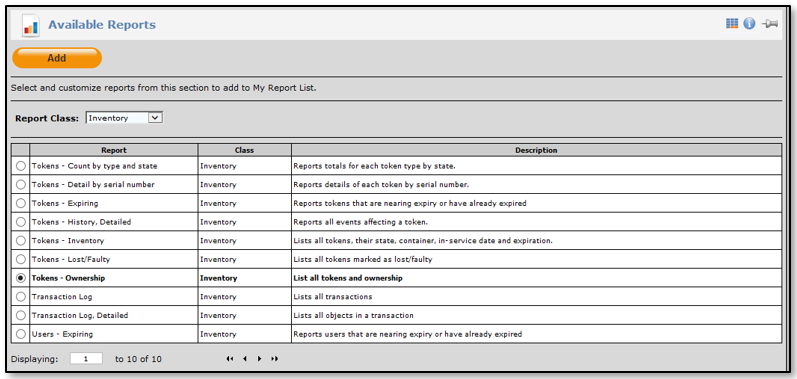
- Next, if not already, click on “Available Reports” to expand the section.
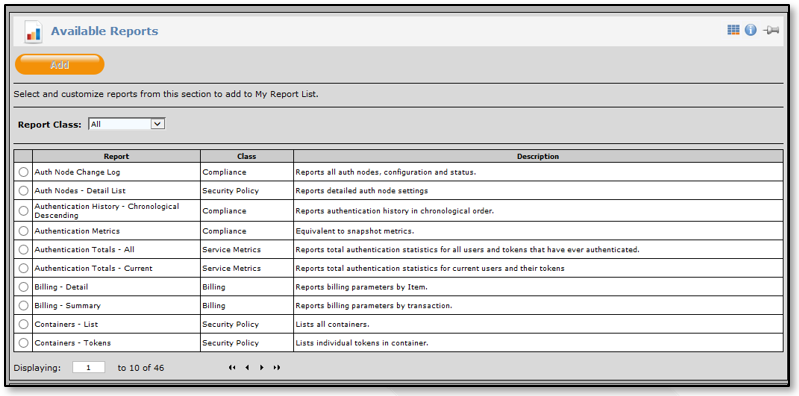
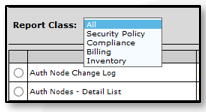
- By default, all reports are showing. If you would like to filter by type, from the “Report Class” drop-down, select the filter you wish to apply.
- Select the report that you wish to configure and then click the “Add.”
- On the “Customize Report” screen, you may customize the report settings to fit your specific needs.
- It is recommended that access to the report should only be for the operator or operators of the enterprise. Select at least one account and click the “right arrow” to grant it access to the report.

- Under the “External Authorization” section, there is no reason to include the “Expedient” external group. As Expedient is the root service provider, this group is listing here by default and it is recommended not to include this group in any custom reporting.

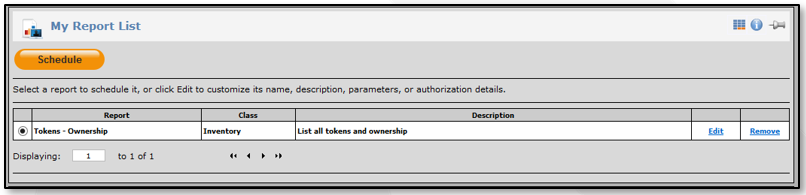
- In order to schedule the report to run either immediately or at a future date and time, select the “My Report List” section.
- Next, select the radial button of the relevant report and click “Schedule.”
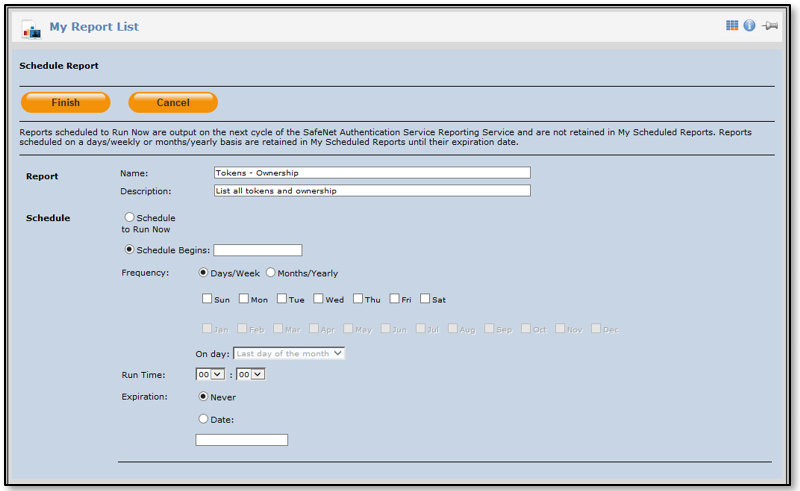
- Specific runtime settings for the select report can be set to run. Once all settings are reviewed and correct on the “Schedule Report” screen, click “Finish.”
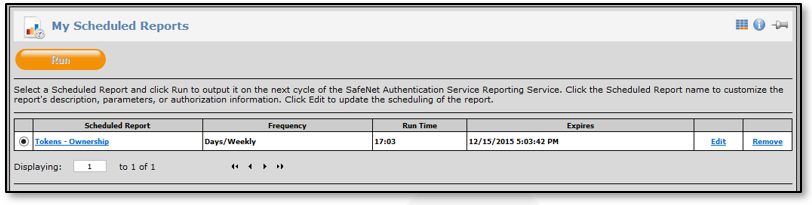
- Click on the “My Schedule Reports” section to view all scheduled reports. Even reports that were set to run immediately will show here until they are finished.
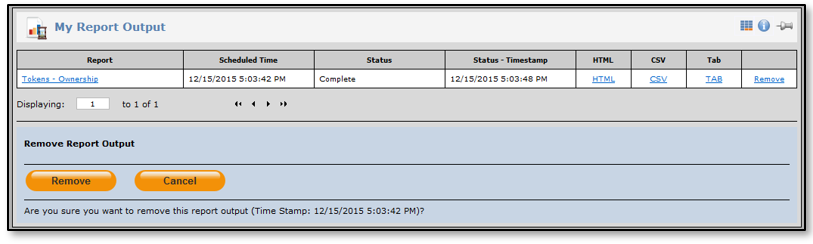
- Once a report finishes, the result will appear under the “My Report Output.” Click this section to view all reports that have ran recently.

- Once comfortable with any report result and you no longer wish to obtain it within the 2FA console, you may click the “Remove” option next to a report result to delete the result of that specific report runtime.
- Confirm the removal by clicking “Remove” again.