1. To get started, please log in to ctrl.expedient.cloud
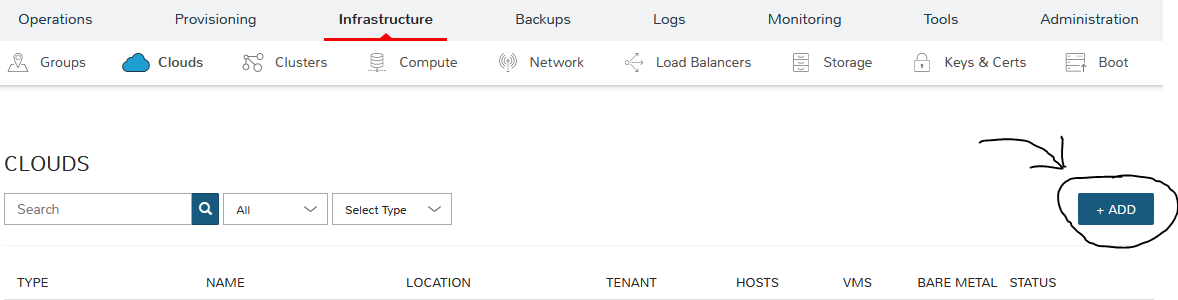
2. Navigate to Infrastructure > Clouds. This is the Cloud list page which lists all configured Clouds. Soon we will see our newly integrated cloud here. In this example, we'll be connecting to an AWS cloud.
.png)
3. Click the “+ADD” button to pop the “CREATE CLOUD” wizard
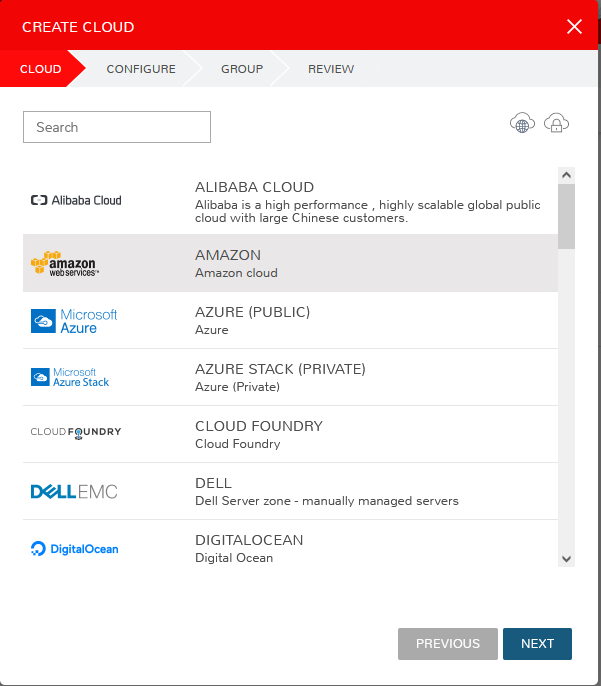
4. Select your cloud type and then click the "NEXT" button. In our example, we'll be selecting “AMAZON”.
5. Fill out all required fields within the configure tab for your cloud's specific details and click "NEXT". In our example, we'll fill out the below fields and leave the advanced options and provisioning commands with their default settings.
NAME: Name of the Cloud in Morpheus
CODE: Unique code used for api/cli, automation and policies.
LOCATION: Description field for adding notes on the cloud, such as location.
VISIBILITY: For setting cloud permissions in a multi-tenant environment. Not applicable in single-tenant environments.
REGION: Select AWS Region for the Cloud
ACCESS KEY: Access Key ID from AWS
USE HOST IAM CREDENTIALS: Check to use use Host IAM Credentials
ROLE ARN: Supports security token service (STS) to AssumeRole by entering an AWS Role ARN
INVENTORY:
Basic: Morpheus will sync information on all EC2 Instances in the selected VPC the IAM user has access to, including Name, IP Addresses, Platform Type, Power Status, and overall resources sizing for Storage, CPU and RAM, every 5 minutes. Inventoried EC2 Instances will appear as Unmanaged VM’s.
Full: In addition to the information synced from Basic Inventory level, Morpheus will gather Resource Utilization metrics for Memory, Storage and CPU utilization per VM.
Off: Existing EC2 Instances will not be inventoried
USE VPC: Specify if the target account is using EC2-VPC or EC2-Classic Platform. In almost all cases, VPC should be selected, and then select the target VPC from the synced available VPC’s list, or All VPC’s.

6. We have now arrived at the “GROUP” tab. Please mark the radio button "USE EXISTING" to select the existing group previously configured during the onboarding process and then click "NEXT".
7. On the final tab of the “CREATE CLOUD” wizard, you’ll confirm your selections and click “COMPLETE”. The new cloud is now listed on the cloud list page. After a short time, the platform will provide summary information and statistics on existing virtual machines, networks, and other resources available in the Cloud.