This section demonstrates how to create a new virtual machine within the Expedient Enterprise Cloud (EEC) portal. Expedient provides standardized templates for modern Windows server operating systems (OS). Deploying an OS other than Windows can be done through Expedient CTRL, which has access to more OS templates. If an OS is needed for which a template is not available in Expedient CTRL, please see the knowledge base article for How to Upload and Mount an ISO or How to Upload and Deploy an OVA/OVF.
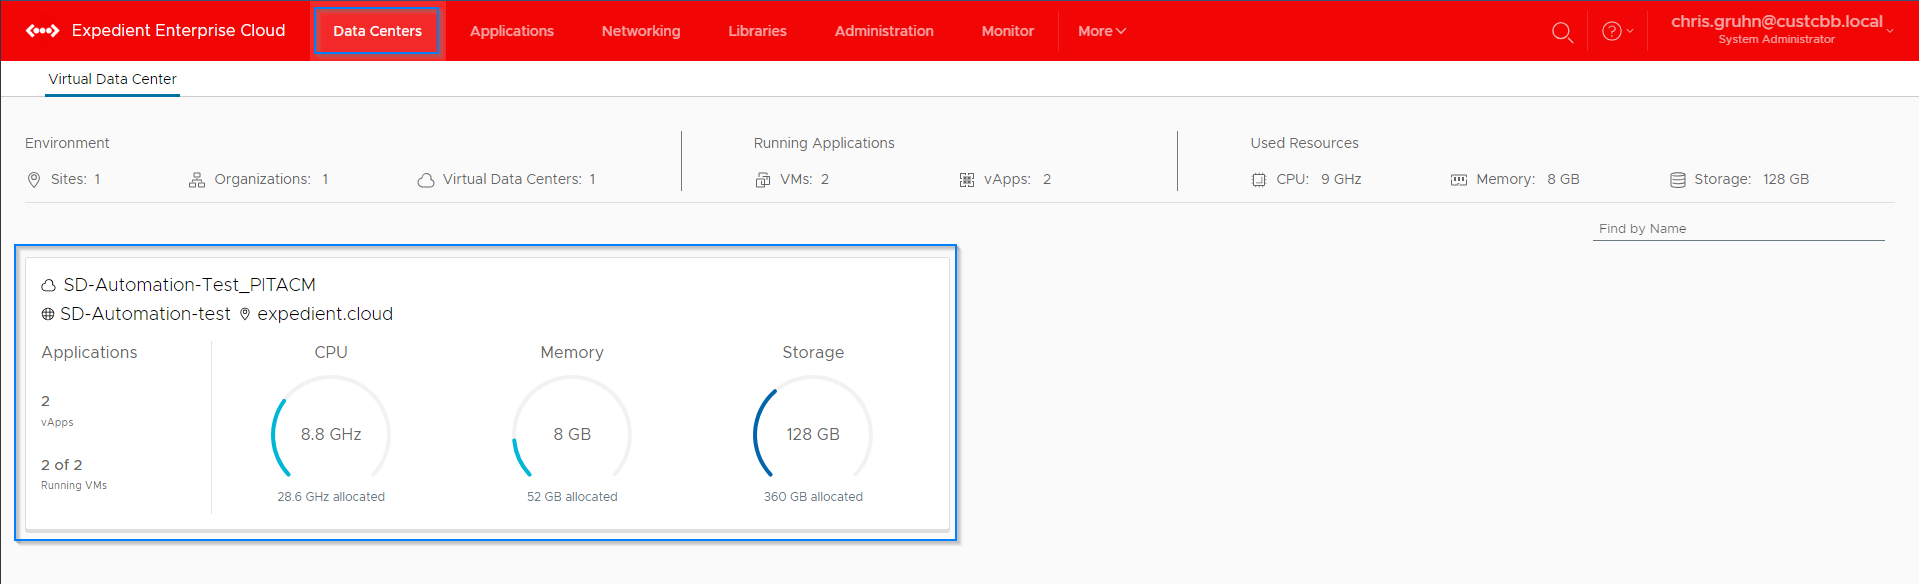
- Navigate to "Data Centers" within EEC and open the Data Center context in which you want to create a new VM. In this example, there is only one Data Center to choose from, you may have multiple:
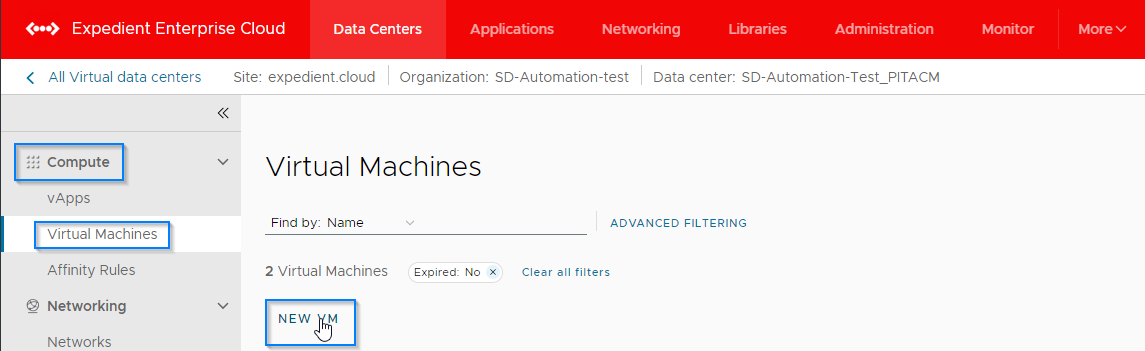
- Within the Data Center context, navigate to "Virtual Machines" underneath the Compute section and select "New VM":
- Specify the following:
- Name: VM Name (Expedient recommends using the OS NETBIOS name)
- Computer Name: NETBIOS name (FQDNs disallowed)
- Description: Server Use Case (optional)
- Type: From Template
- Power on: Leave Powered Off
- Templates: Highlight the template from the local market catalog (see screenshot)
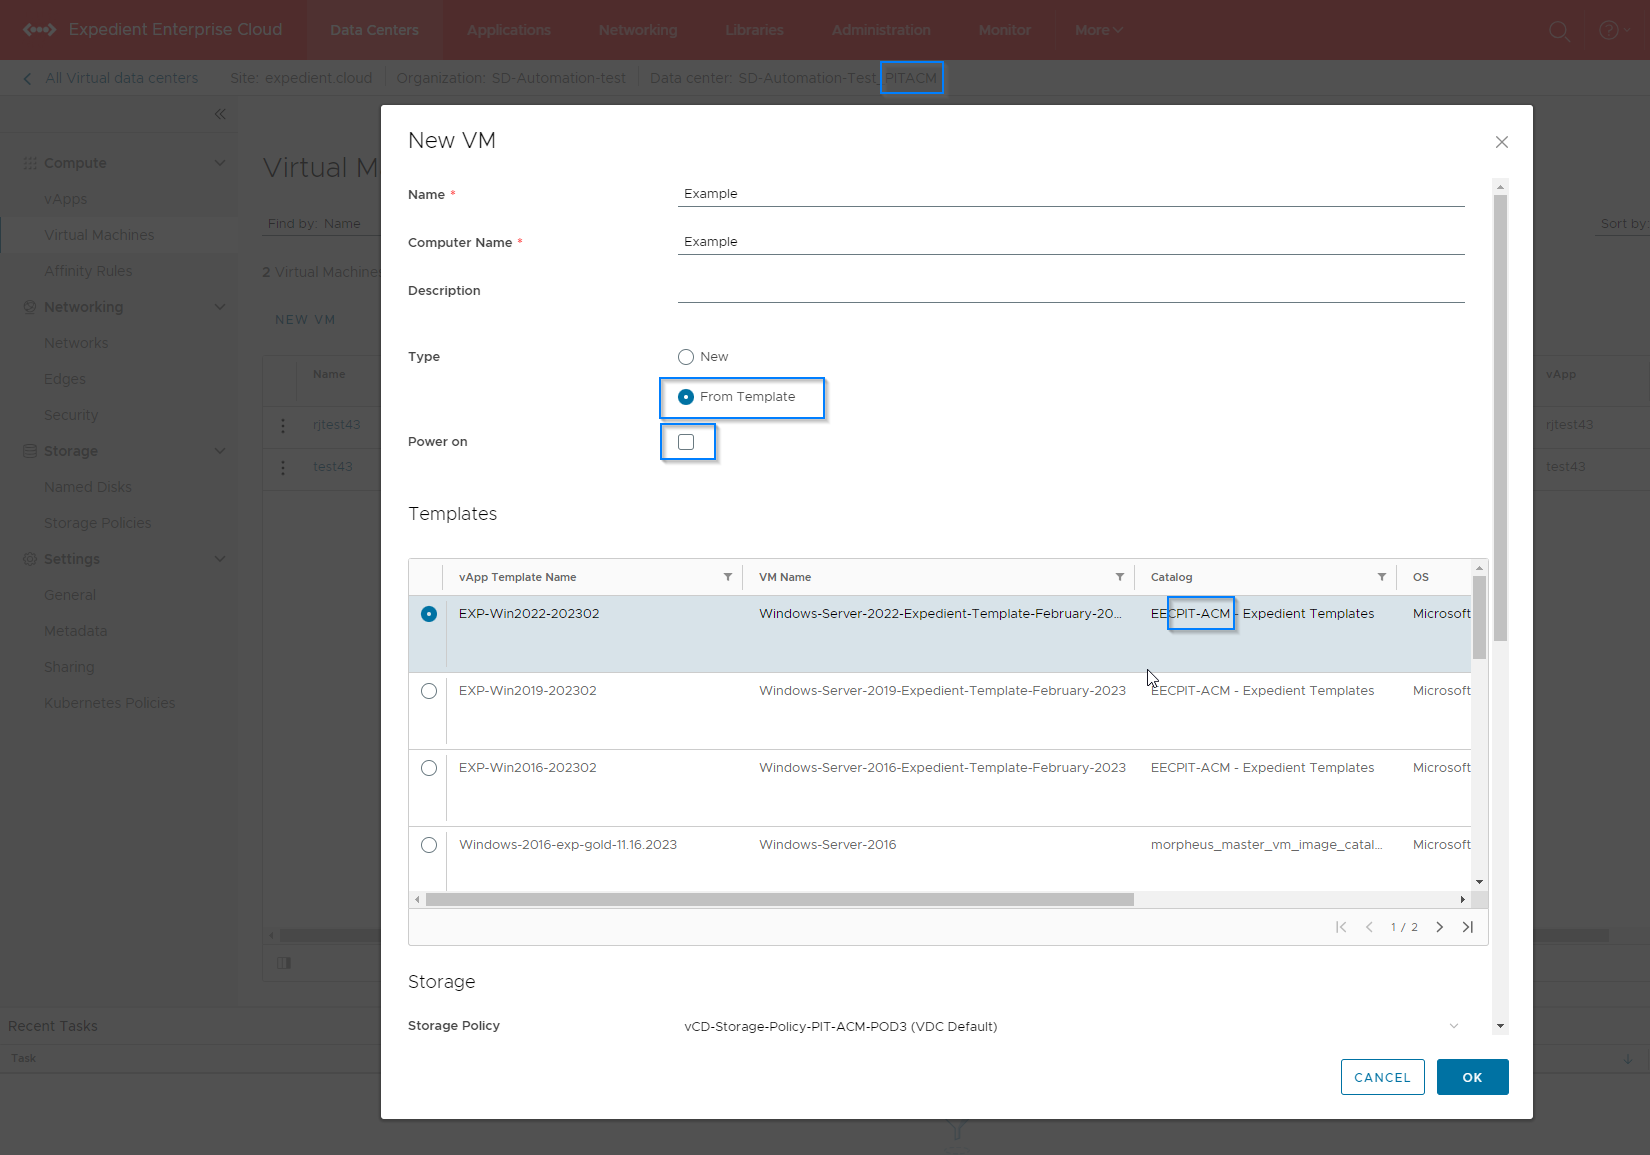
(When choosing a template, if you’ve created or uploaded a custom template you can select it from the list instead.) - Storage Policy: Select the vDC default
- NIC: Configure with your options
- Select "OK" and allow the template deploy task to finish. This should take 5-10 minutes.
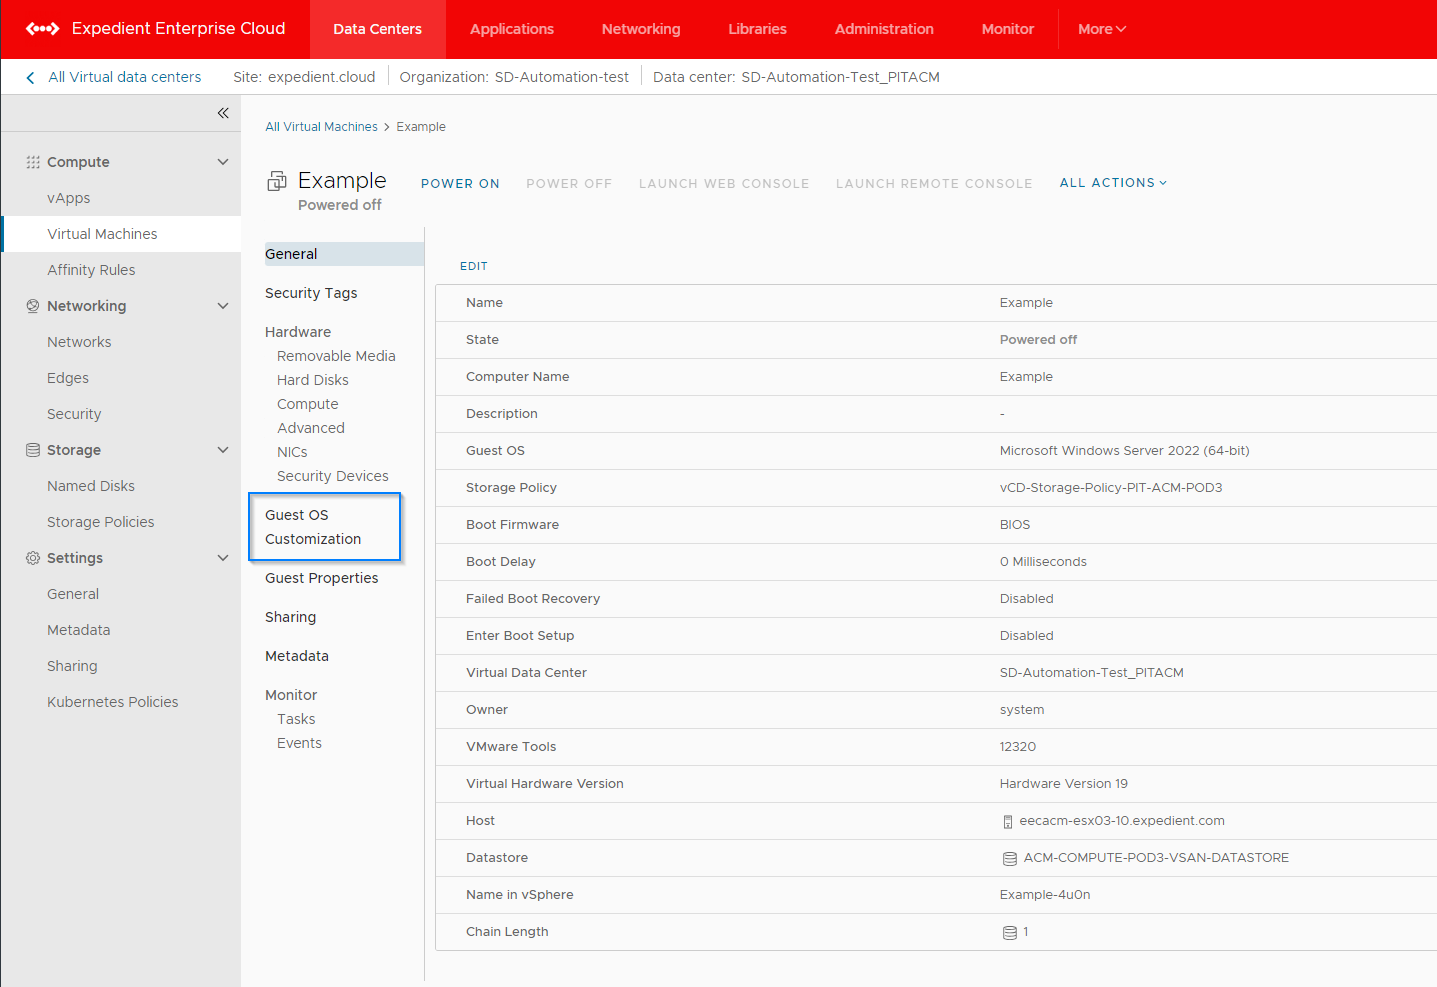
- Once complete, click on the VM and go to the "Guest OS Customization" tab where you will need to reset the default Administrator credentials:
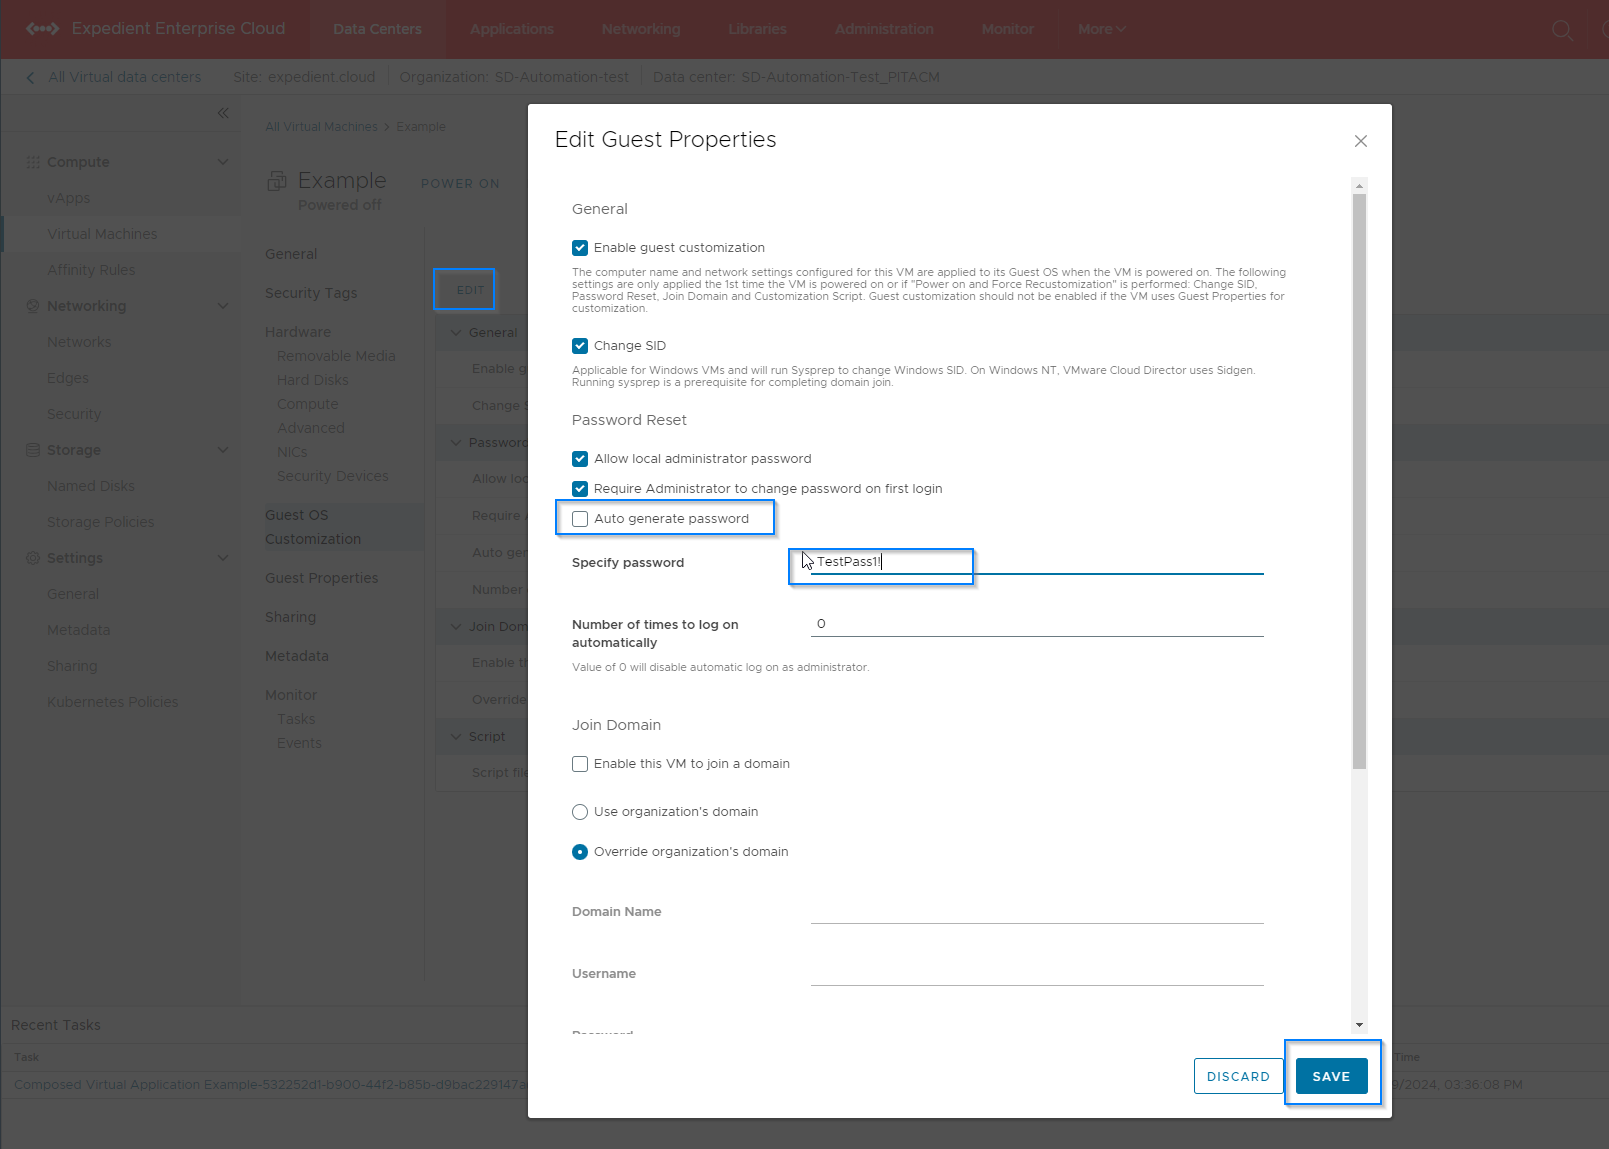
- Click "Edit", deselect "Auto generate password" if you’d like to specify your own, type in the new password, and choose "Save":
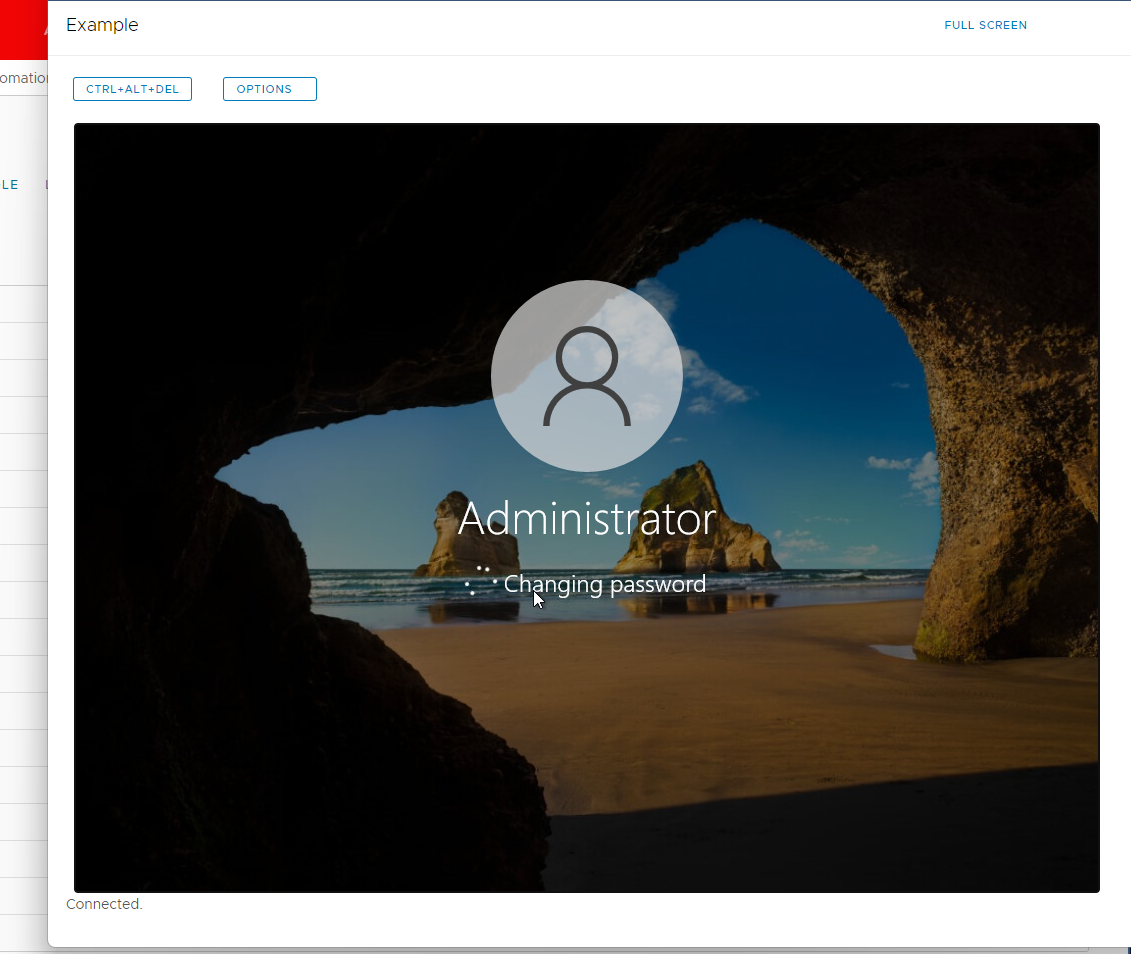
- Power on your VM and launch the web console:
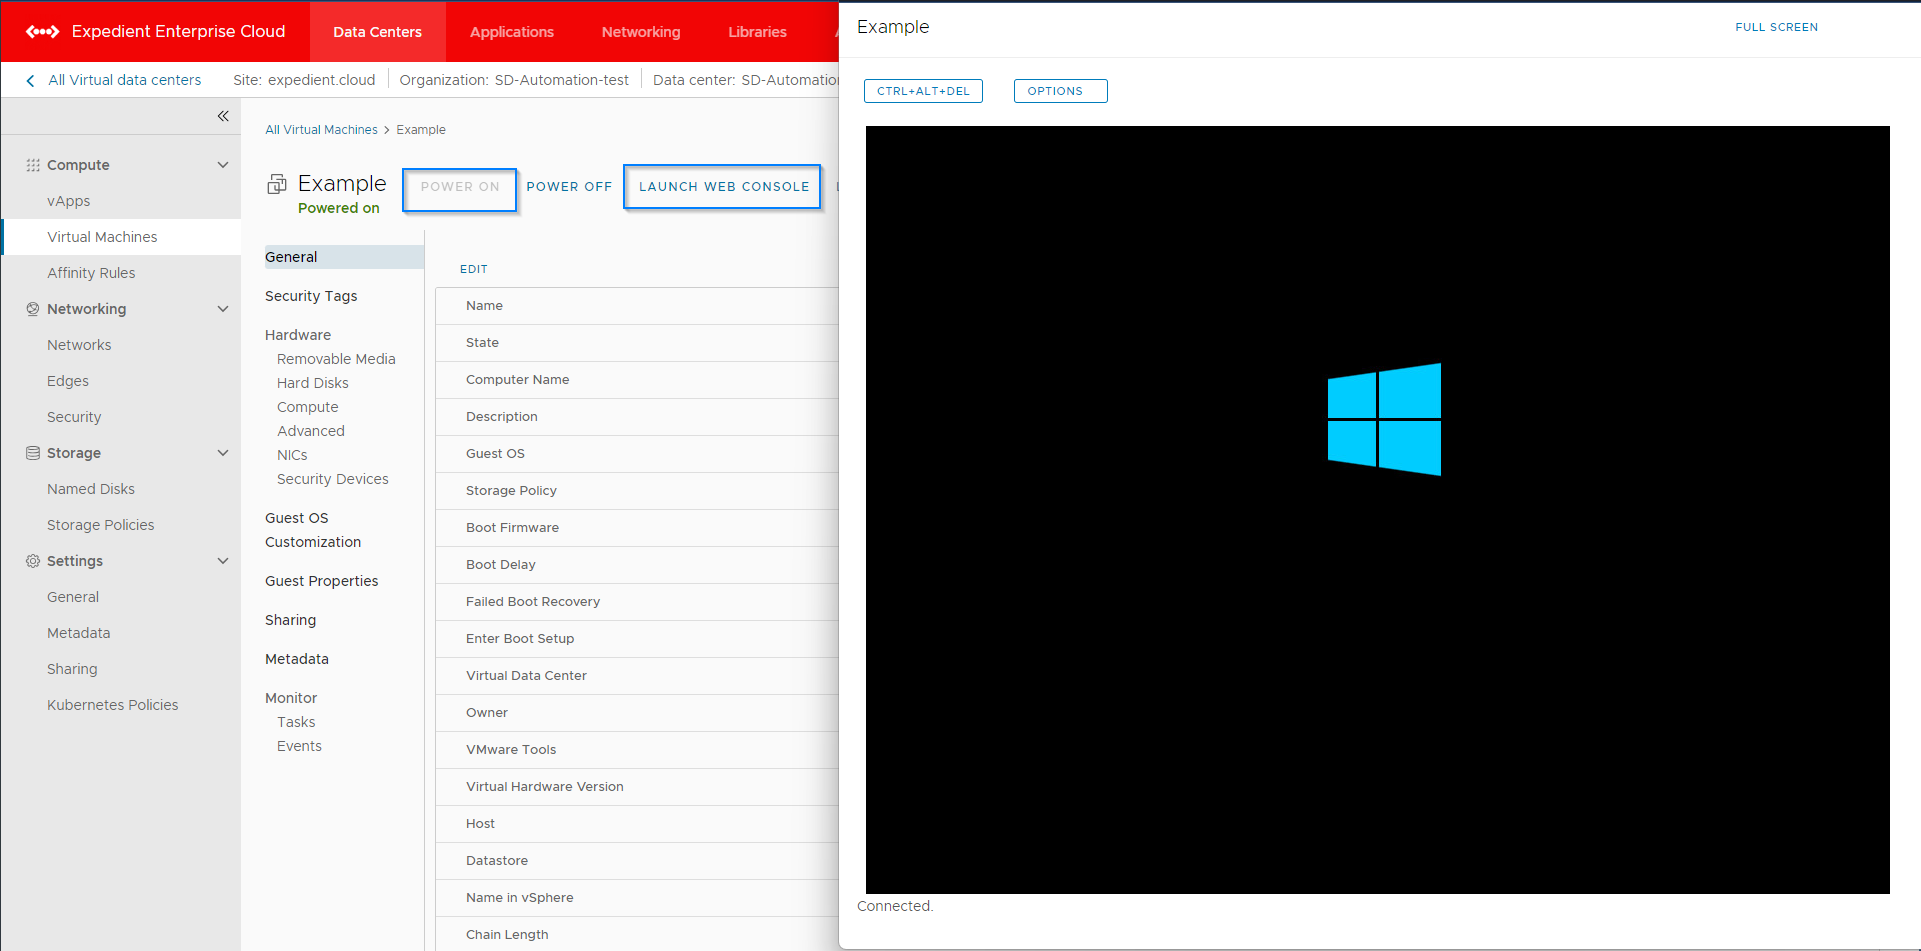
- You will be able to log in and change the password again depending on what options are selected during guest OS customization. The new VM is now ready to use: