Introduction
Virtual Machines are protected in the Cloud Data Protection platform via Protection Jobs. When building a protection job, VMs can be sourced via a feature called 'Auto Protect' or can be sourced manually.
The default and recommended configuration is to utilize 'Auto-Protect.' This configuration will automatically add and remove backups based upon the existence of a VM in your EEC portal. Most of the time, you will not need to adjust the protected VMs. However, certain circumstances may require a VM to be excluded from a policy (SQL backups, a policy with longer retention on a file server, etc).
This How-to will cover removing backups from a protection job configured via Auto-Protect and a job configured manually.
Procedure
Protection Job configured via AutoProtect
- Log in to the Cloud Data Protection system
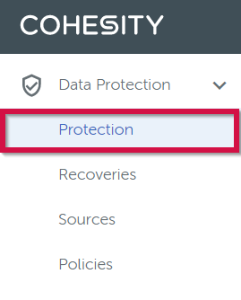
- Select the Data Protection → Protection tab
- Locate the applicable protection policy, select the Context Menu Icon, and select Edit
(Far right of the protection policy line, hover to make the three dots appear.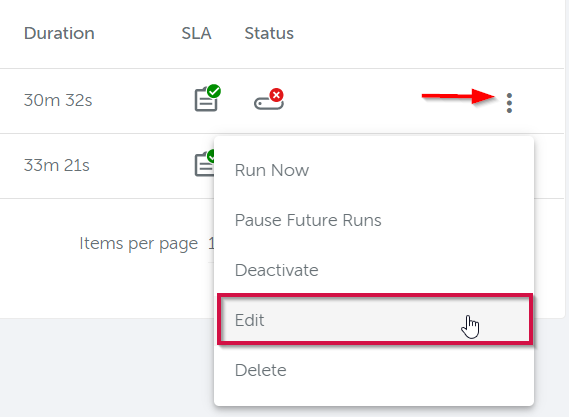
- Navigate to the Objects section and select Edit Objects
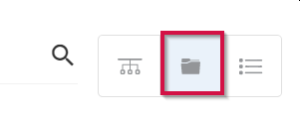
- Switch to the Folder Hierarchy View
- Expand the folders to locate the appropriate VM(s) in the resource pool
- Select the Shielded A Icon to exclude the VM from backups
- Confirm the VM now shows Excluded, the Shielded A Icon has switched to gray, and the number of Selected VMs has decreased

If the VM was added manually, navigate to it and uncheck the box to the right of the VM icon.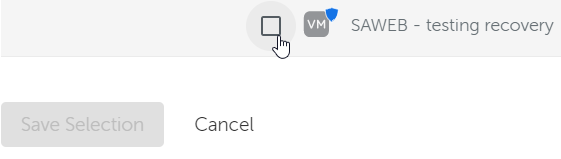
- Select Save Selection