Uploading ISOs to create a virtual machine from a resource image file (*.ISO).
1. If you have not already, follow the instructions for how to create a content library catalog here: How to Create a Content Library Catalog
2. From the main page, select the navigation menu in the left and switch to Content Hub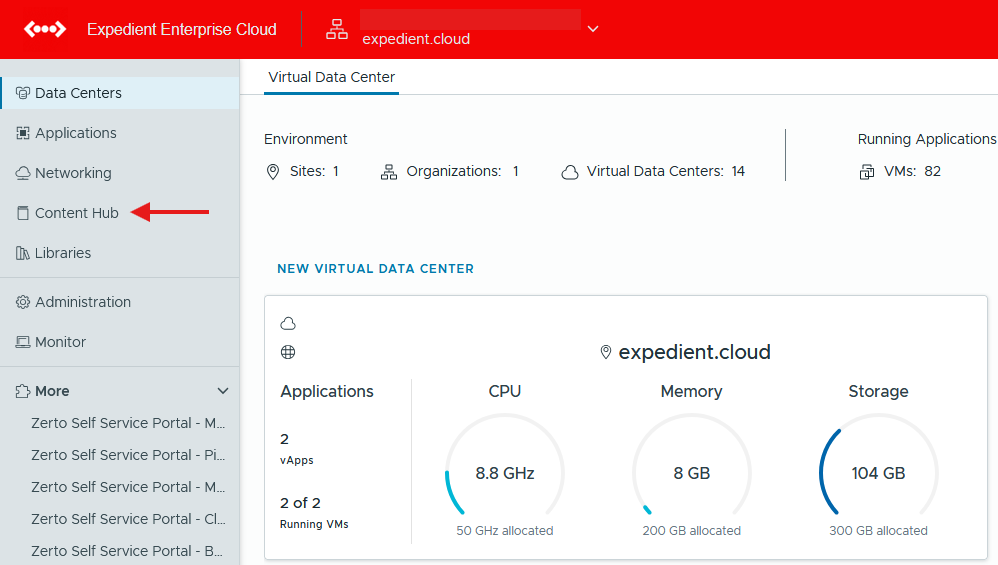
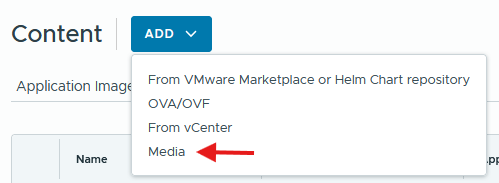
3. From Content, select Media, then select ADD, then select Media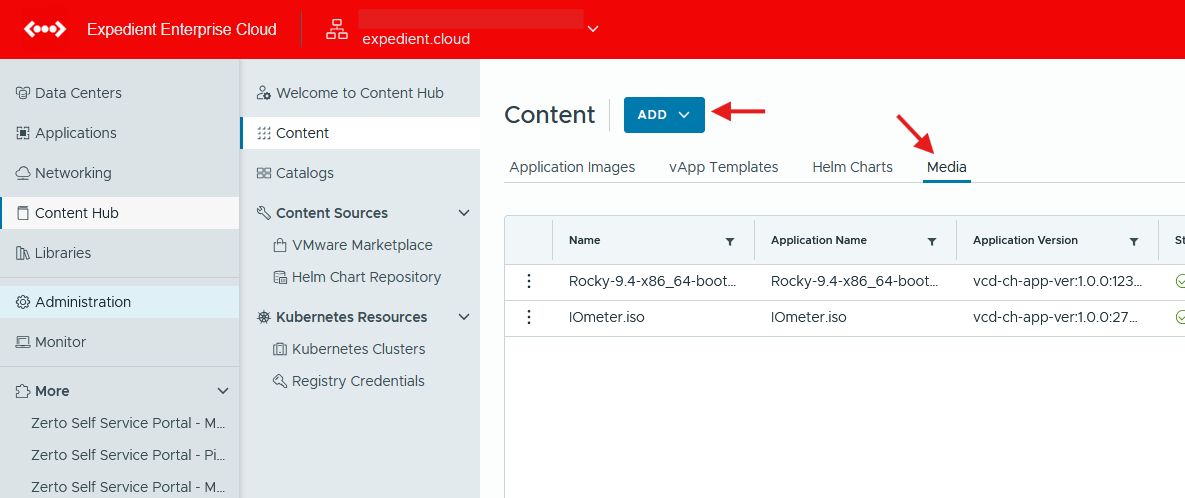
4. Specify the appropriate Catalog that is associated with the Expedient location where the ISO will be used.
Click the "Select media to upload" arrow Icon and navigate to your ISO to upload followed by Selecting OK.
Once you've specified the catalog and ISO file to upload, click OK.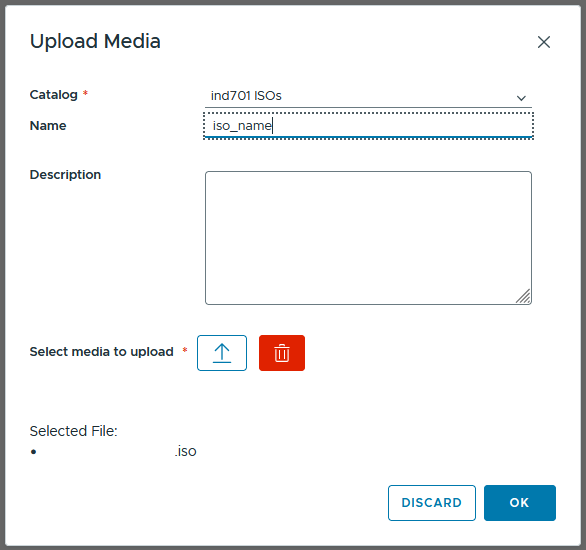
5. The upload will then show in progress. Note that it is normal to see the task hang at 1% while the upload completes before jumping to 100%. The progress bar is not linear.

6. To mount the ISO, Select Virtual Machines in the left navigation menu and drop down the Actions menu and Select Insert Media. In the pop up window you can select your uploaded media to mount to the VM.
7. When finished, unmount the ISO to remain within best practices.