Install Workspace One Active Directory Connector
Overview
This document outlines installing and configuring Workspace One Access Active Directory connector. The process is relatively straightforward, requiring the download and installation of the Workspace One connector and a security hotfix for the connector. After installation, you will be presented with a security string which you can forward to Expedient so that the agent can be connected and synchronized. DNS resolution is required for the connector to function, so a quick test is necessary before continuing this process.
Please note that VMware Workspace One used to be called VMware Identity Manager. Specific files or references may still reflect the old name.
Process
Test DNS Connection
Please log in to the server you are installing the Workspace One connector on, and validate that you can reach the public FQDNs for your desktop URL and the Workspace One URL (example: desktop.contoso.com and desktop-acccess.contoso.com). DNS resolution must work before continuing this process; please resolve any name resolution issues before proceeding.
Please note that we do not recommend using Firefox, as it has a built-in DNS which may interfere with testing.
Download Agents
Once you have confirmed DNS resolution for the public-facing URLs, you can install the connector and its hotpatch.
To begin, please download the following files from our repository onto the server you will install the agent on:
https://download.expedient.com/eew (username: expedient / password: publ1c)
Connector installer: VMware_Identity_Manager_Connector_[version]_Installer.exe
Connector hotfix: HW-160130-Connector-19.03.0.1.zip
Install Workspace One connector
- Begin the installation process by starting the "VMware_Identity_Manager_Connector" executable.
- On the wizard step that asks, "are you migrating your connector" leave the box unchecked

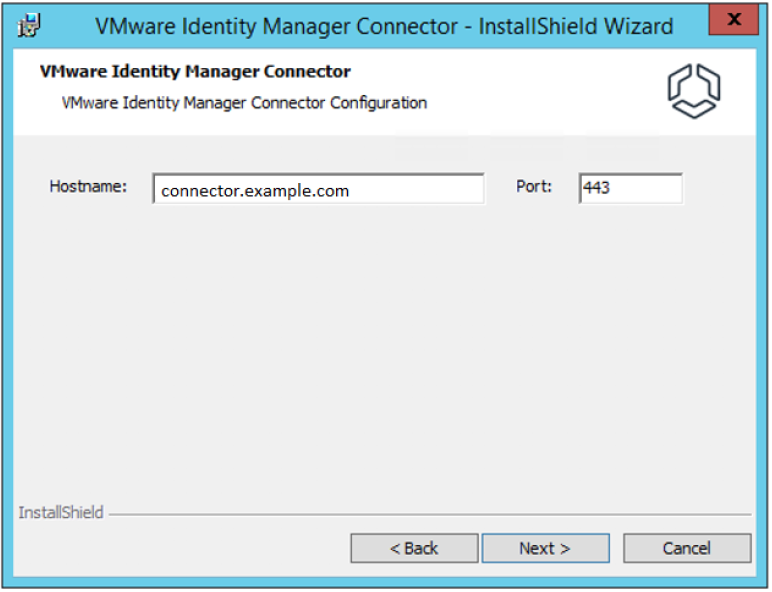
- On the wizard step that asks you for a hostname and port, leave the hostname as the FQDN of the server you're installing the connector service on
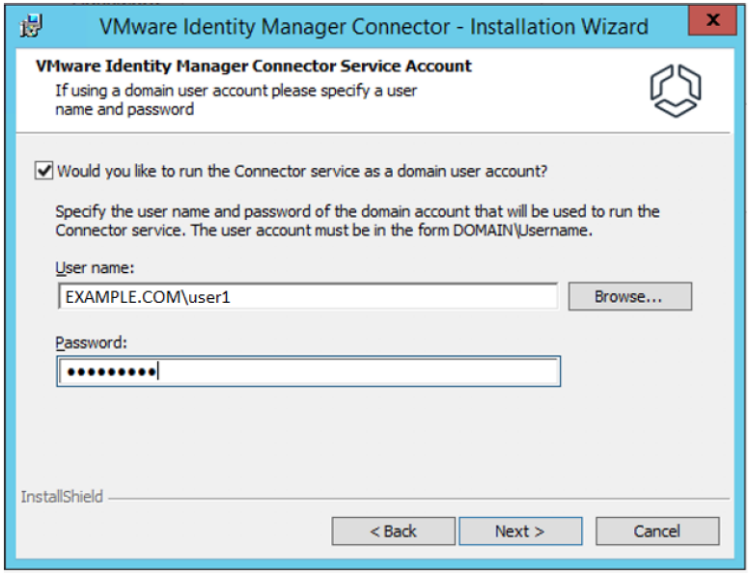
- On the service account step, enter your service account credentials.
- If you are installing the connector on a non-domain controller domain joined server, you will need to run the connector as your IDM service active directory account. Suppose the IDM service account is not a member of a local user group that can access that server. In that case, you will need to add the account to the Logon as a Service list in secpol.msc under Security Settings > Local Policies > User Rights Assignments.
- If you install the service on the domain controller, you can leave the box unchecked for the service to run as a Local System.
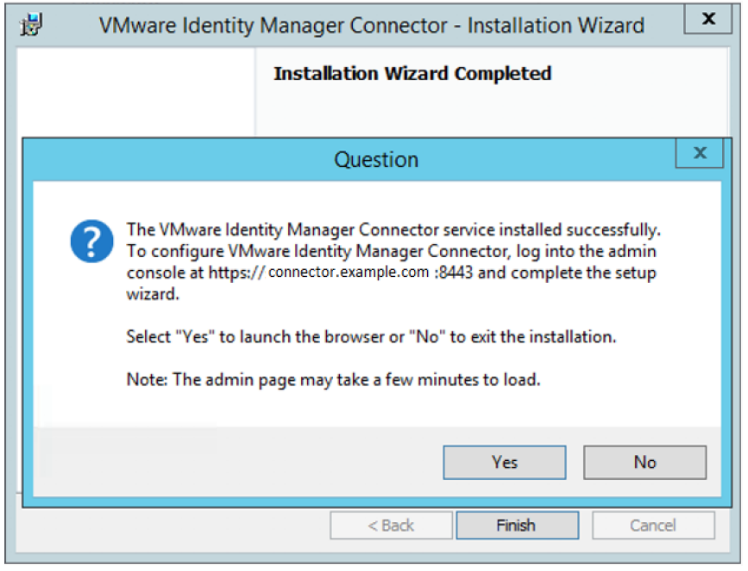
- Proceed with the rest of the installation. When complete, choose "No" when prompted to open the admin UI. We will open that after installing the hotfix in the next section.
Apply Hotfix
- Unzip the HW-150543-Connector-19.3.0.1.zip package you downloaded previously.
- Open a command prompt as administrator and move to where the HW-150543-Connector-19.3.0.1.zip package is unzipped.
- Run applyPatch.bat and wait for it to complete.
Configure Connector
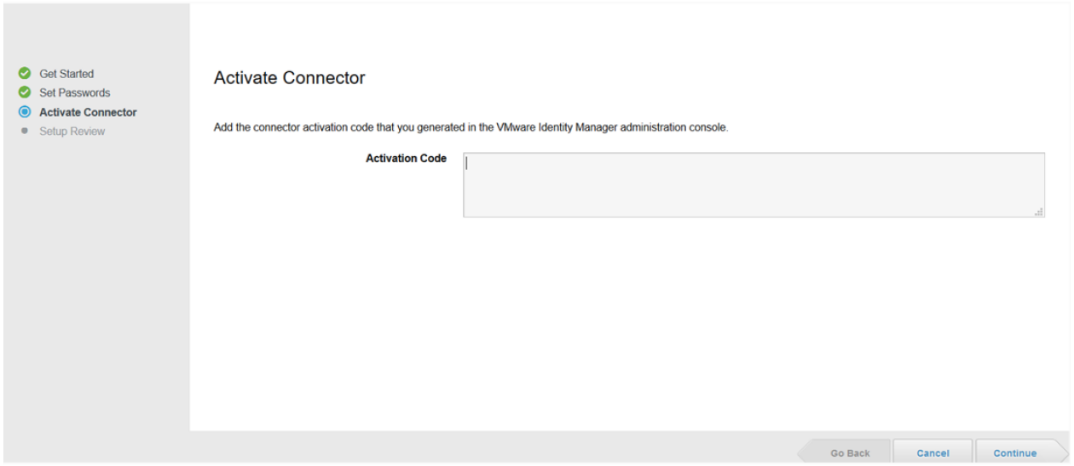
Please note that this step requires an Activation Code. Please contact Expedient for this Activation Code as it is necessary to connect and begin synchronization.
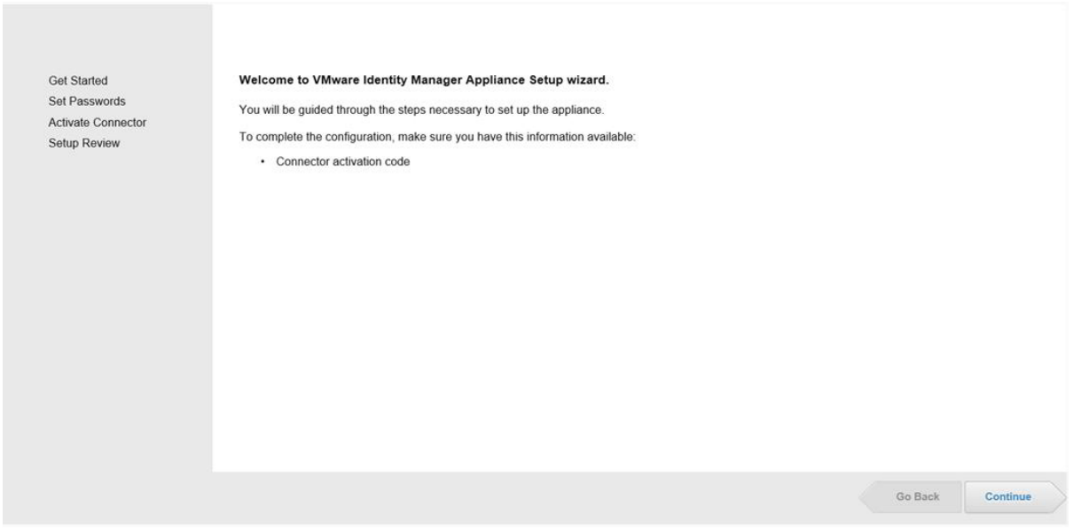
- Open the admin console for the VMware Identity Manager Connector service (https://[connector_fqdn]:8443)
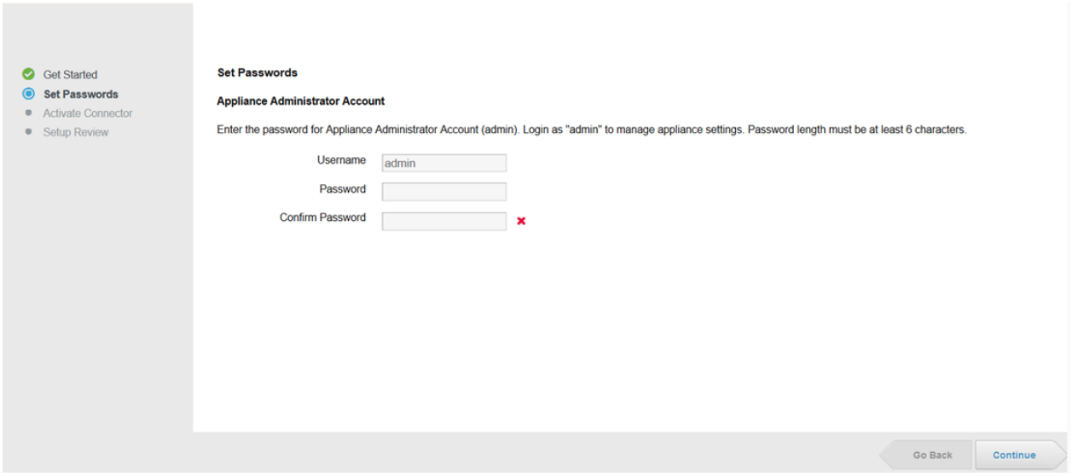
- Create a password for the 'admin' user (Note: Expedient does not have access to this account. Please ensure this password is documented.)
- When prompted for the Activation Code, please copy/paste it into the field and proceed. (Note: Please contact Expedient if you do not possess this code yet.)
- With the installation completed, the connector should be connected and synchronized.