Overview
If you are an Expedient client who subscribes to Expedient Enterprise Workspace (EEW) you must ensure that your desktop users are covered by the appropriate Windows 10 licenses. If you have purchased your Windows 10 licenses through Expedient, the licenses you purchase will be delivered to your Office 365 admin portal or Azure admin portal via a Microsoft partner relationship that our engineers will configure between the Expedient Azure account and and your companies Azure account. If your company does not have an Azure account, this document describes the steps to necessary to create an Azure account and configure Azure AD (AAD) sync so that the Windows 10 licenses that you've purchased from Expedient can be properly applied to your Expedient Enterprise Workspace desktop users.
Prerequisites:
- This process assumes that your organization already has an existing on-prem Active Directory
- A user account will need to be created in your on-prem Active Director for the domain sync service to run
- An example name for this service account could be something like svcAADsync
- The user account must be a member of the Enterprise Admins group
- The user account should have its password set to never expire
- In order for AAD to sync, the UserPrincipalName (UPN) suffix of your users in your on-prem Active Directory must be a public domain. In many cases companies will define a non-routable domain as their internal domain for Active Directory. For example, your internal domain for Active Directory may be contoso.local and your users UPN would be user.name@contoso.local, but your public domain is contoso.com. In this example you would need to add contoso.com as an alternate UPN suffix within Active Directory and update your users accounts UPN suffix to contoso.com. Please take care in understanding the implications that this may have on the AD integrated applications you may have in your environment that rely on UPN as well as the implications it may have on your users experience and understanding of what their login names are. For more information please refer to the following Microsoft article. If need further clarification on this topic please do not hesitate to discuss this with your Expedient engineers.
- This process requires that you add a TXT DNS record to your public domain. Please ensure that you have access to your public DNS hosting provider in order to create the required DNS record.
- You will need a server to install the Azure AD Connect tool. You may choose to install this service on the domain controller that is built as part of your Expedient Enterprise Workspace build.
- In order to create an Azure AD account you will need an existing email address to complete the account creation process. You will need access to the mailbox for that email address in order to complete the verification process during account creation.
- The Azure account creation process requires a credit card for a payment method. You can choose to use the Azure AD free tier but creating the Azure tenant does still require you to enter a payment method.
Process
Create Azure Account
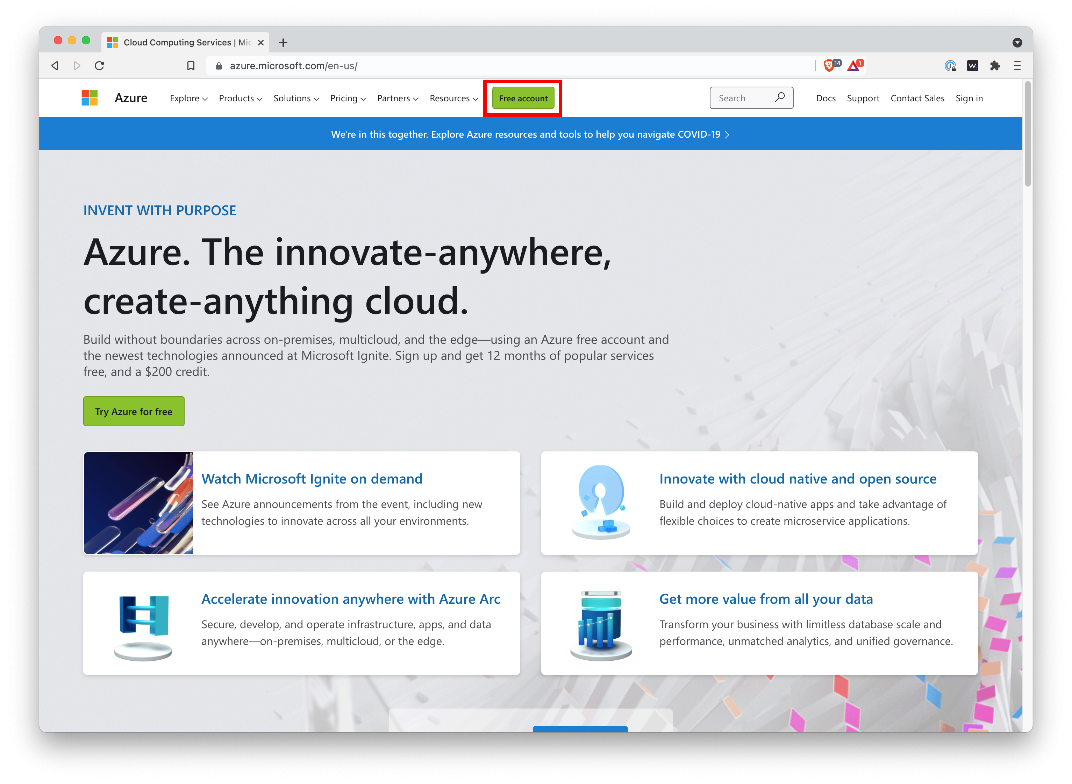
Go to https://azure.microsoft.com and click the Free Account button at the top of the page.
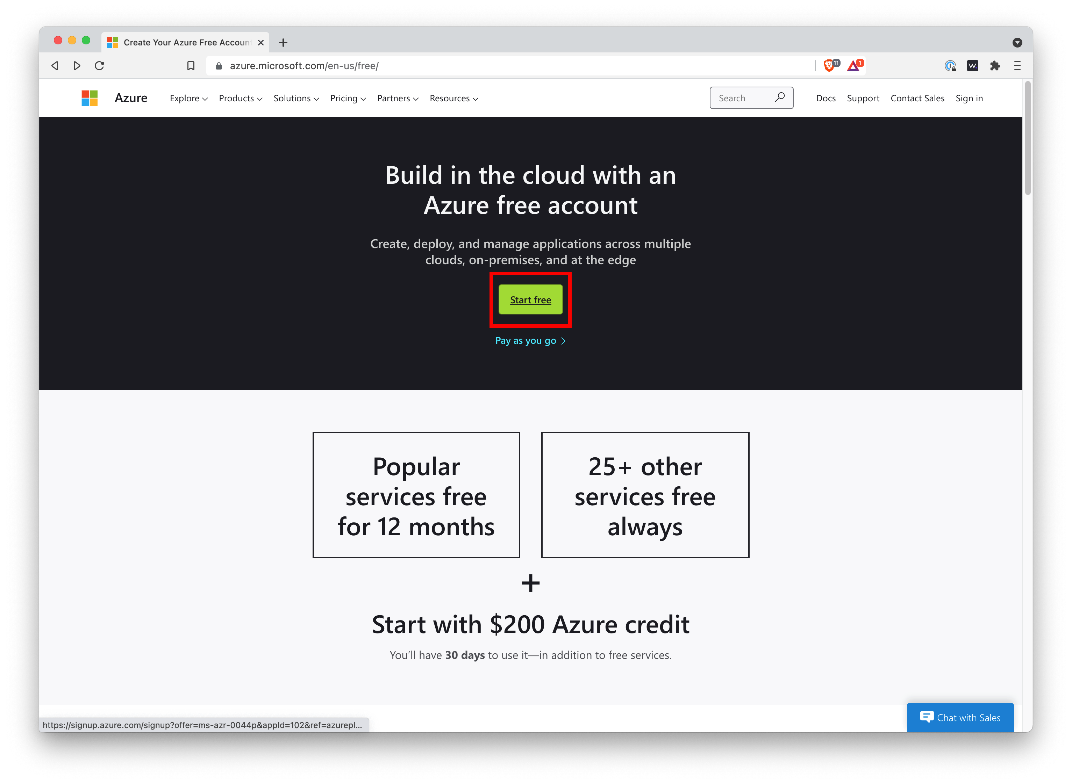
On the next page, click Start Free button.
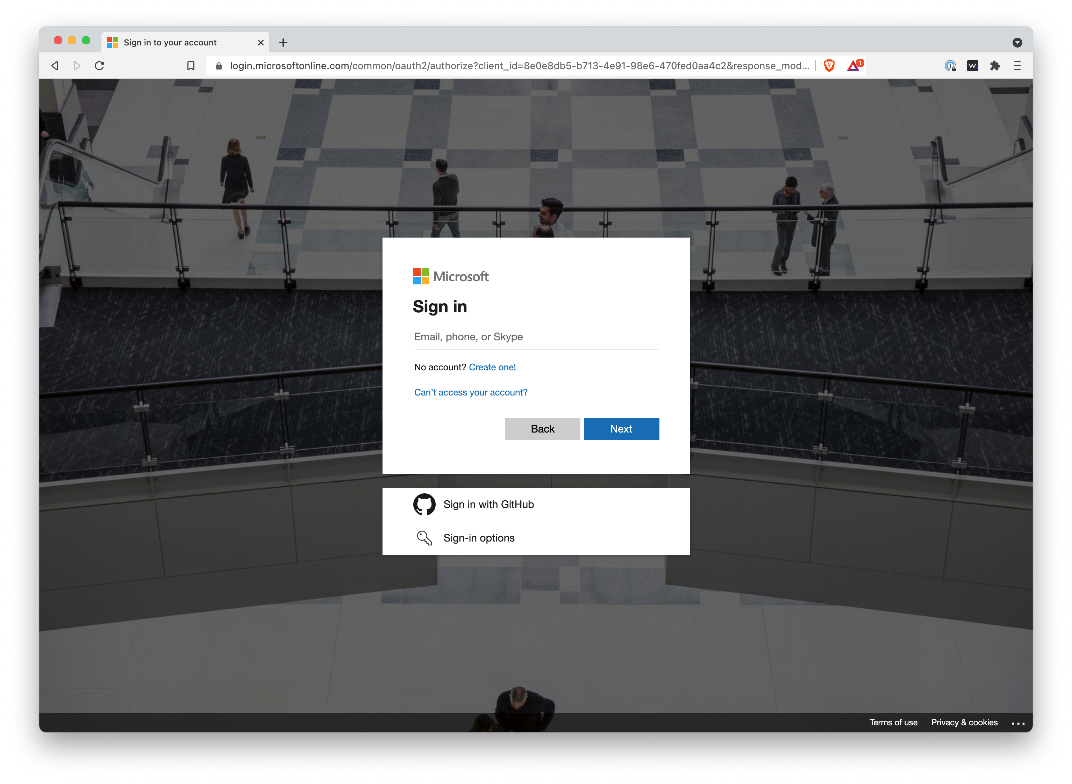
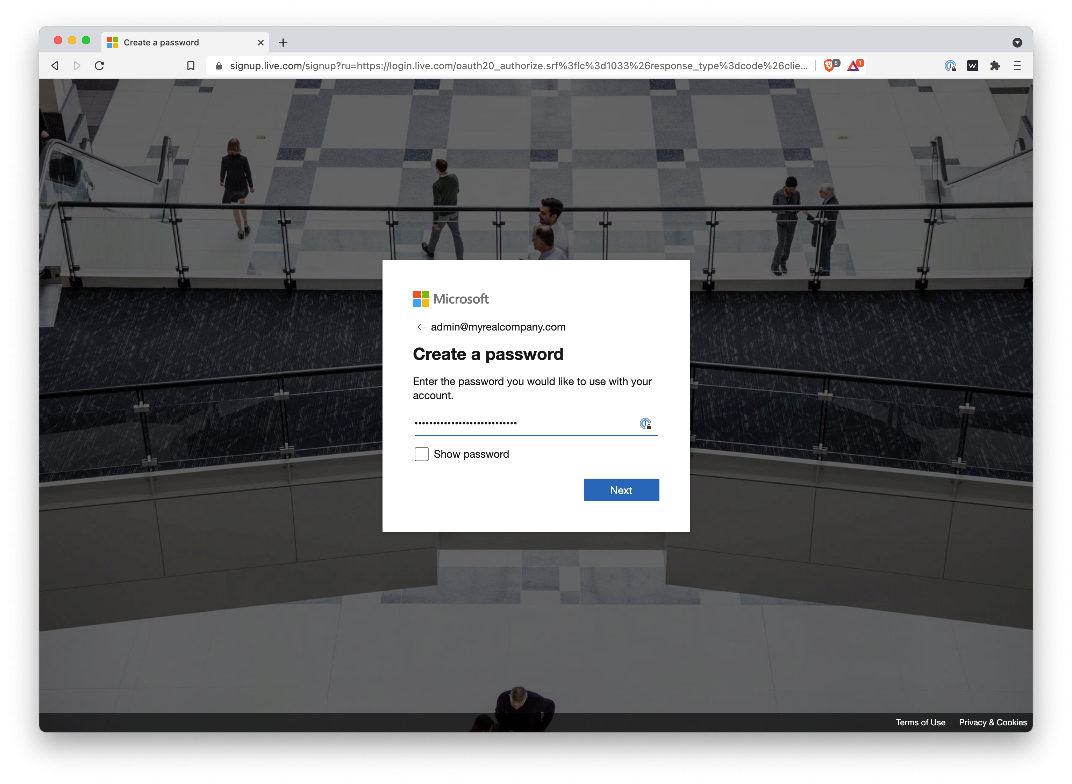
Sign in with an existing Microsoft account or create one. The email you use must be a real address and accessible to the client to retrieve the verification code.
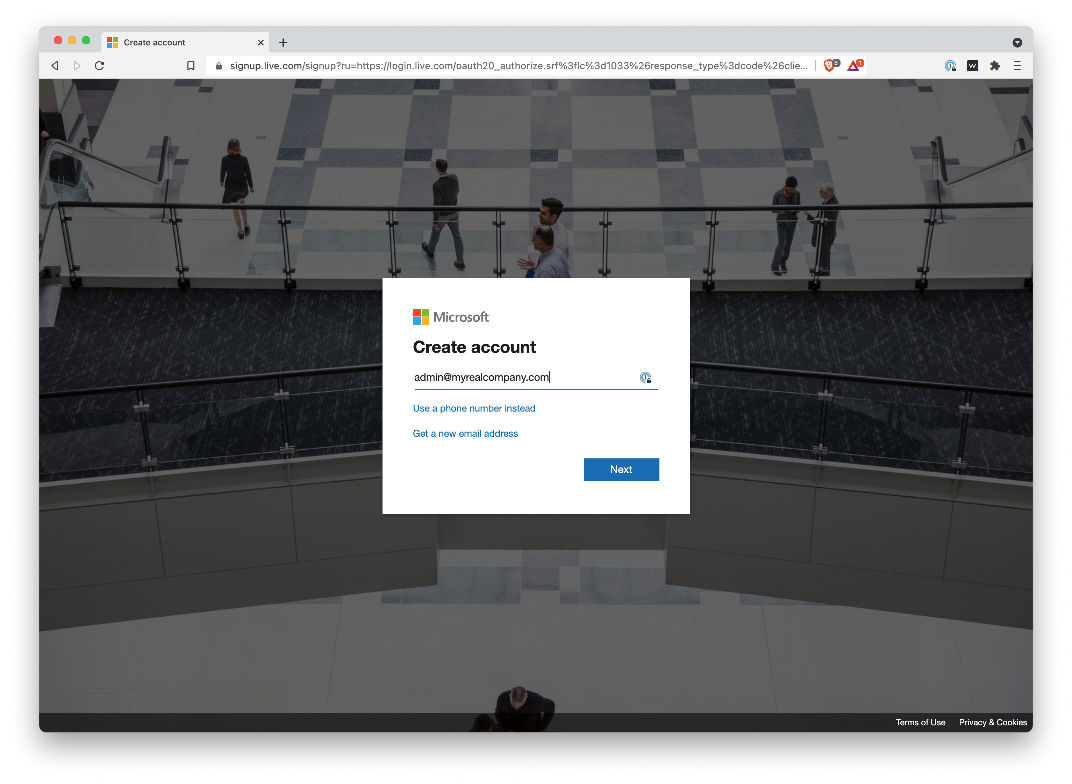
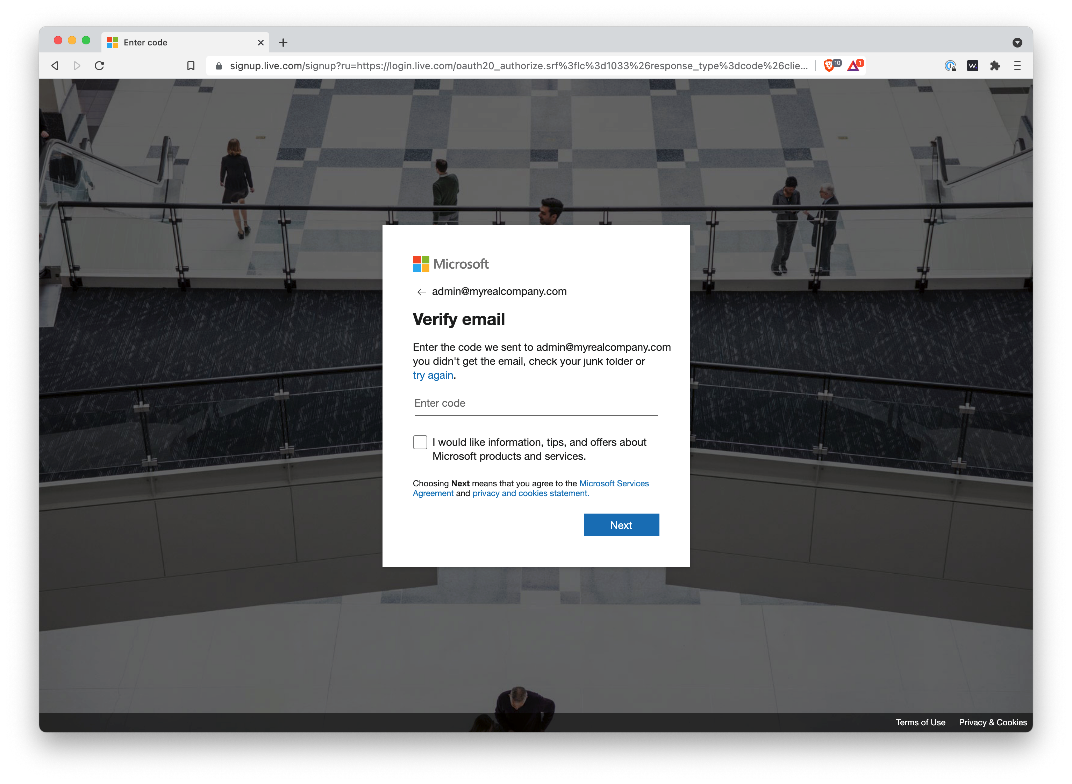
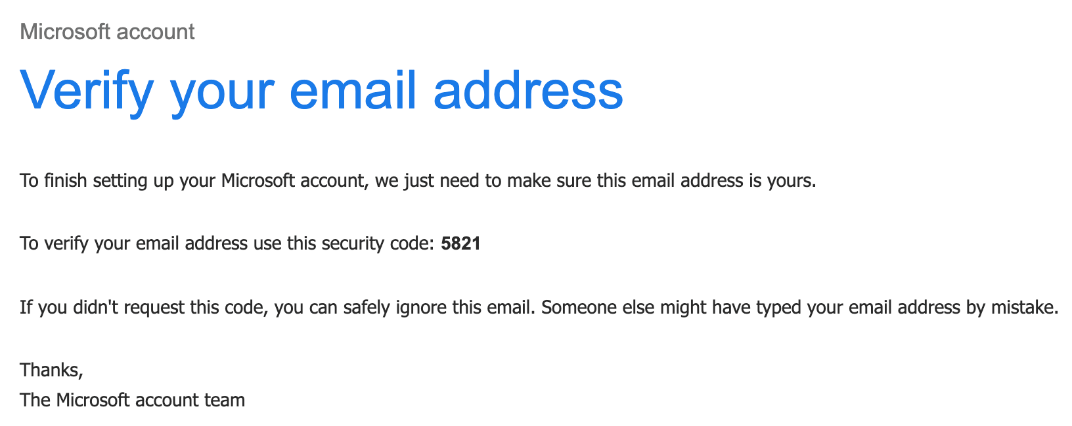
Next, you'll get a code in the email for the account you created.
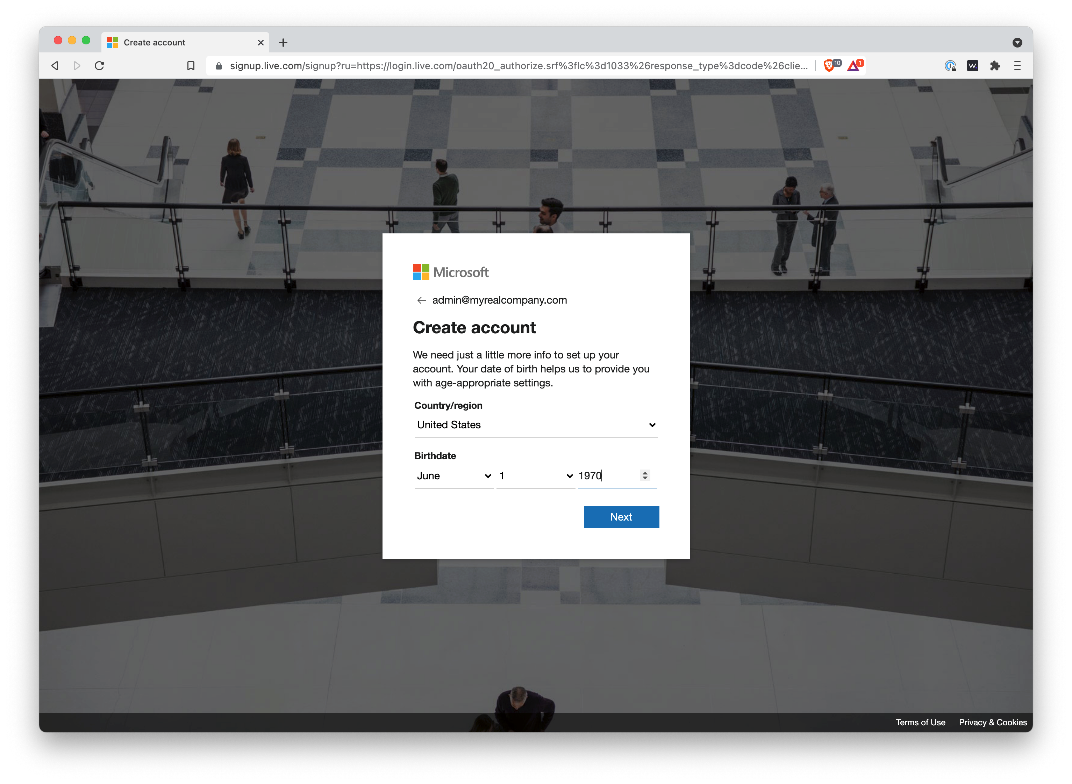
Now you'll complete the details of the account. You will need to put in a real phone for the text or call verification. The account can have a different number (like a general corporate number) than the one used to verify the identity (a cell phone number).

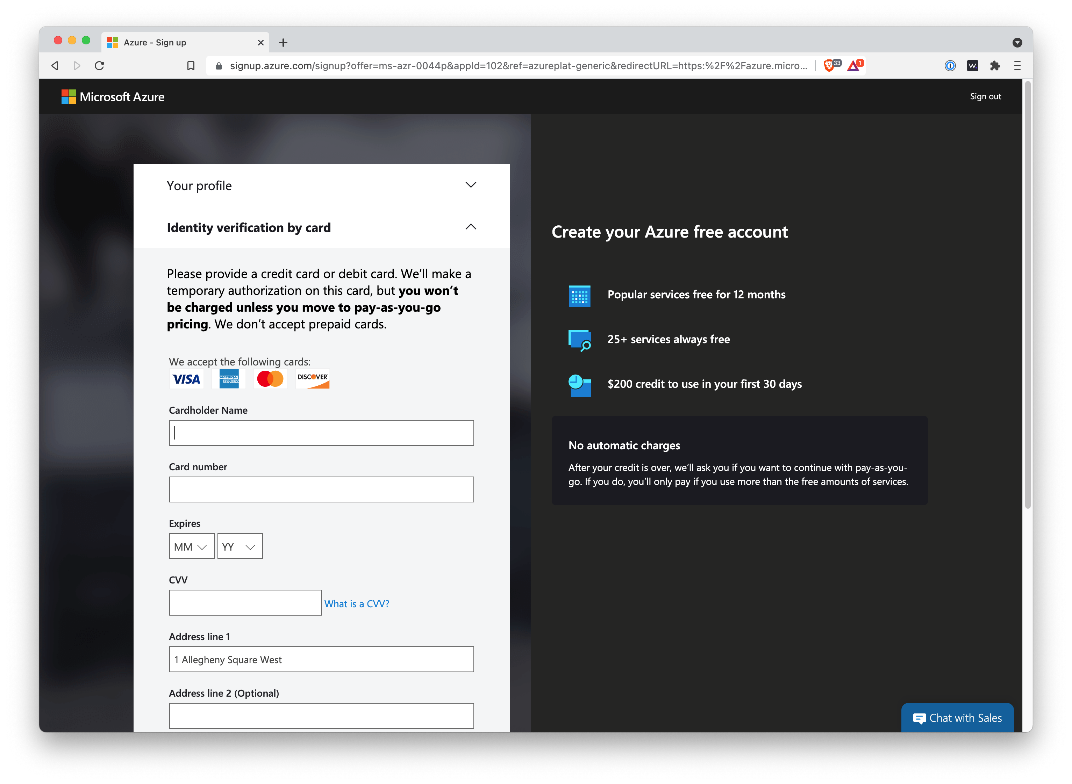
Next, add a credit card to setup a payment method. Azure AD is free, but the account requires a payment method.
Configure Azure Active Directory
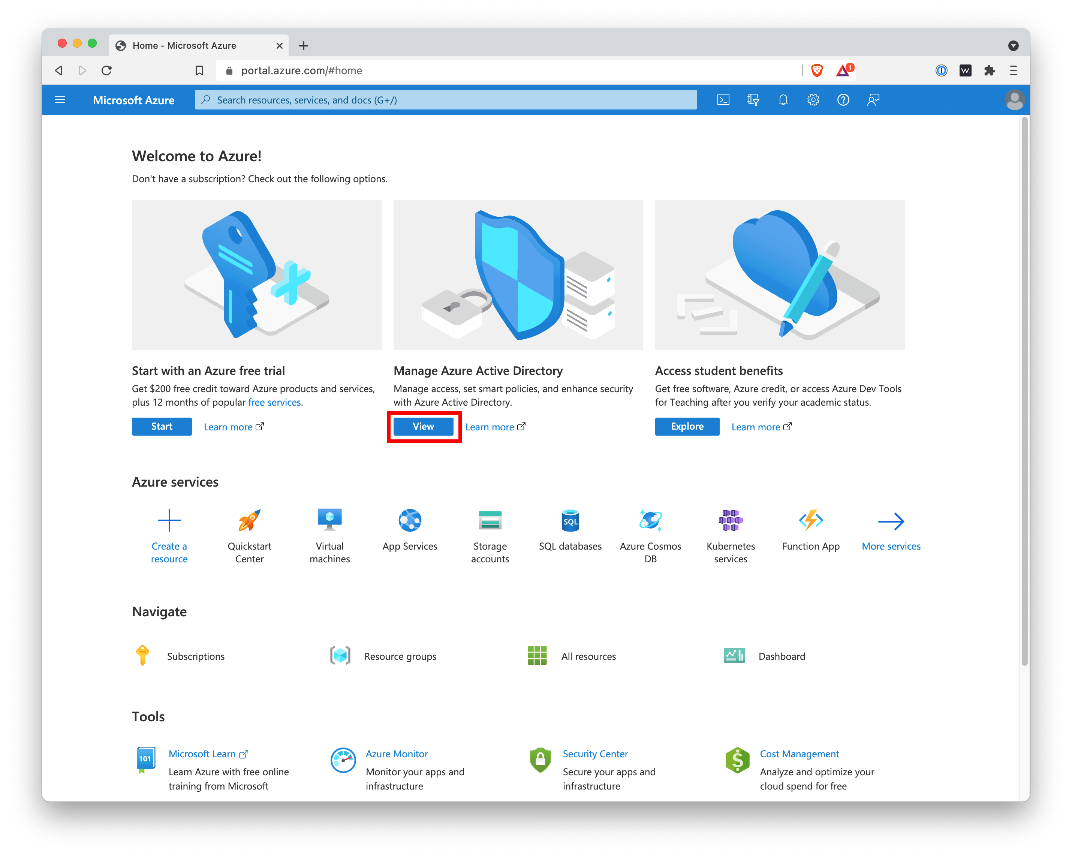
Welcome to Azure. Click View under the Manage Azure Active Directory header. If that's not available, click the three line menu in the top corner and click Azure Active Directory.
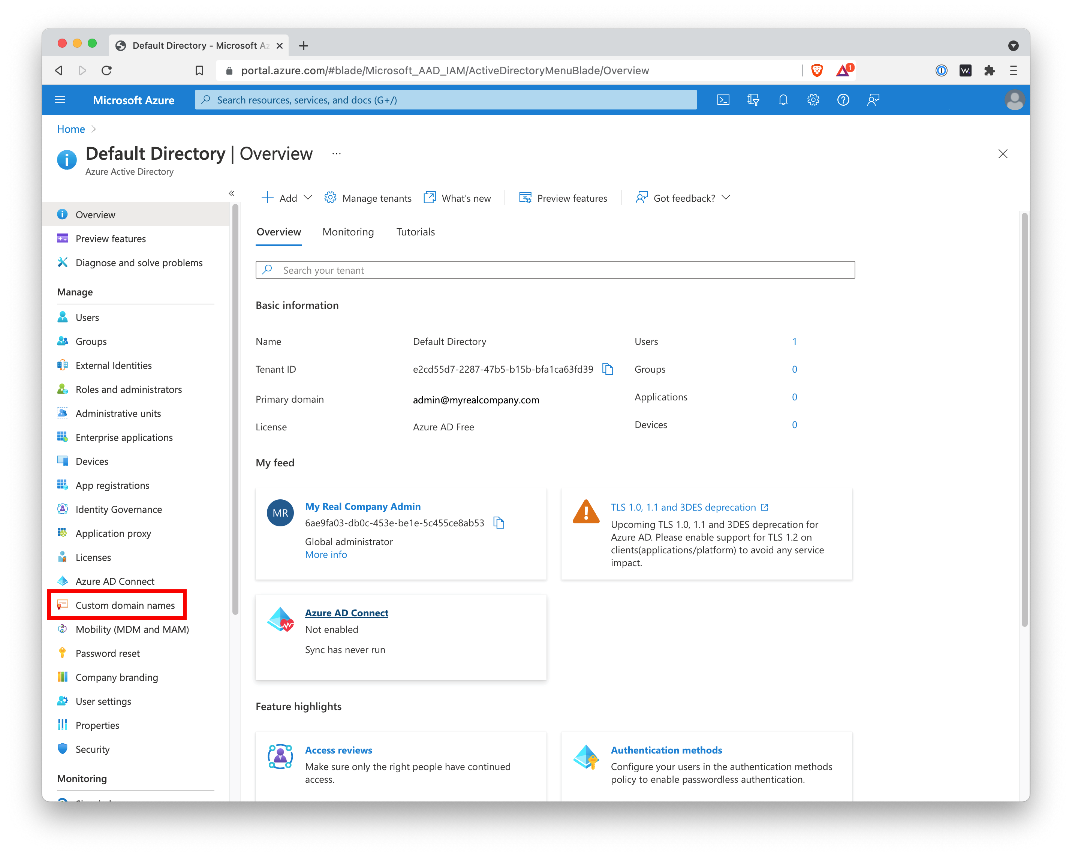
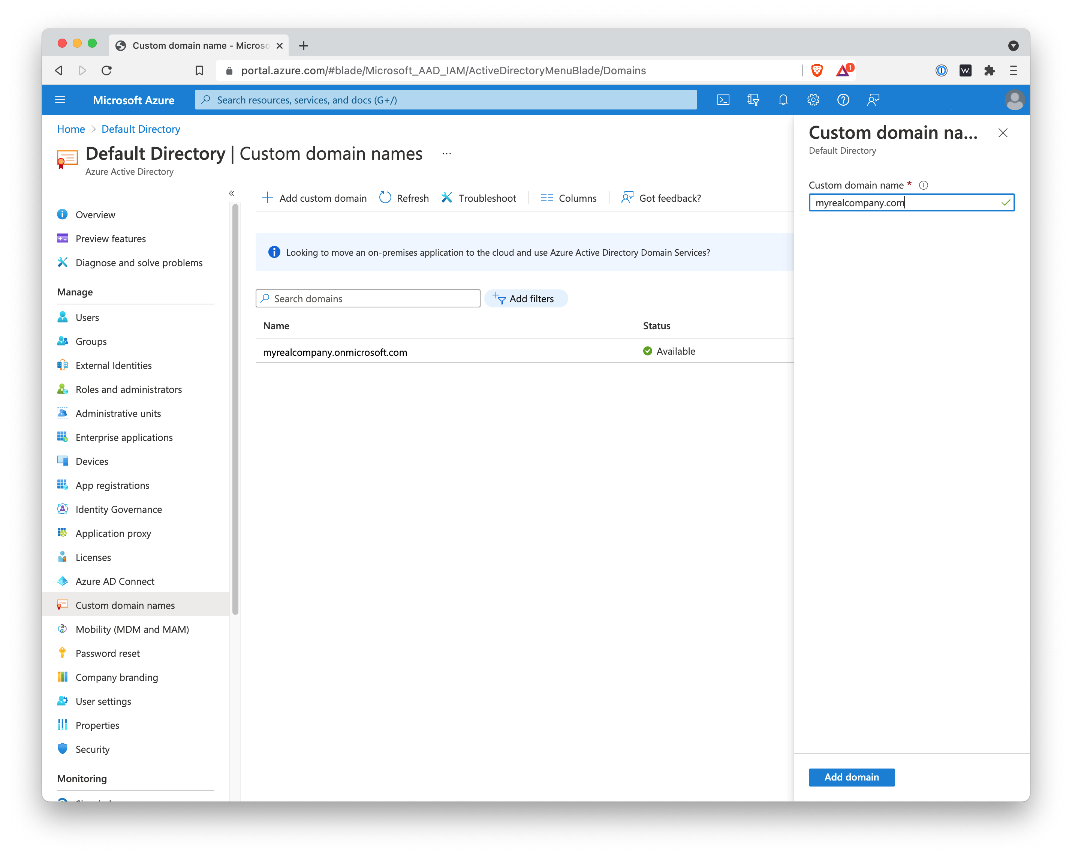
Click on Custom Domain Names:
Click Add custom domain to add your real domain.
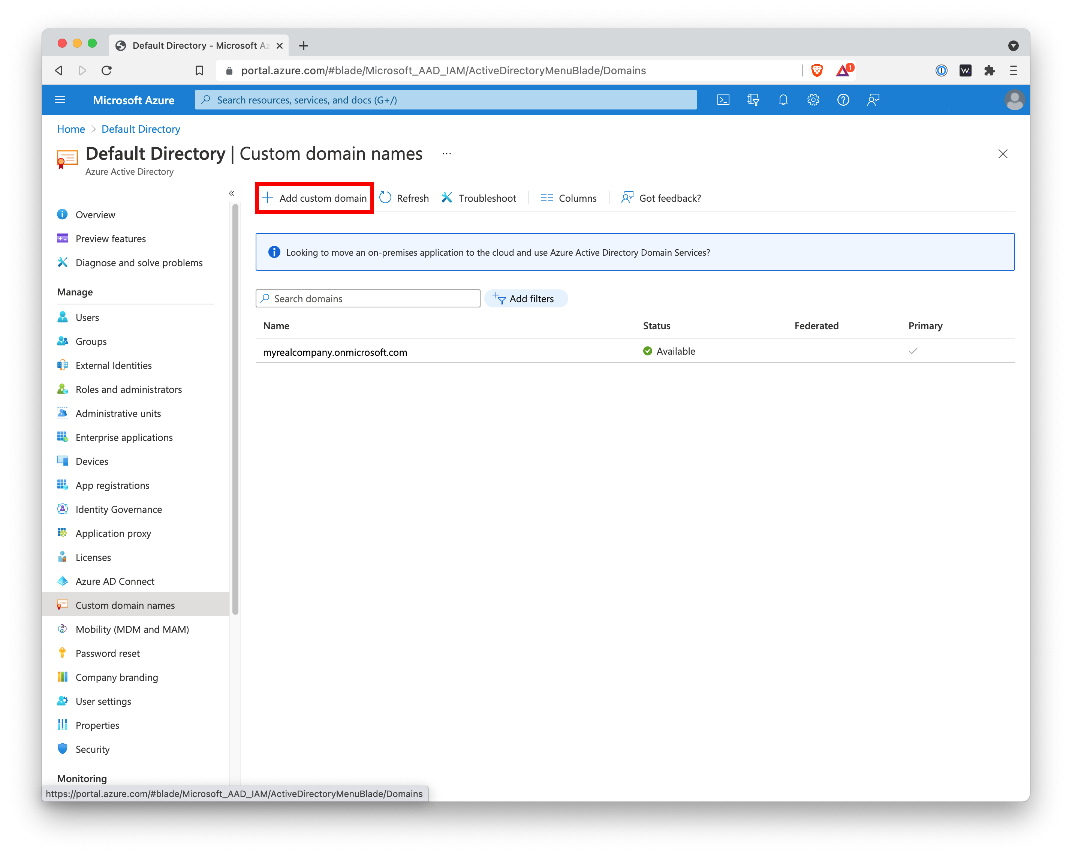
As noted in the prerequisites, The domain you add here needs to match the domain of your Active Directory and specifically the UPNs of the users. If you have a non-routable domain (using .local or some other non-public TLD), you will need to change the UPN suffix of your users to match the public domain.
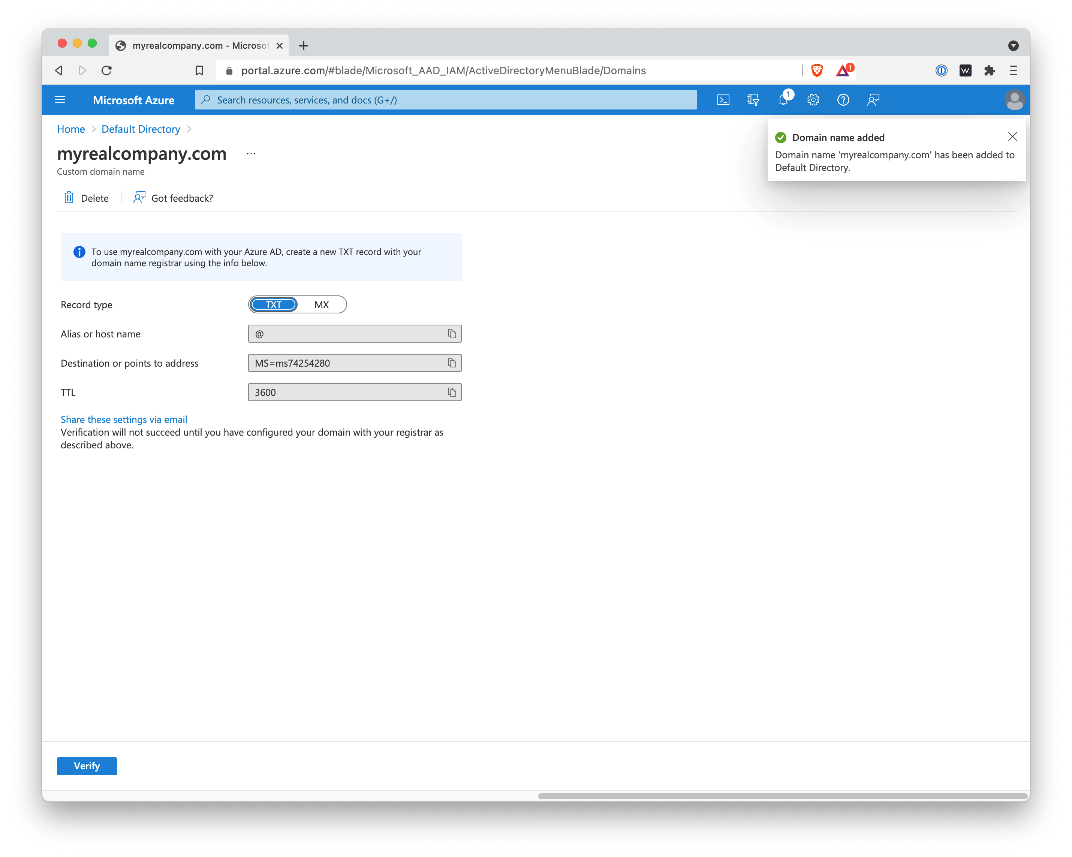
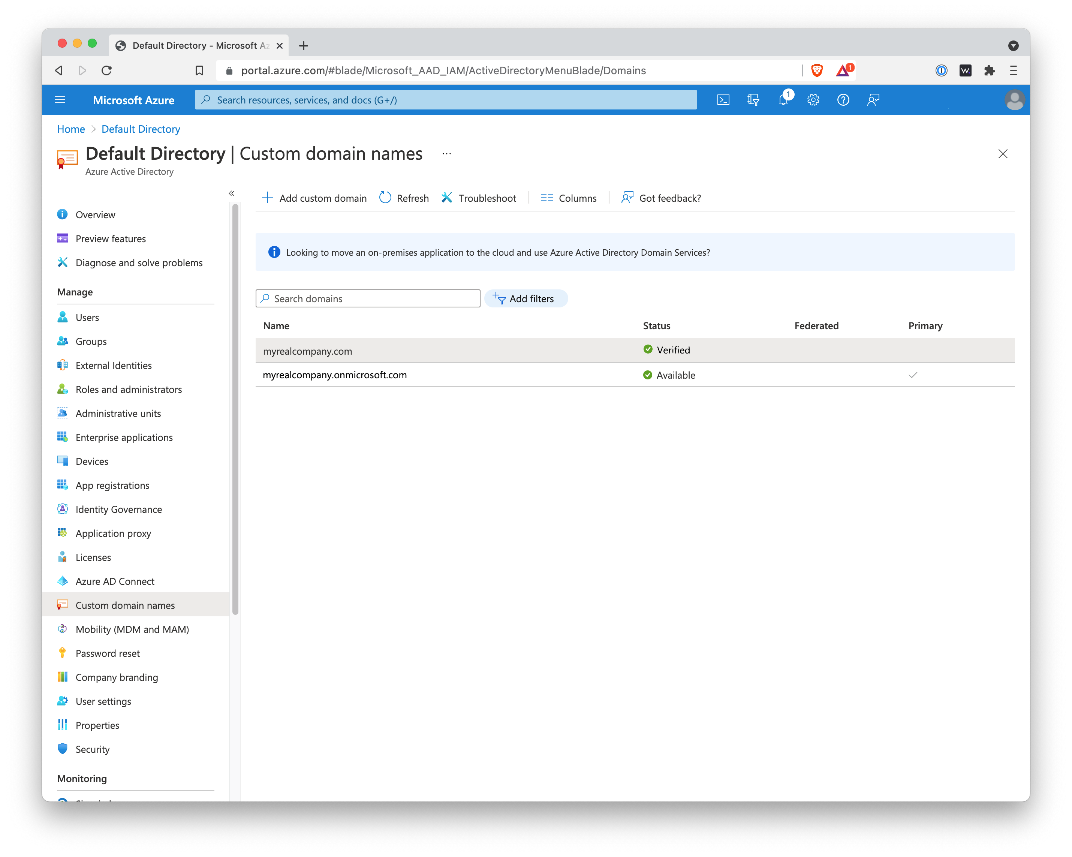
Add the TXT record to your public domain and click Verify to verify the domain.
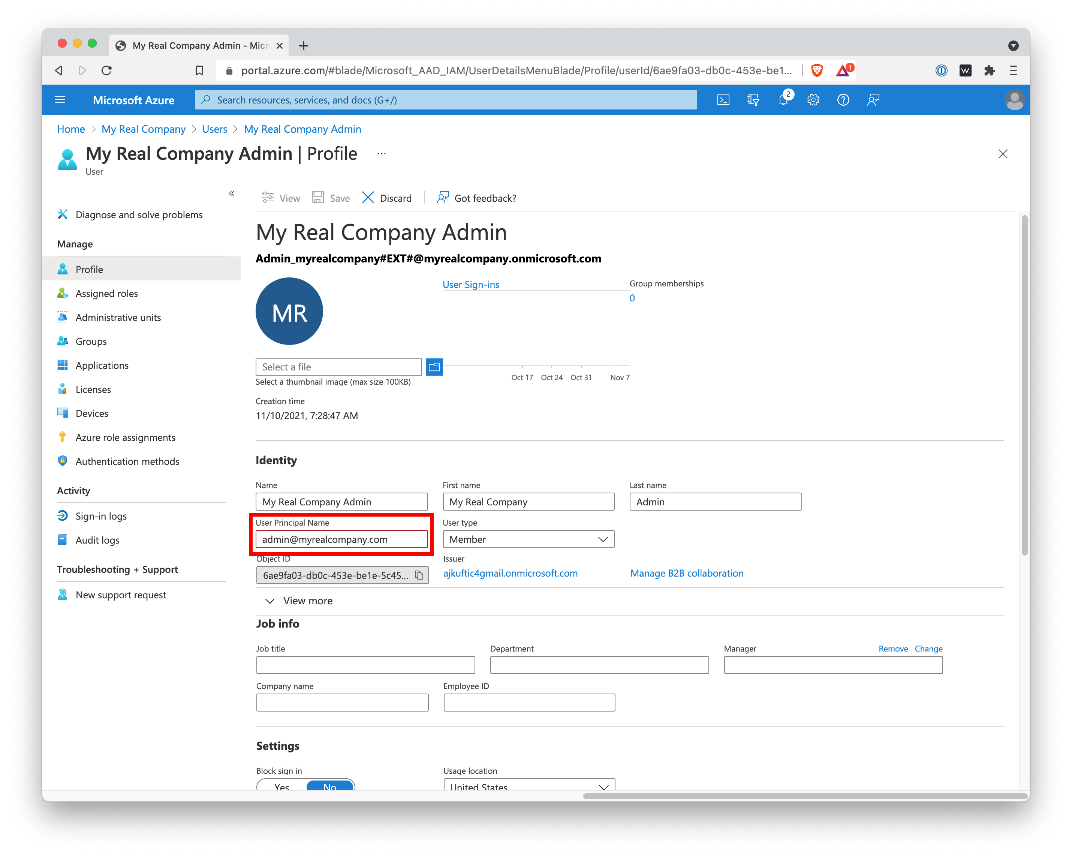
Click on Users and the admin account for the directory. Change the User Principal Name to match the verified domain that you added. Click Save.
Configure Azure AD Connect
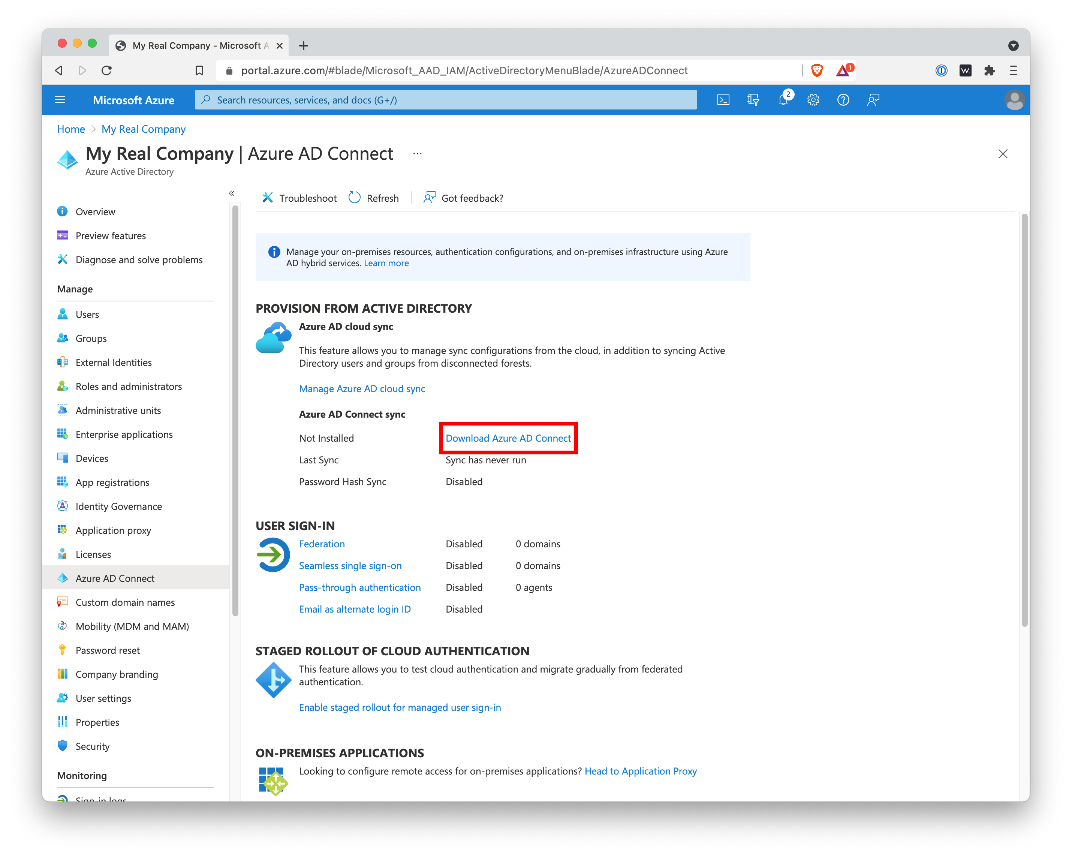
Click on the three line menu and click Azure Active Directory. On the right side click, Azure AD Connect. Click Download Azure AD Connect.
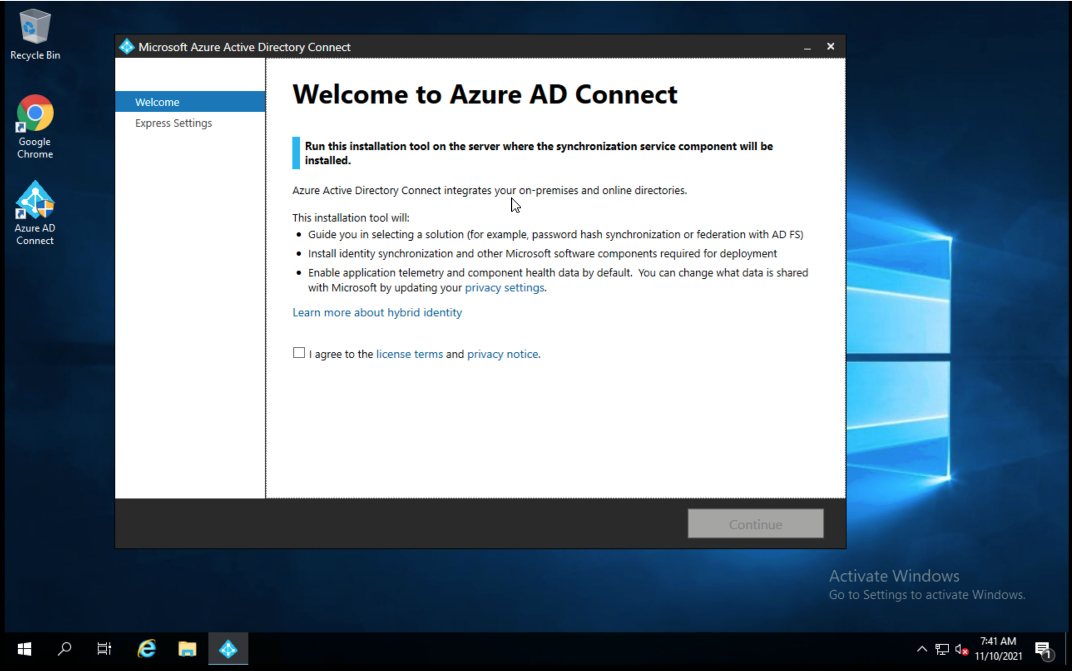
Upload the MSI to a server that will become your Azure AD Sync server. This could be a domain controller or a domain-joined member server. Run the MSI.

Agree to the terms, click Continue.
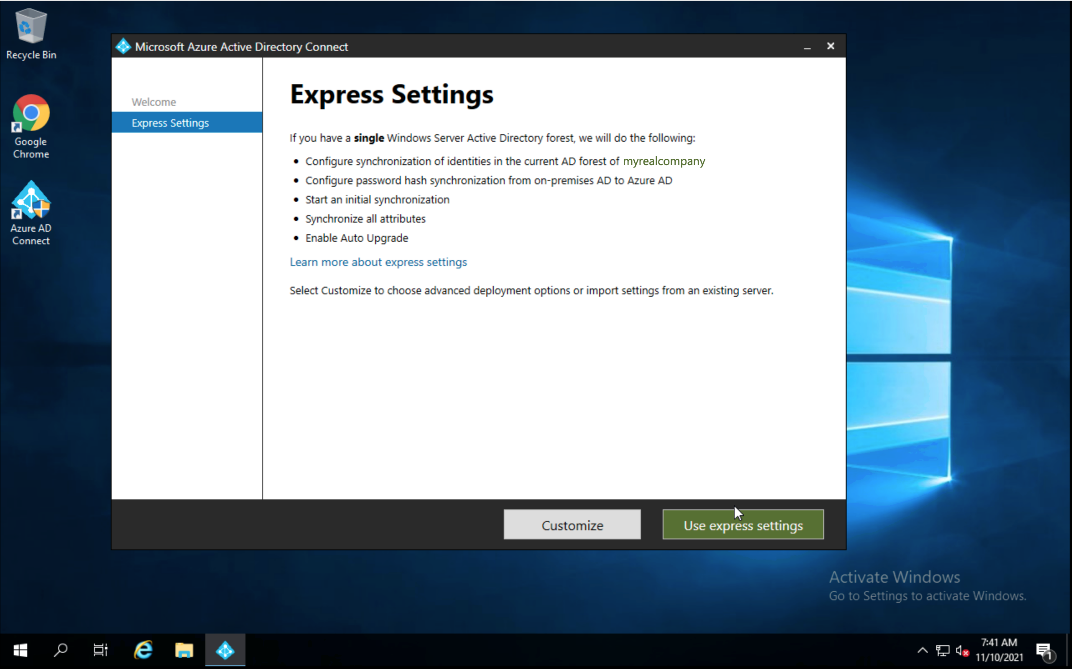
Take the Express Settings.
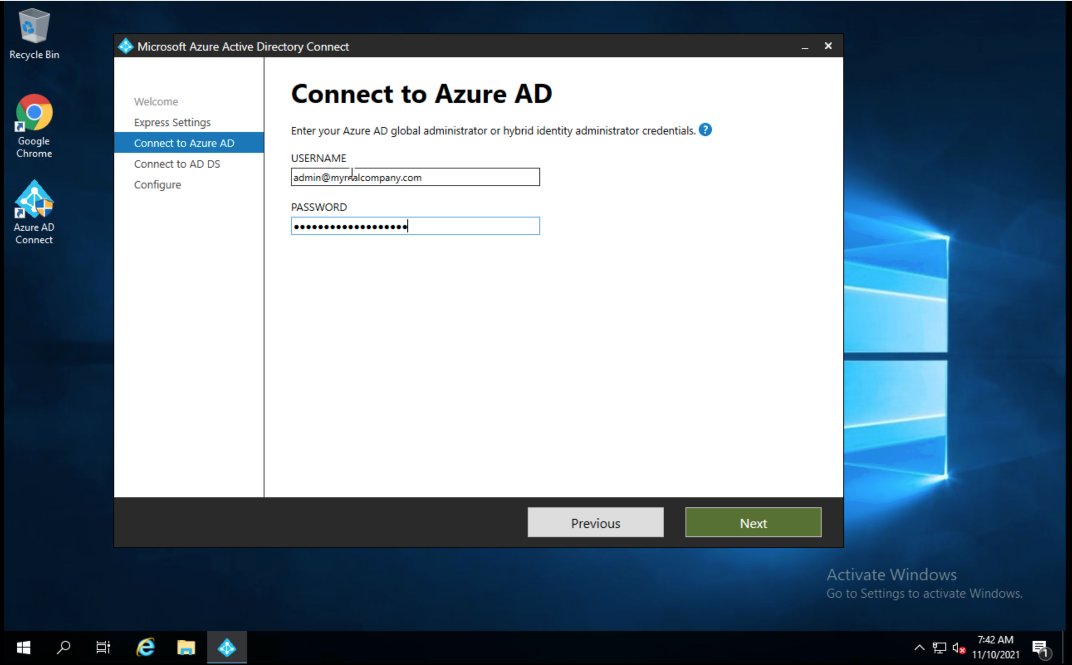
Login with your Azure AD account:
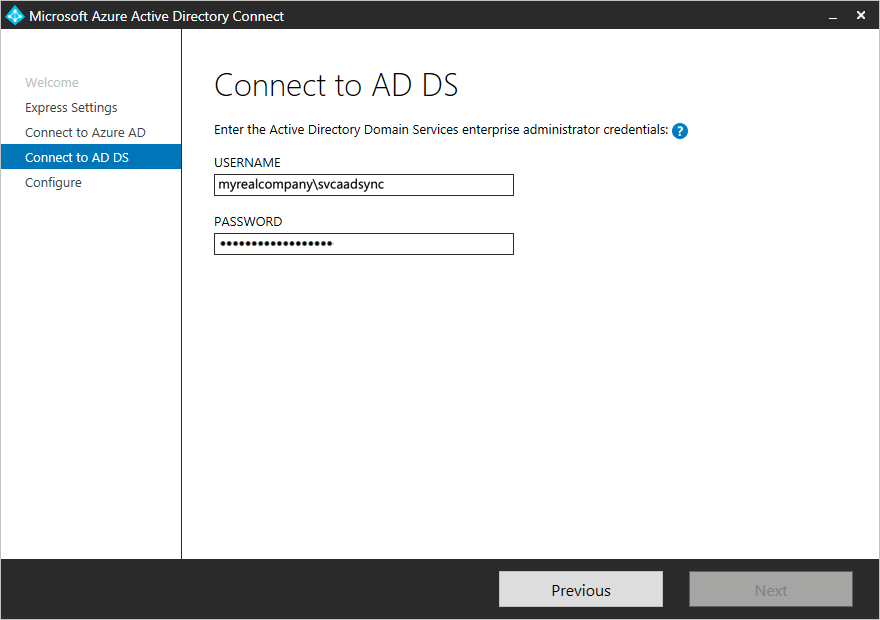
Login to the domain you're connecting with an Enterprise Admin account. You should probably set up a service account for this.
Click Install.
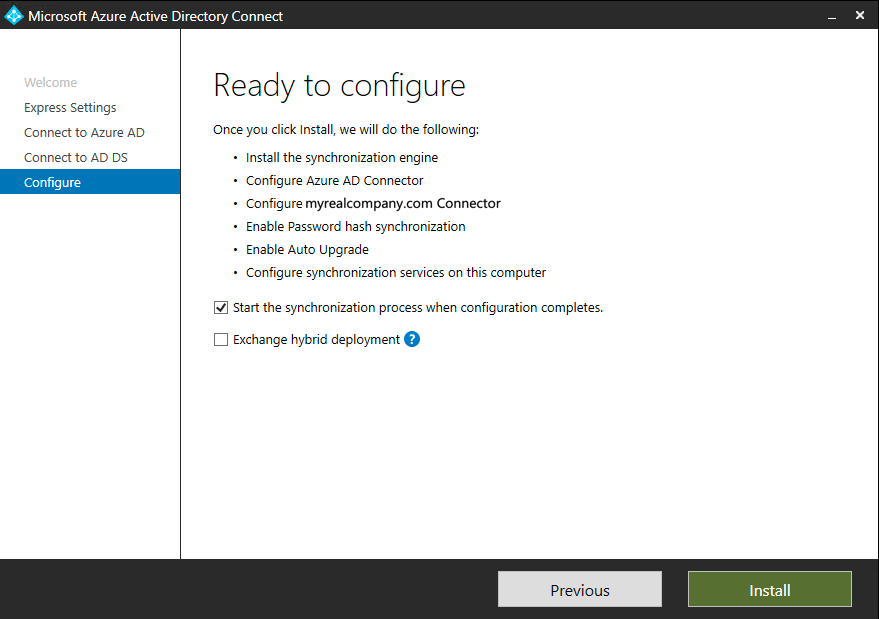
Azure AD should now be configured. At this point you can now work with Expedient engineers to configure the Microsoft partner relationship so that Expedient can deliver to your Azure account the Windows 10 licenses you've purchased.