Expedient offers load balancing on a Citrix platform.
Note: The Citrix Load Balancer has gone through many name changes, including Load Balancer and NetScaler. Currently, Citrix officially refers to it as the Citrix Application Delivery Controller, which we will call “ADC” for short. Your ADC runs on a virtual appliance at Expedient, known as a VPX.
- As there is no public-facing portal, you’ll need to navigate to the URL or IP of your ADC appliance as provided by your Project Manager or the Operations Support Center. Your ADC is only reachable from inside your Expedient environment or through an IPSec or SSL VPN tunnel if configured.
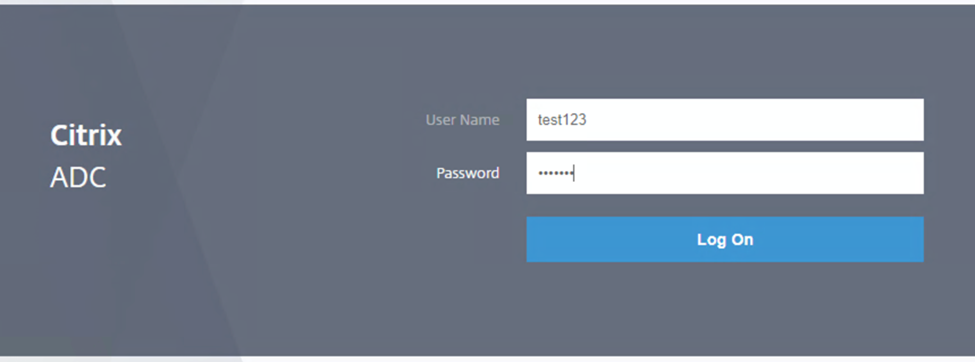
- Once there, you can log in with the provided credentials:
- Once you’re in, use the menu at the left to navigate:
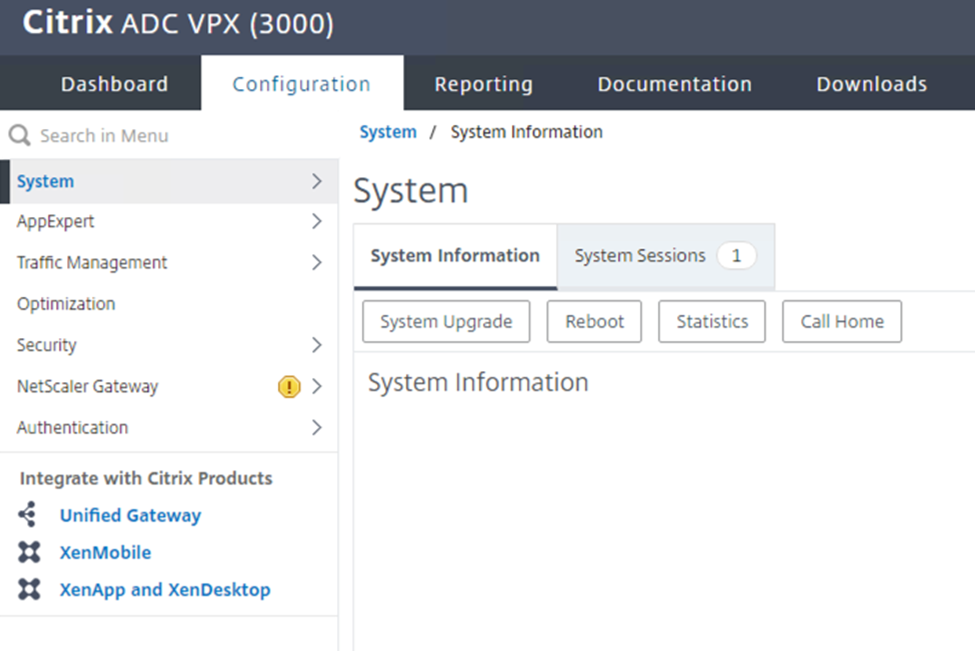
For the most part, you’ll either be making changes in the Traffic Management section or viewing the Dashboard, Configuration, Reporting tabs along the top. Some areas, like the networking configurations under the System menu, are blocked from editing. If you attempt to view or edit settings that are restricted, you’ll see something similar to this error:
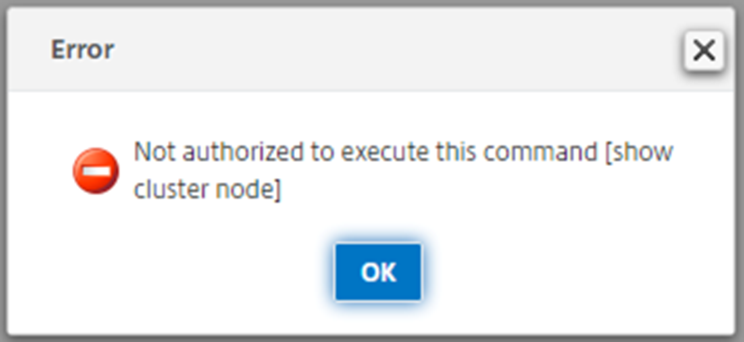
In this situation, we tried to view System -> High Availability, which resulted in the Web front-end running the “show cluster node” command on the appliance to generate content for the GUI.
- Clicking into the Traffic Management menu reveals another list of options:
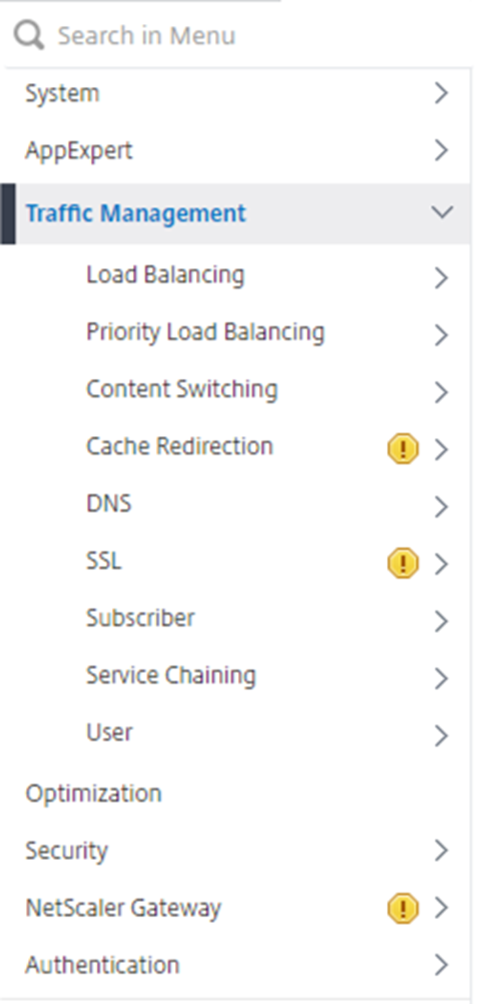
The primary functions in this menu are:
Load Balancing: Configure a Virtual Server to receive traffic (on a Virtual IP) and load balance between services or service groups. The ADC selects servers based on IP and protocol. The load is balanced between services or service group members by many different methods, including least connection, round-robin, and response time.
Content Switching: Configure a Virtual IP which receives traffic and, based on metadata from the source (browser/device type, language, HTTP method, or Layer 3/Layer 4 data), makes a decision on which Load Balancing Virtual Server to forward traffic to.
- Don’t forget to save – After changes are made both in the GUI, they are immediately live in the running-config, but to save these into the saved configuration to maintain persistence, click the Save icon on the top right.
| | No changes made; nothing to save |
| |Changes made; click to save configuration |
Note: A known issue is that sometimes making a change will show the first disk icon. Clicking into a different menu will often refresh the page to display the second disk icon.