Moving Data Between VMs Using Named Disks
The "Named Disks" feature is a feature that allows creating a disk that is not immediately associated with a VM, which can then be attached/detached from virtual machines and moved between different virtual machines as needed. If you need to move data from one VM to another, you can create a named disk, attach it to a VM, fill that disk with the data you need to move, then detach the disk and attach it to another VM - similar to how you would transfer data using a USB drive from one physical server to another. To move data from one virtual machine to another using Named Disks, please review the following documentation.
Step One: Create Named Disk
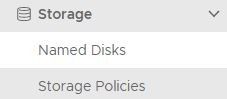
Begin creating a new Named Disk by logging into your EEC tenant portal. On the left-hand side, choose "Named Disks"
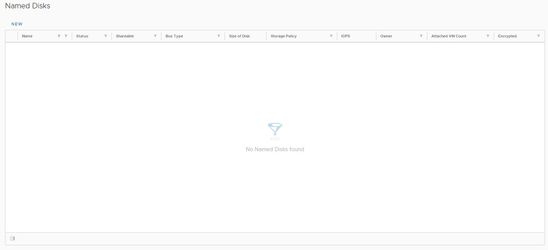
From within the Named Disks section, choose "New"
Provide information about your new Named Disk, choosing an appropriate name and size. You will not be able to change these later.
Note: Be sure to CONFIRM that the Bus Sub-Type is "LSI Logic SAS SCSI controller" to be compatible with your virtual machine.

Step Two: Attach Named Disk to VM
Attach the Named Disk by going into the "Named Disks" section, selecting the Named Disk you want to attach, and choose "Attach"

Select the VM you want to attach the VM to. Filter the selection if necessary.

Step Three: Mount Disk to OS
From within the OS of your VM, you will need to mount the disk. You may need to format the Named Disk if it is new.
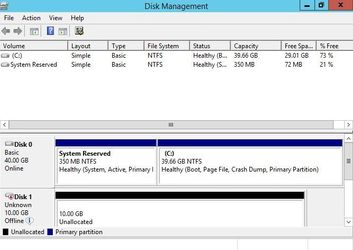
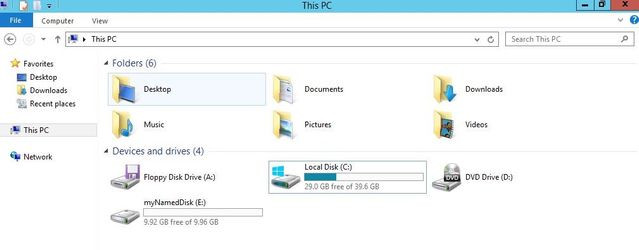
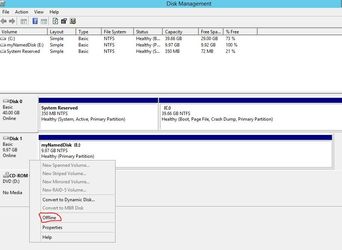
For a Windows Server VM, use the Disk Management tool. You may need to use Rescan Disks to have the new disk show up.
Please refer to documentation for your specific OS for mounting new disks and creating new volumes.
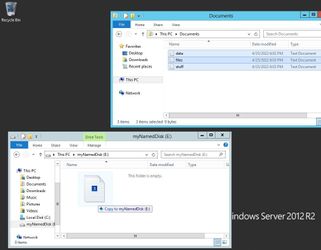
Step Four: Transfer Data
After your Named Disk has been formatted and mounted, it can be accessed like a normal hard disk. You may now transfer data to this disk.
Step Five: Safely Unmount Disk from OS
When the Named Disk has been populated with any data you want to transfer, unmount the disk from the OS so that it may be gracefully removed in the next step.
In Windows VMs you will want to use Disk Management and set the disk to Offline.
Step Six: Detach Named Disk from VM
In your EEC tenant portal, return to the "Named Disks" section. Select your Named Disk and choose "Detach" to remove it from the virtual machine it is currently attached to.

Step Seven: Attach Named Disk to new VM
With the named disk populated with data and no longer attached to anything, you can repeat steps two and three to mount it to a different virtual machine.
Step Eight: Clean Up
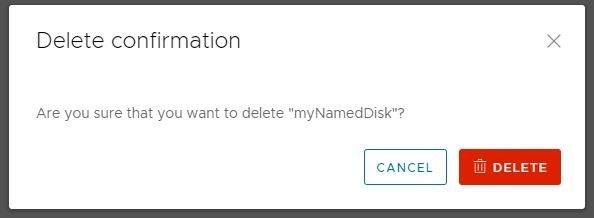
When the disk is no longer needed, you may detach the Named Disk from any VM it may be attached to, and then opt to Delete it.