Introduction
It may be desired to run a one-time backup with custom retention. While Cohesity typically schedules backup jobs and retention against predefined criteria, it is possible to run a custom backup and change retention on a backup. This procedure would be beneficial to run a 'final indefinite' type of backup.
How-to Manually Start a Protection Job
- Log in to the Cloud Data Protection system.
- Upon logging into the cluster, the page should automatically direct you to the Protection Jobs page.
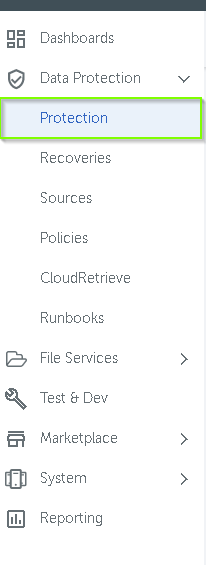
- If you are not on this page or are on a different page, from the navigation menu to the left of the page, select Data Protection → Protection
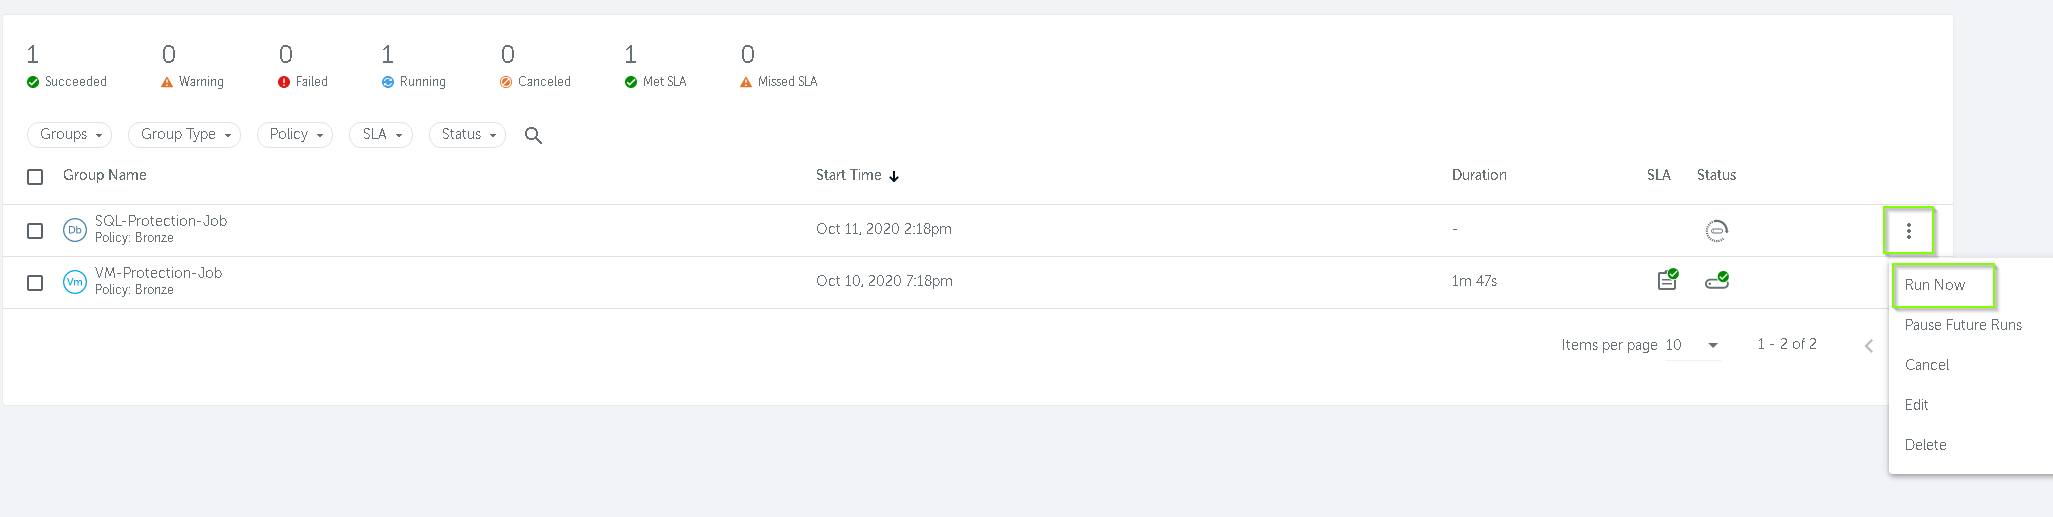
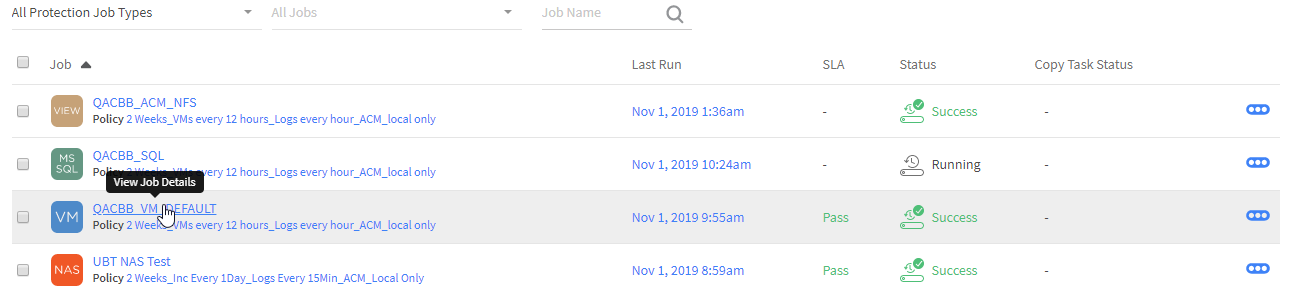
- Locate the protection job you wish to manually initiate and select Context Menu Icon (
 ), then select Run Now
- Configure the Protection Run Properties
- Backup: Utilize the drop-down menu to select Backup all Objects in the Job or Backup only selected Objects in the Job
- Type: Utilize the drop-down menu to select a Full, Incremental, or Log backup
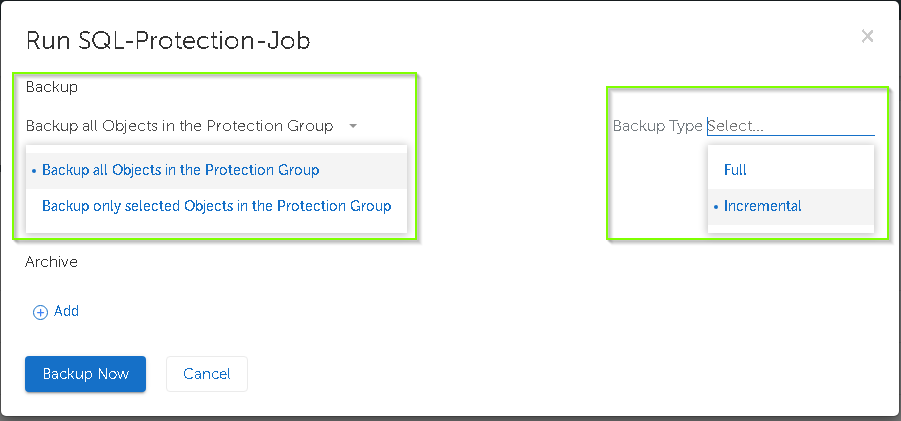
- Select Backup Now to initiate the Protection Job
- The Protection Job will now display as Running and not list a last job duration.

- To view more details on the running job, follow How-to Check Protection Job Status.
How-to Modify Retention on a Protection Job
- Locate the protection job you wish to modify retention on one of its protection runs and Click it.
- You will now be on the Protection Job Runs screen. Locate the recently ran backup, select the Context Menu Icon (), select Edit Run.
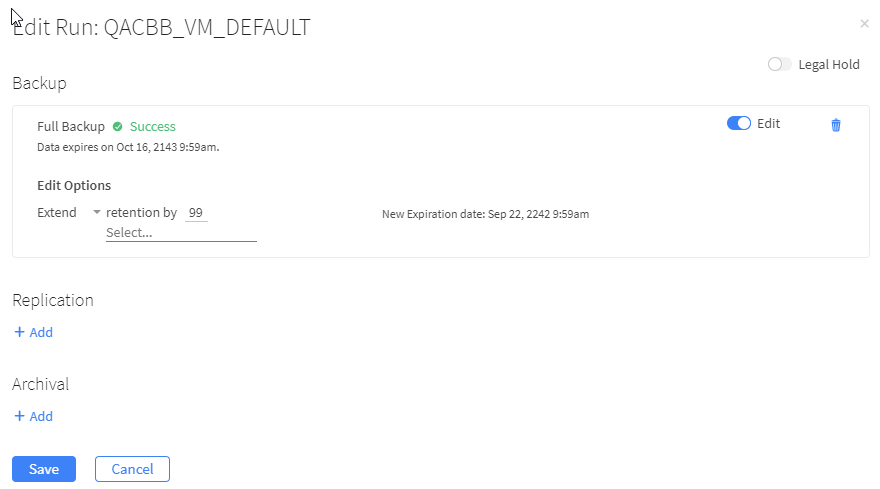
- Select the toggle next to Edit.
- Utilize the drop-down menu to either Extend or Reduce the retention.
- Utilize the drop-down menu and free form field to select the amount of time to either extend or reduce the retention.
- Though indefinite is not an option, 99 Years will fulfill the same purpose.
- Confirm the New Expiration Date and select Save