Introduction
The Instant Volume Mount operation restores an entire volume to a Windows VM and is the best way to restore data when recovering a large data set. This restoration method is used to recover Exchange Databases; the Exchange Database's volume will be mounted as a new drive. An Exchange Administrator can then perform the required recovery operations.
Procedure
Cloud Data Protection Recovery Steps
- Log in to the Cloud Data Protection system
- From the navigation bar at the top of the page, select the Data Protection → Recoveries tab.
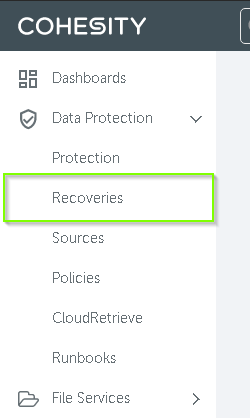
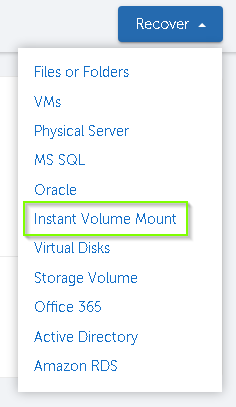
- Select the Recover button and then Instant Volume Mount
- Utilize the search bar to locate the appropriate Exchange server.
- Click the desired VM to restore to move directly to the Recovery Options page.
- Set the recovery options
- Task Name: Select a meaningful name for the recovery task
- Source: Confirm the VM listed is the VM you have selected
- Mounting: Select the volume (s) from the server to restore (location of the Exchange databases)
- Recover Point: Select the snapshot you wish to restore
- Target: Select the VM to mount the volume on
- Disk Online: Do not select to bring the disk online automatically
- Interface: If restoring to EEC, choose Select from Interface/VLANs and select bond0.1930 (bond0.1940 will alternatively be set on DUB-COHESITY); if restoring to private infrastructure, select Select from Interface/VLANs and select the appropriate bond0.* interface.
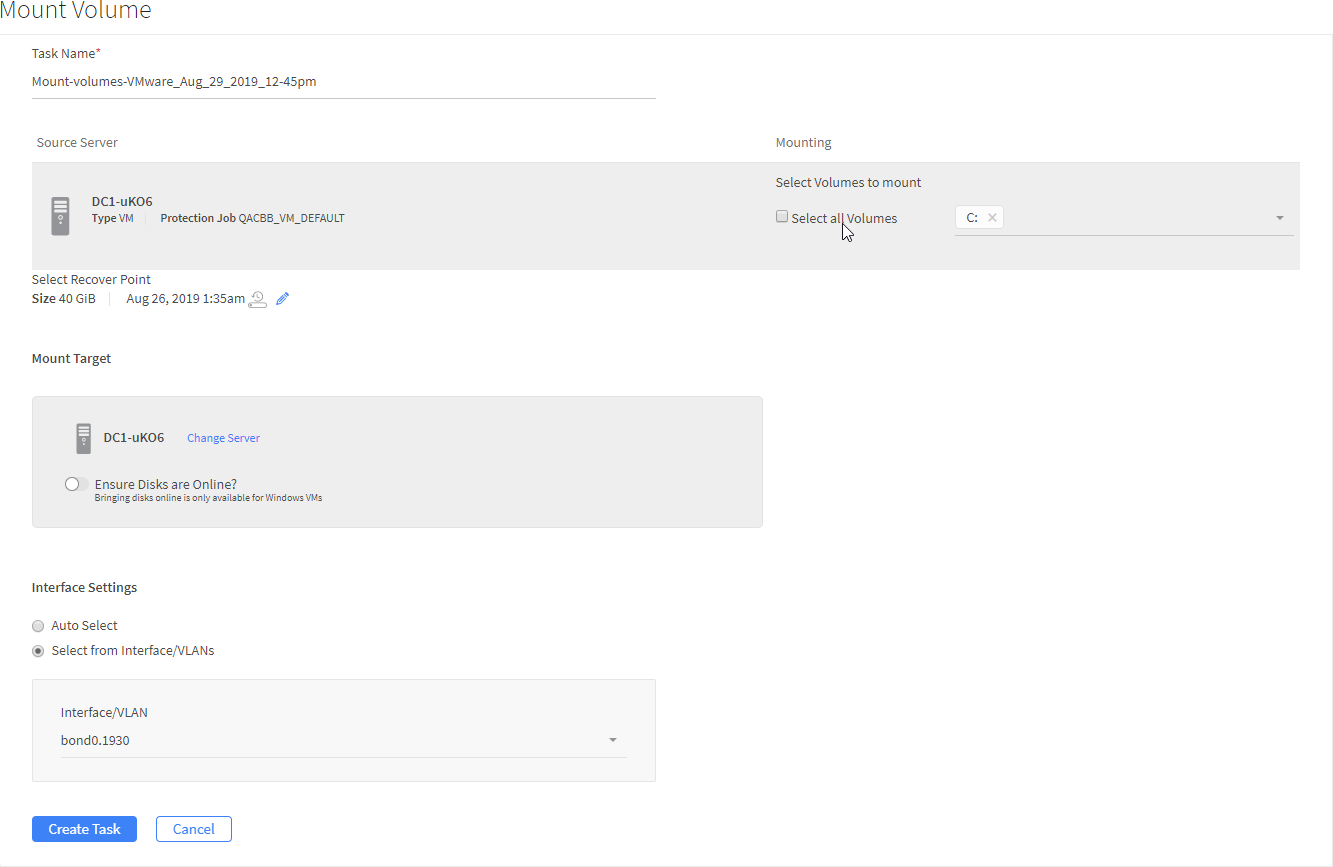
- Select Create Task
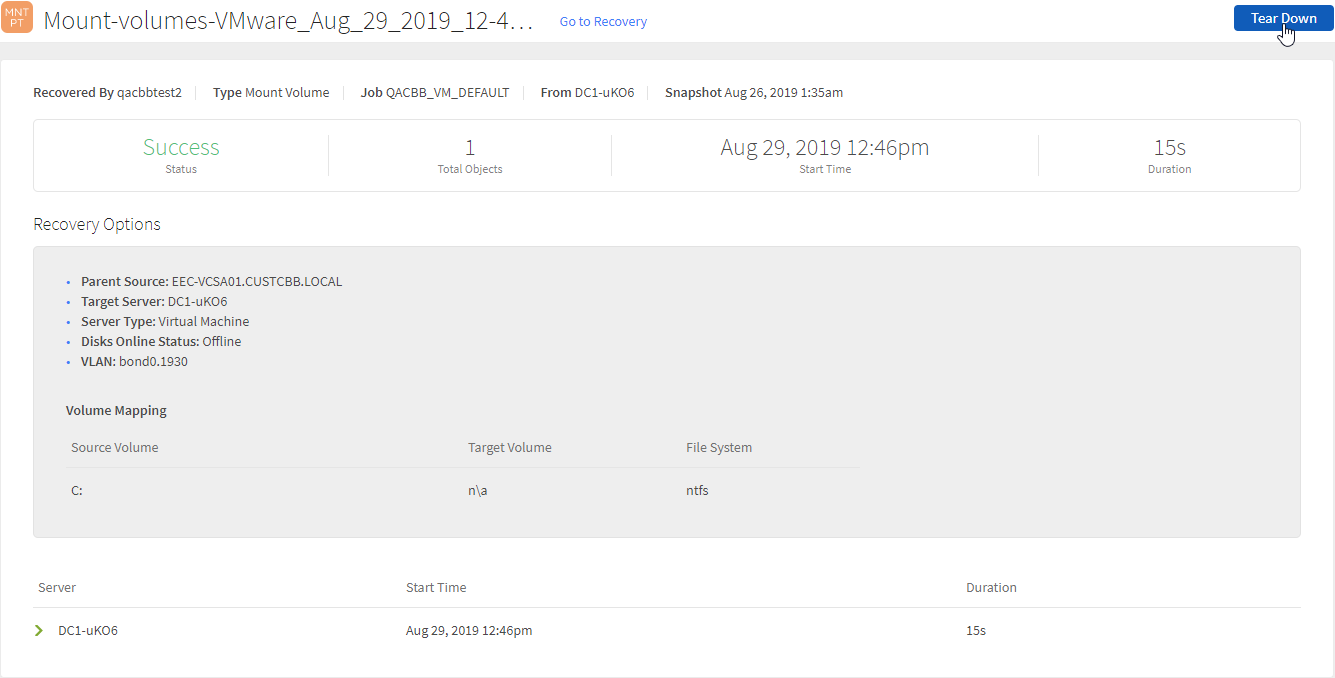
- You will be redirected to the Recovery Overview screen to monitor the restore status.
- Upon success, the VMDK of the volume will be attached to the target VM
Exchange Recovery Steps
- Log in to the target VM
- Mount the VMDK within Windows on the target VM
- Login to the Target VM
- Launch the Disk Management utility
- Locate the restored disk
- Right-click the disk and select Online
- The disk will now mount to the OS
- Utilizing native Exchange Tools perform a recovery on the restored database
- Unmount the VMDK within Windows on the target VM
- Login to the Target VM
- Launch the Disk Management utility
- Locate the restored disk
- Right-click the disk and select Offline
- The disk will now unmount from the OS
Cloud Data Protection Recovery Steps
- Log in to the Cloud Data Protection system.
- From the navigation bar at the top of the page, select the Protection → Recovery tab.
- Select the Task Name of the restore you initiated
- Select Tear Down to remove the disk from the VM and clean up all Cohesity configurations
- Select Yes, Tear Down to confirm the operation.